Tiered Planter Boxes with Redwood and Stained Pine
Published
After moving into our new place in Oakland, we were on a mission to add as many plants as we could to add a soft touch and liven things up. The steps outside our doorway were a prime candidate, and got a few hours of direct sunlight each morning.
After a few weeks without finding the appropriate furniture, a friend (Long) and I decided to build something custom. After taking measurements of the space, we found some plans online we liked.
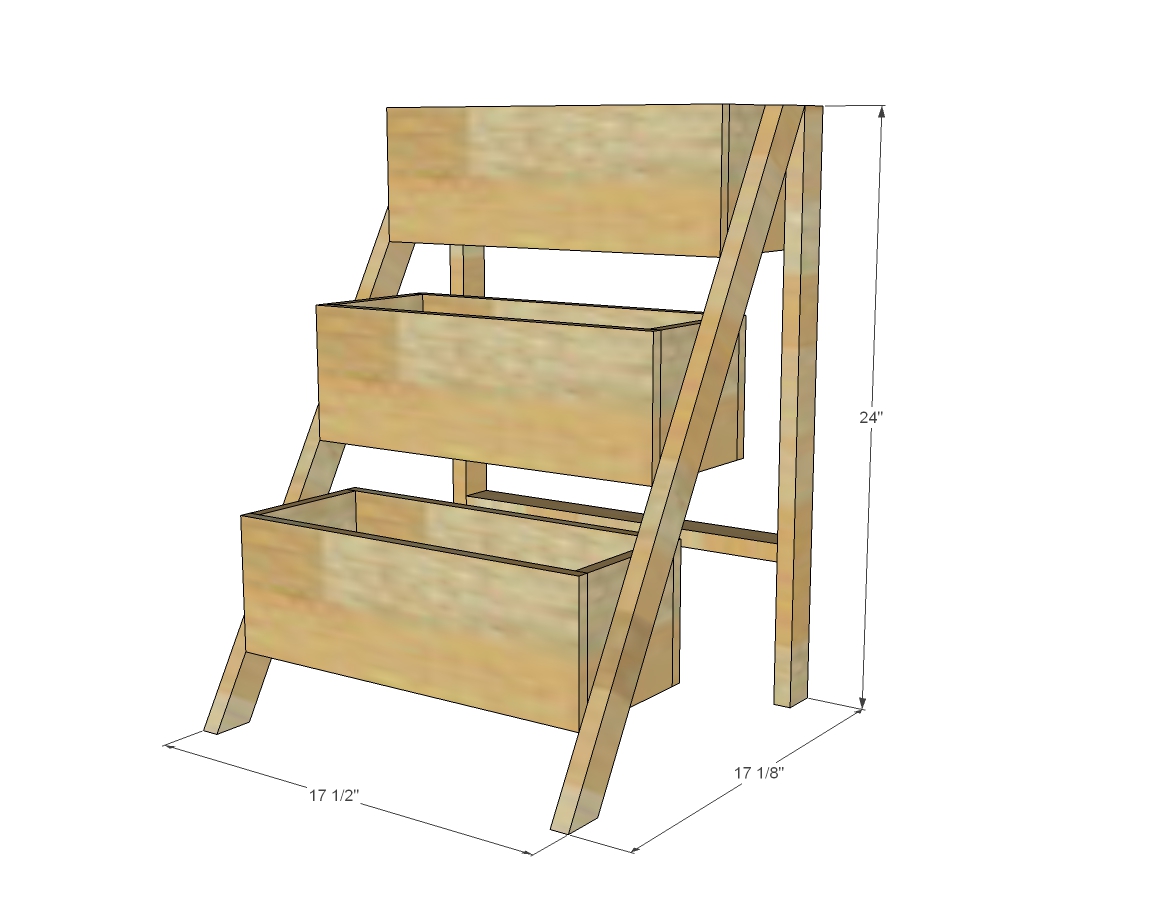
Initial plans for the tiered planter boxes, borrowed from source.
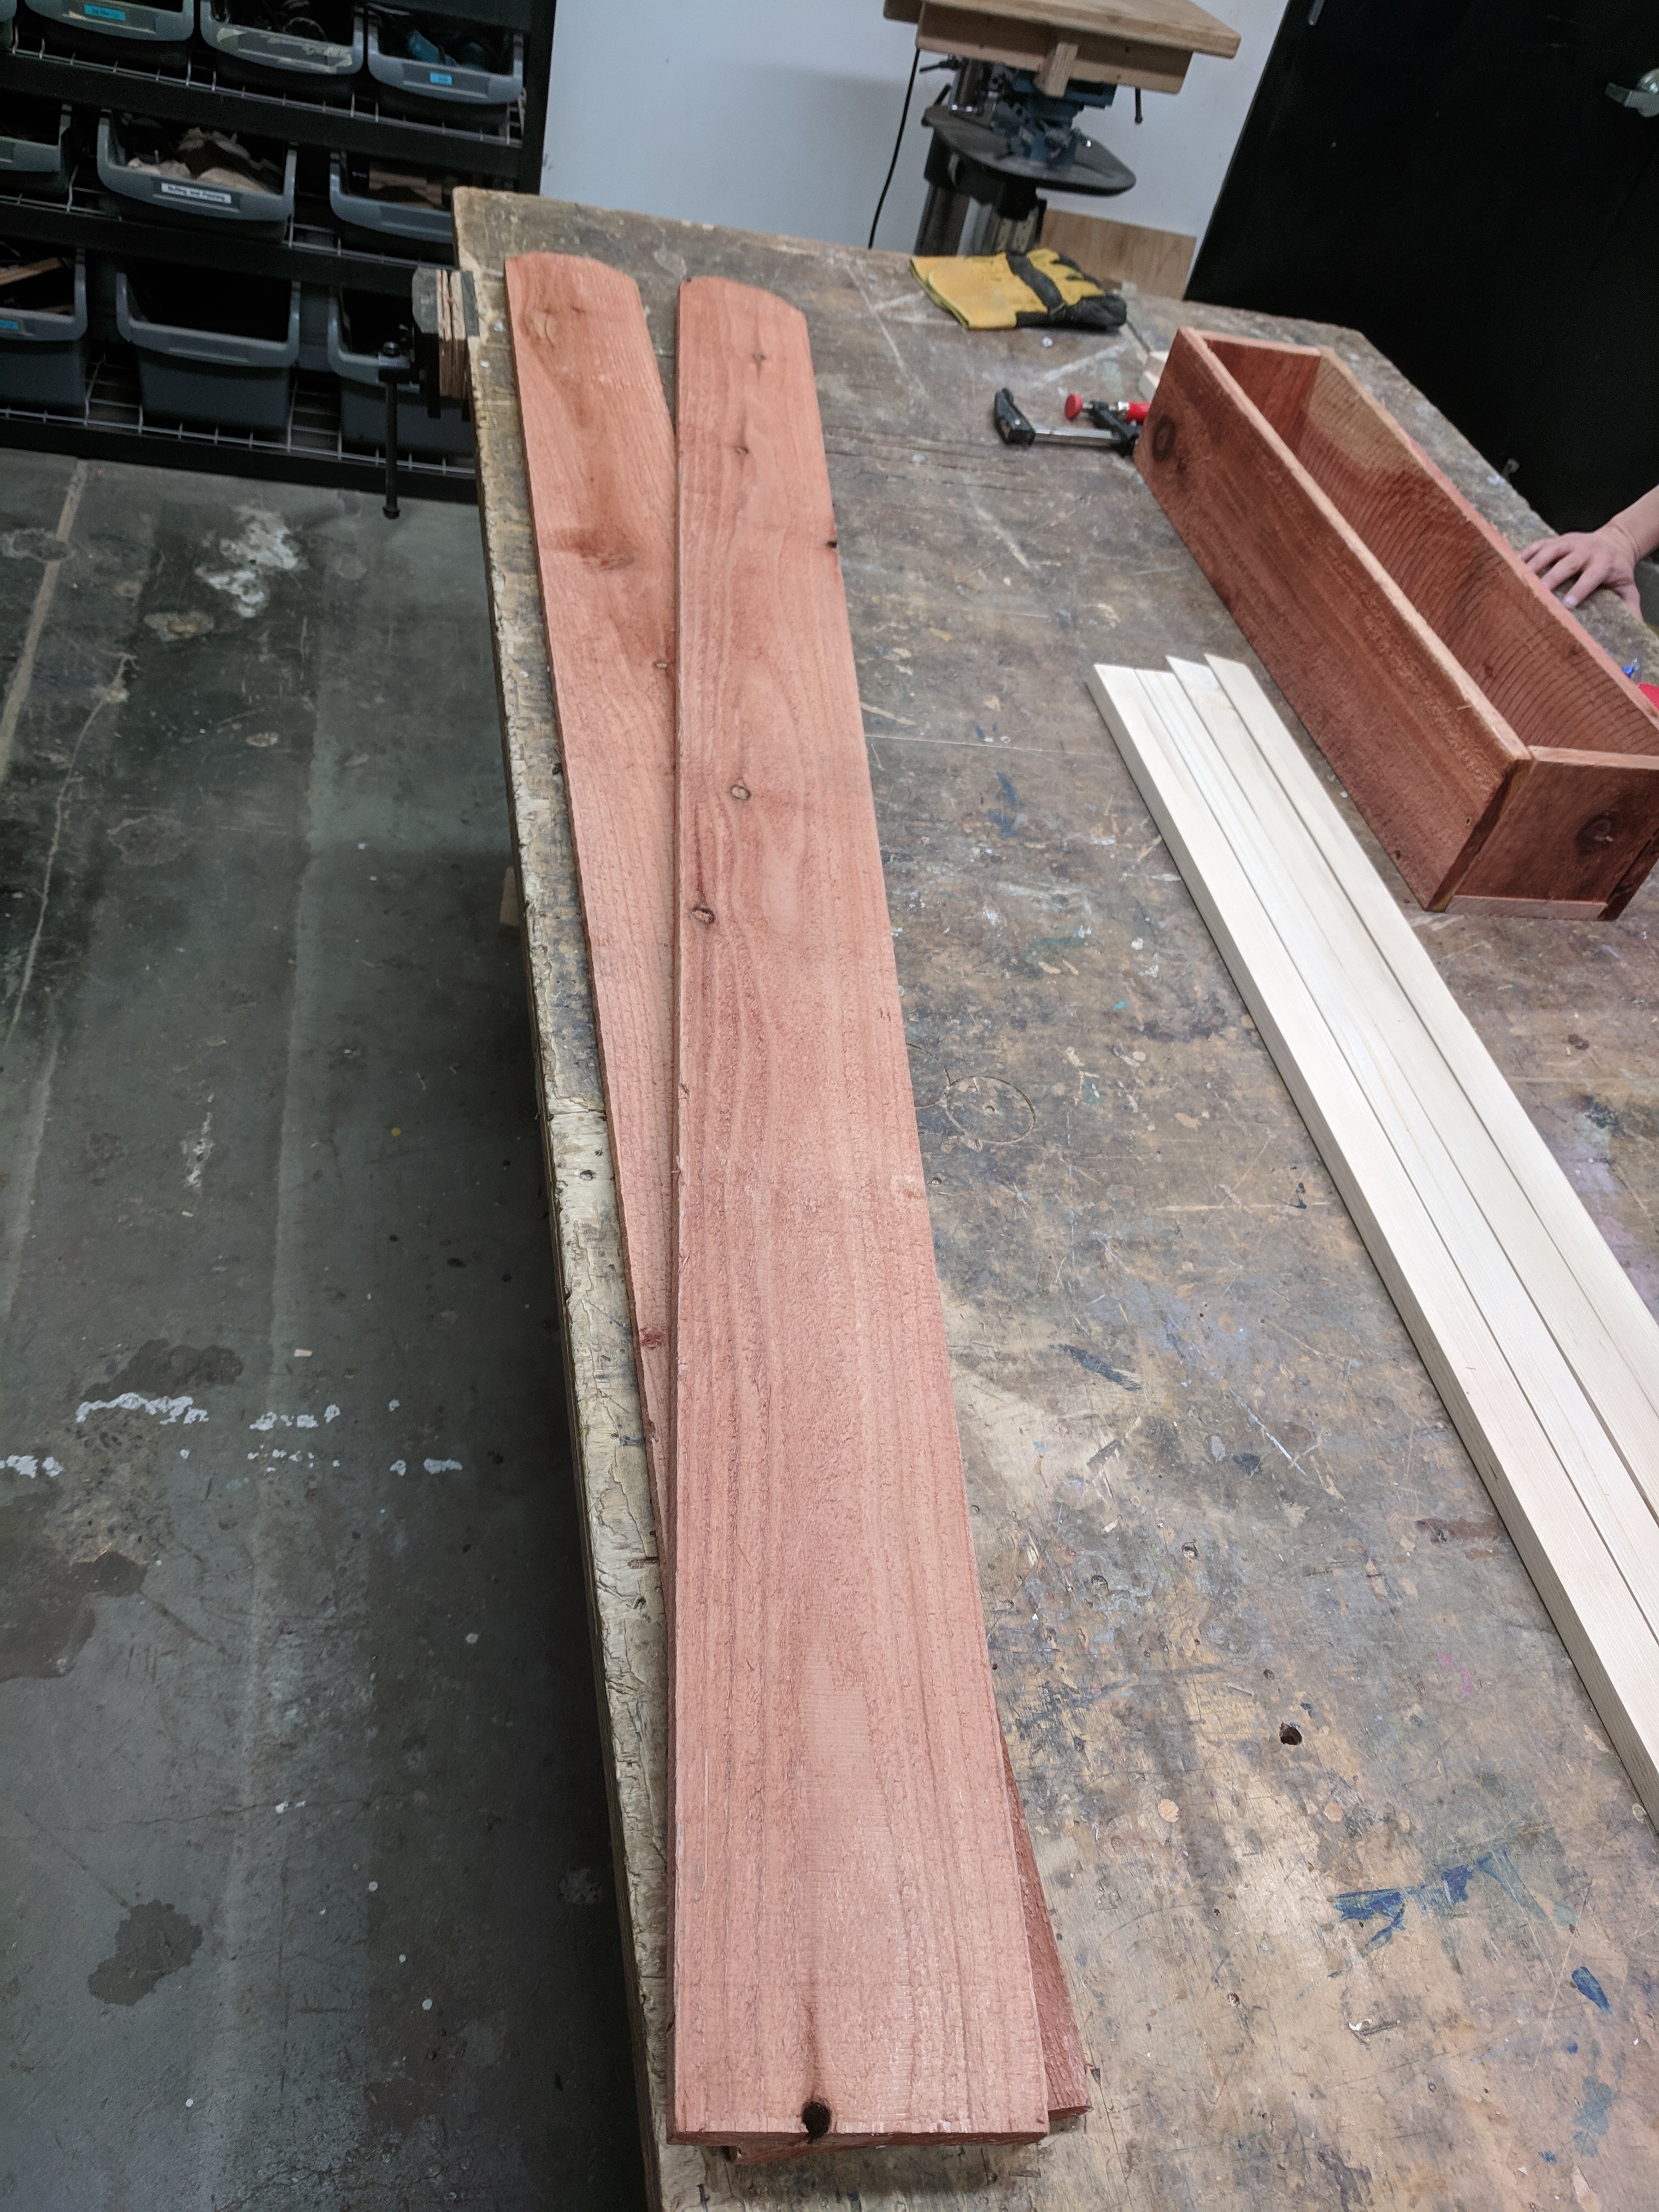
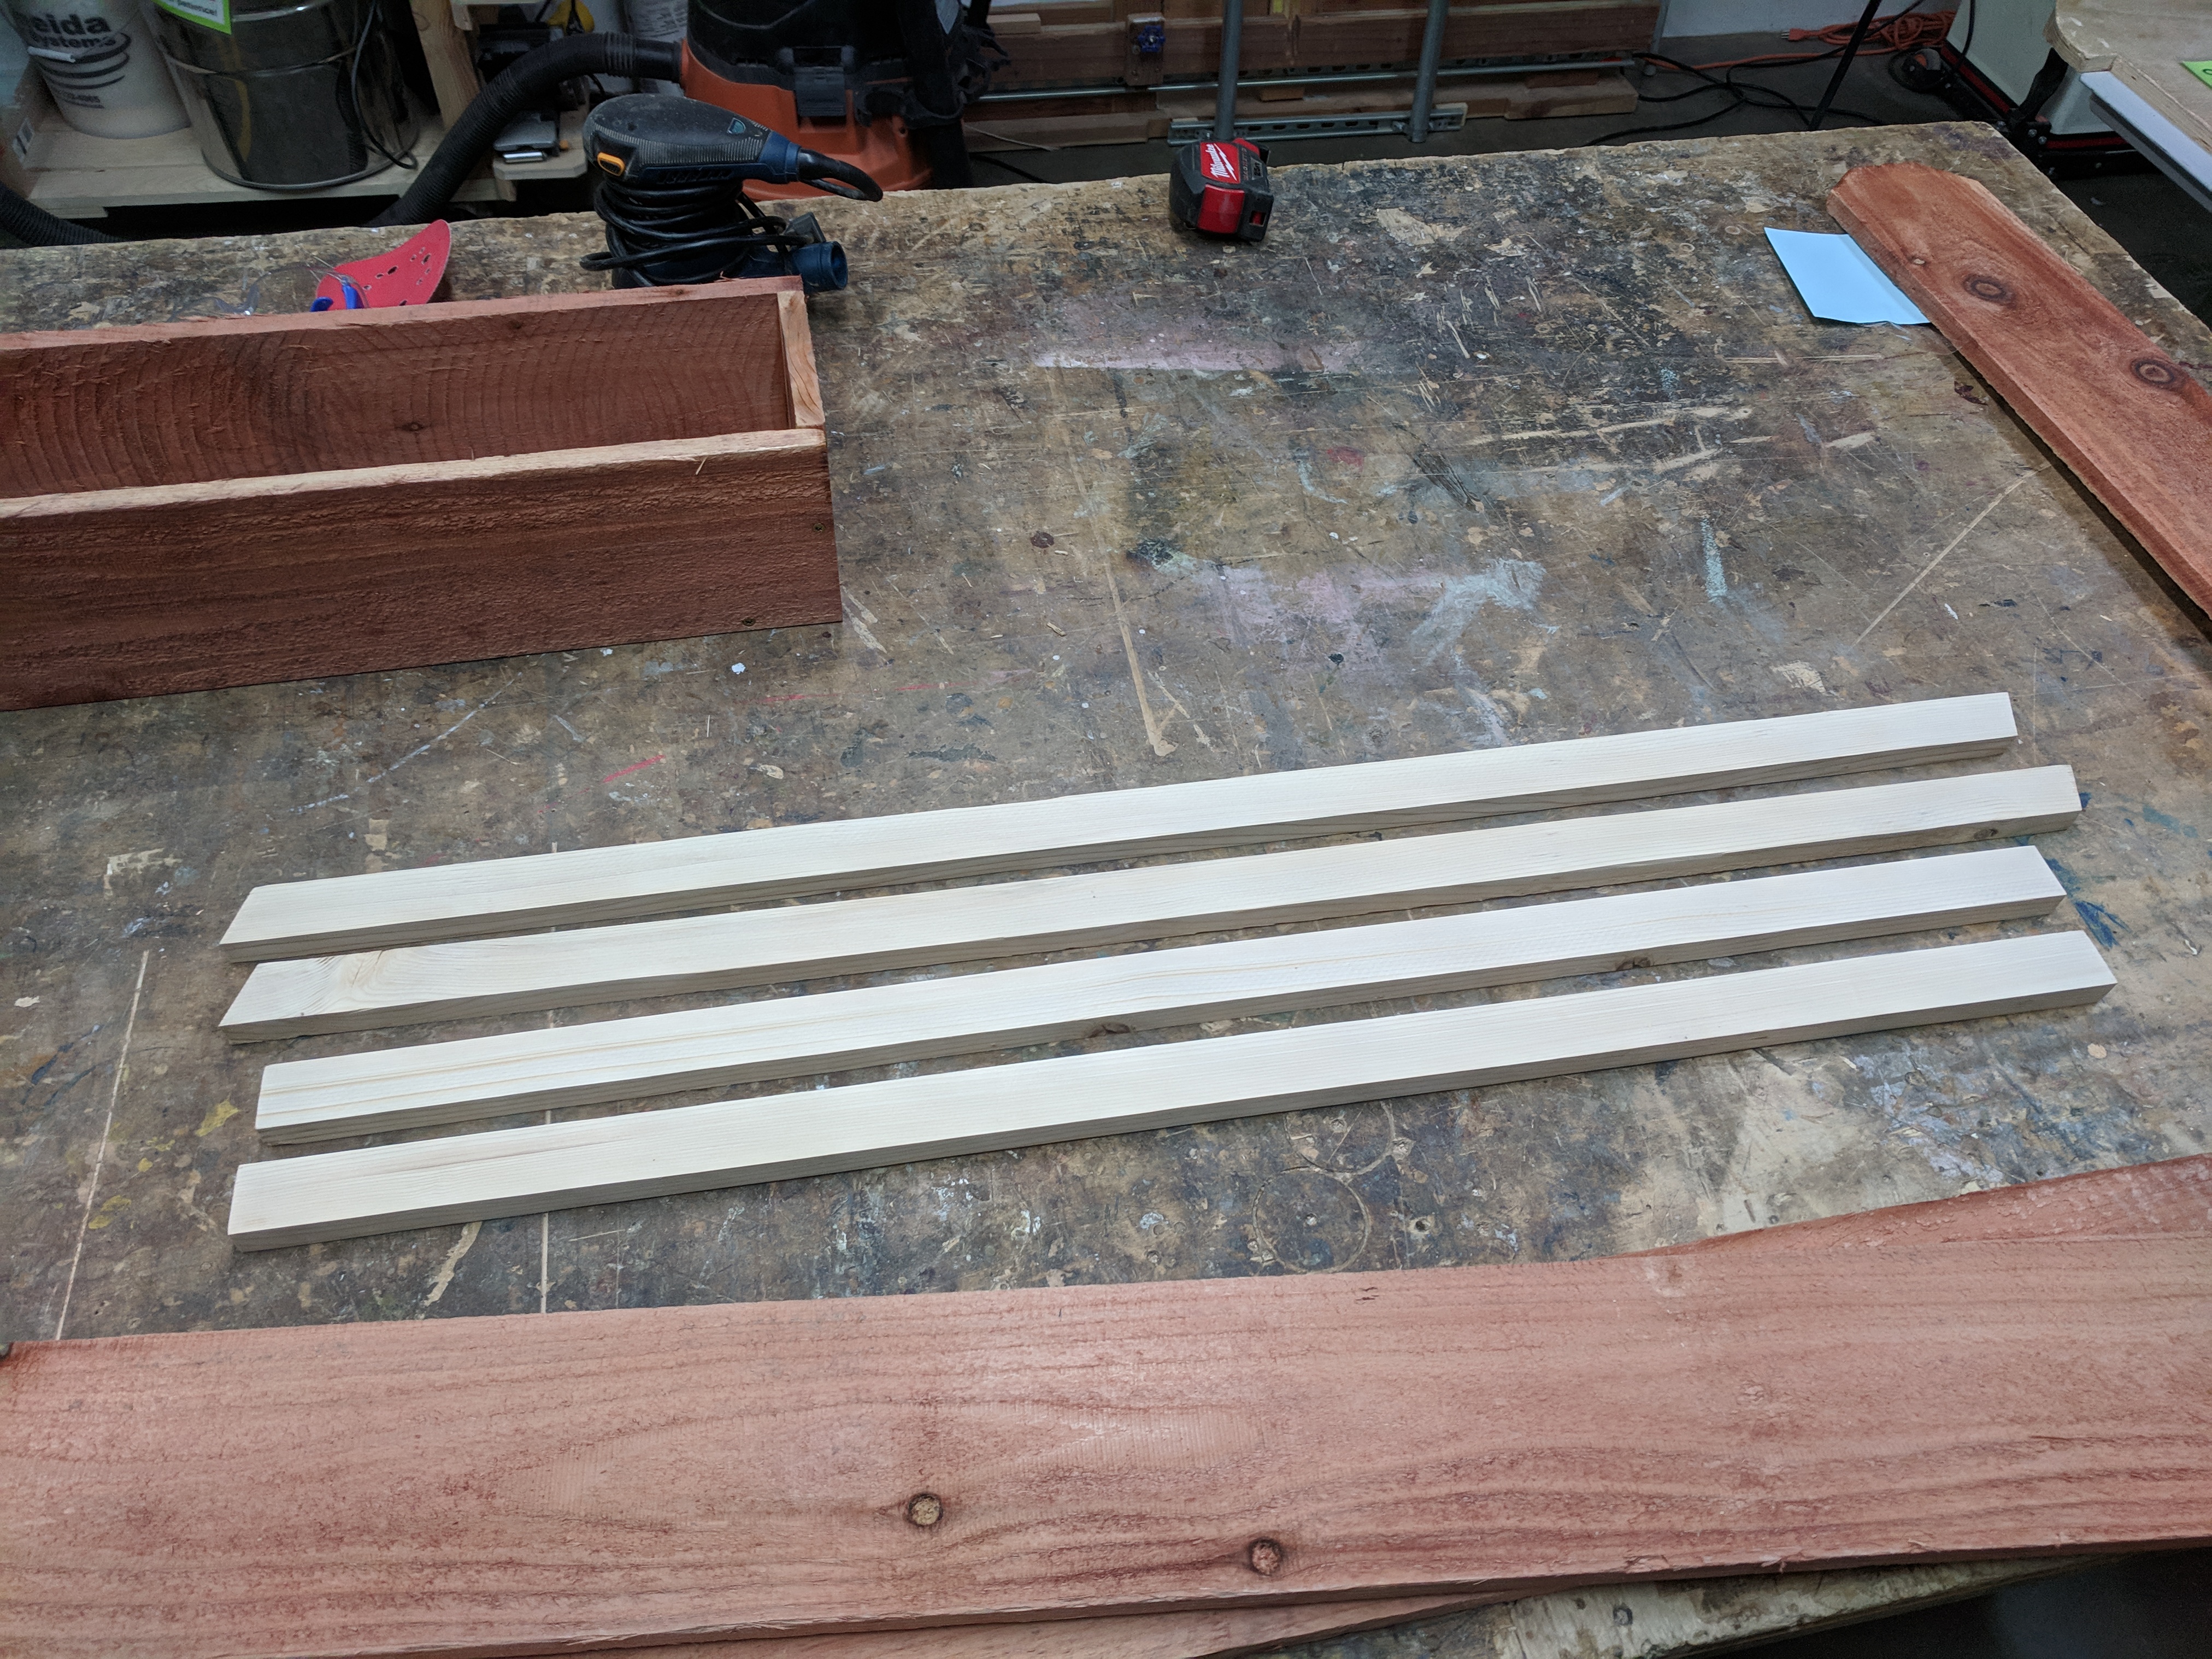
I set out to purchase the wood at Home Depot. While trying to avoid pressure treated wood, I was pleased to find redwood available. In fact it was sold pre-cut for use as fence pickets for only around $3.50 (probably a bit lower grade, but good enough for our planters). I also picked up some pine 1x2s for use as the stand legs.
Long and I planned to scale up the measurements in the original plans to better utilize the space outside our doorway. Since the front 1×2 legs had angled edges, we needed to recalculate the degrees required for our angle cuts. This was a fantastic throwback to high school geometry/trigonometry.

Should have paid better attention in math class.
We proceeded to make the mitered cuts for the legs based on our calculated angle of 21.8°. After assembly we were actually pretty close! We forgot to take the length of the hypotenuse leg into account during out calculations (approximately 1.5 inches). Because of this the assembled pieces was slightly larger than planned (but luckily still fit).
Next we began assembling the boxes, which just involved a few measurements and cuts with the mitre saw. During assembly, we had some fun trying to use unnecessarily long 3 inch screws, joking that we were assembling the box on “hard-mode”.
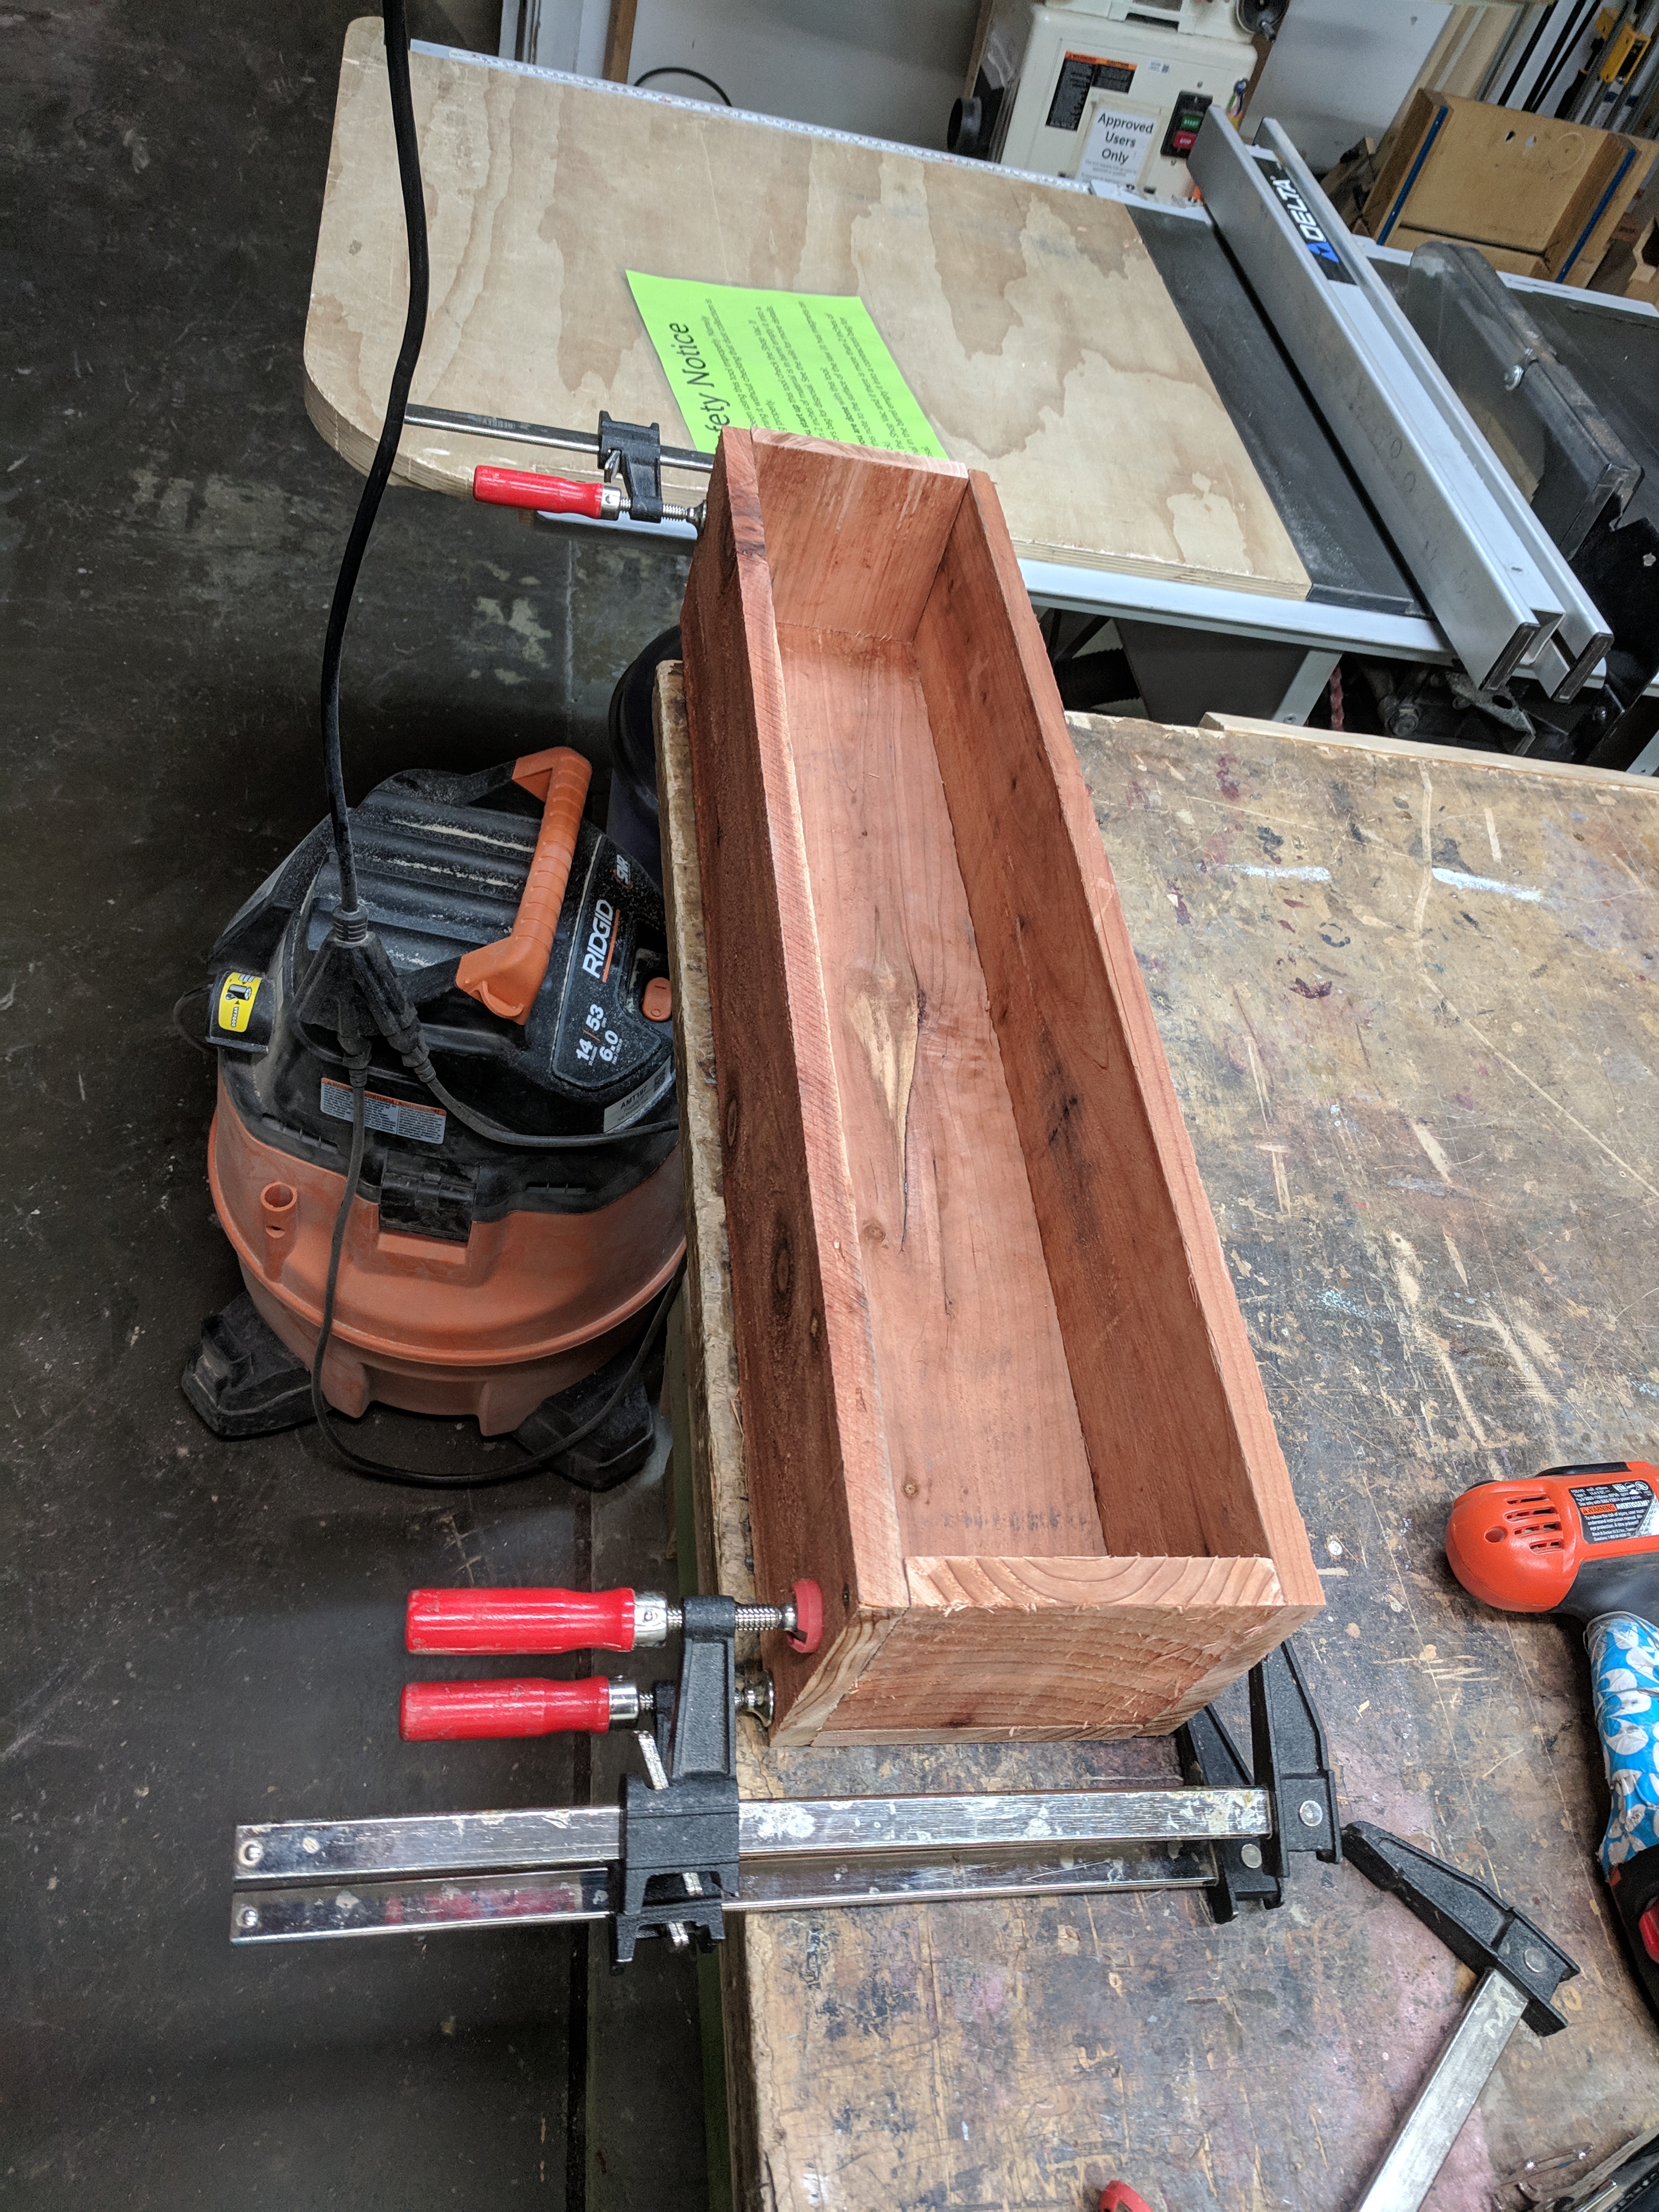
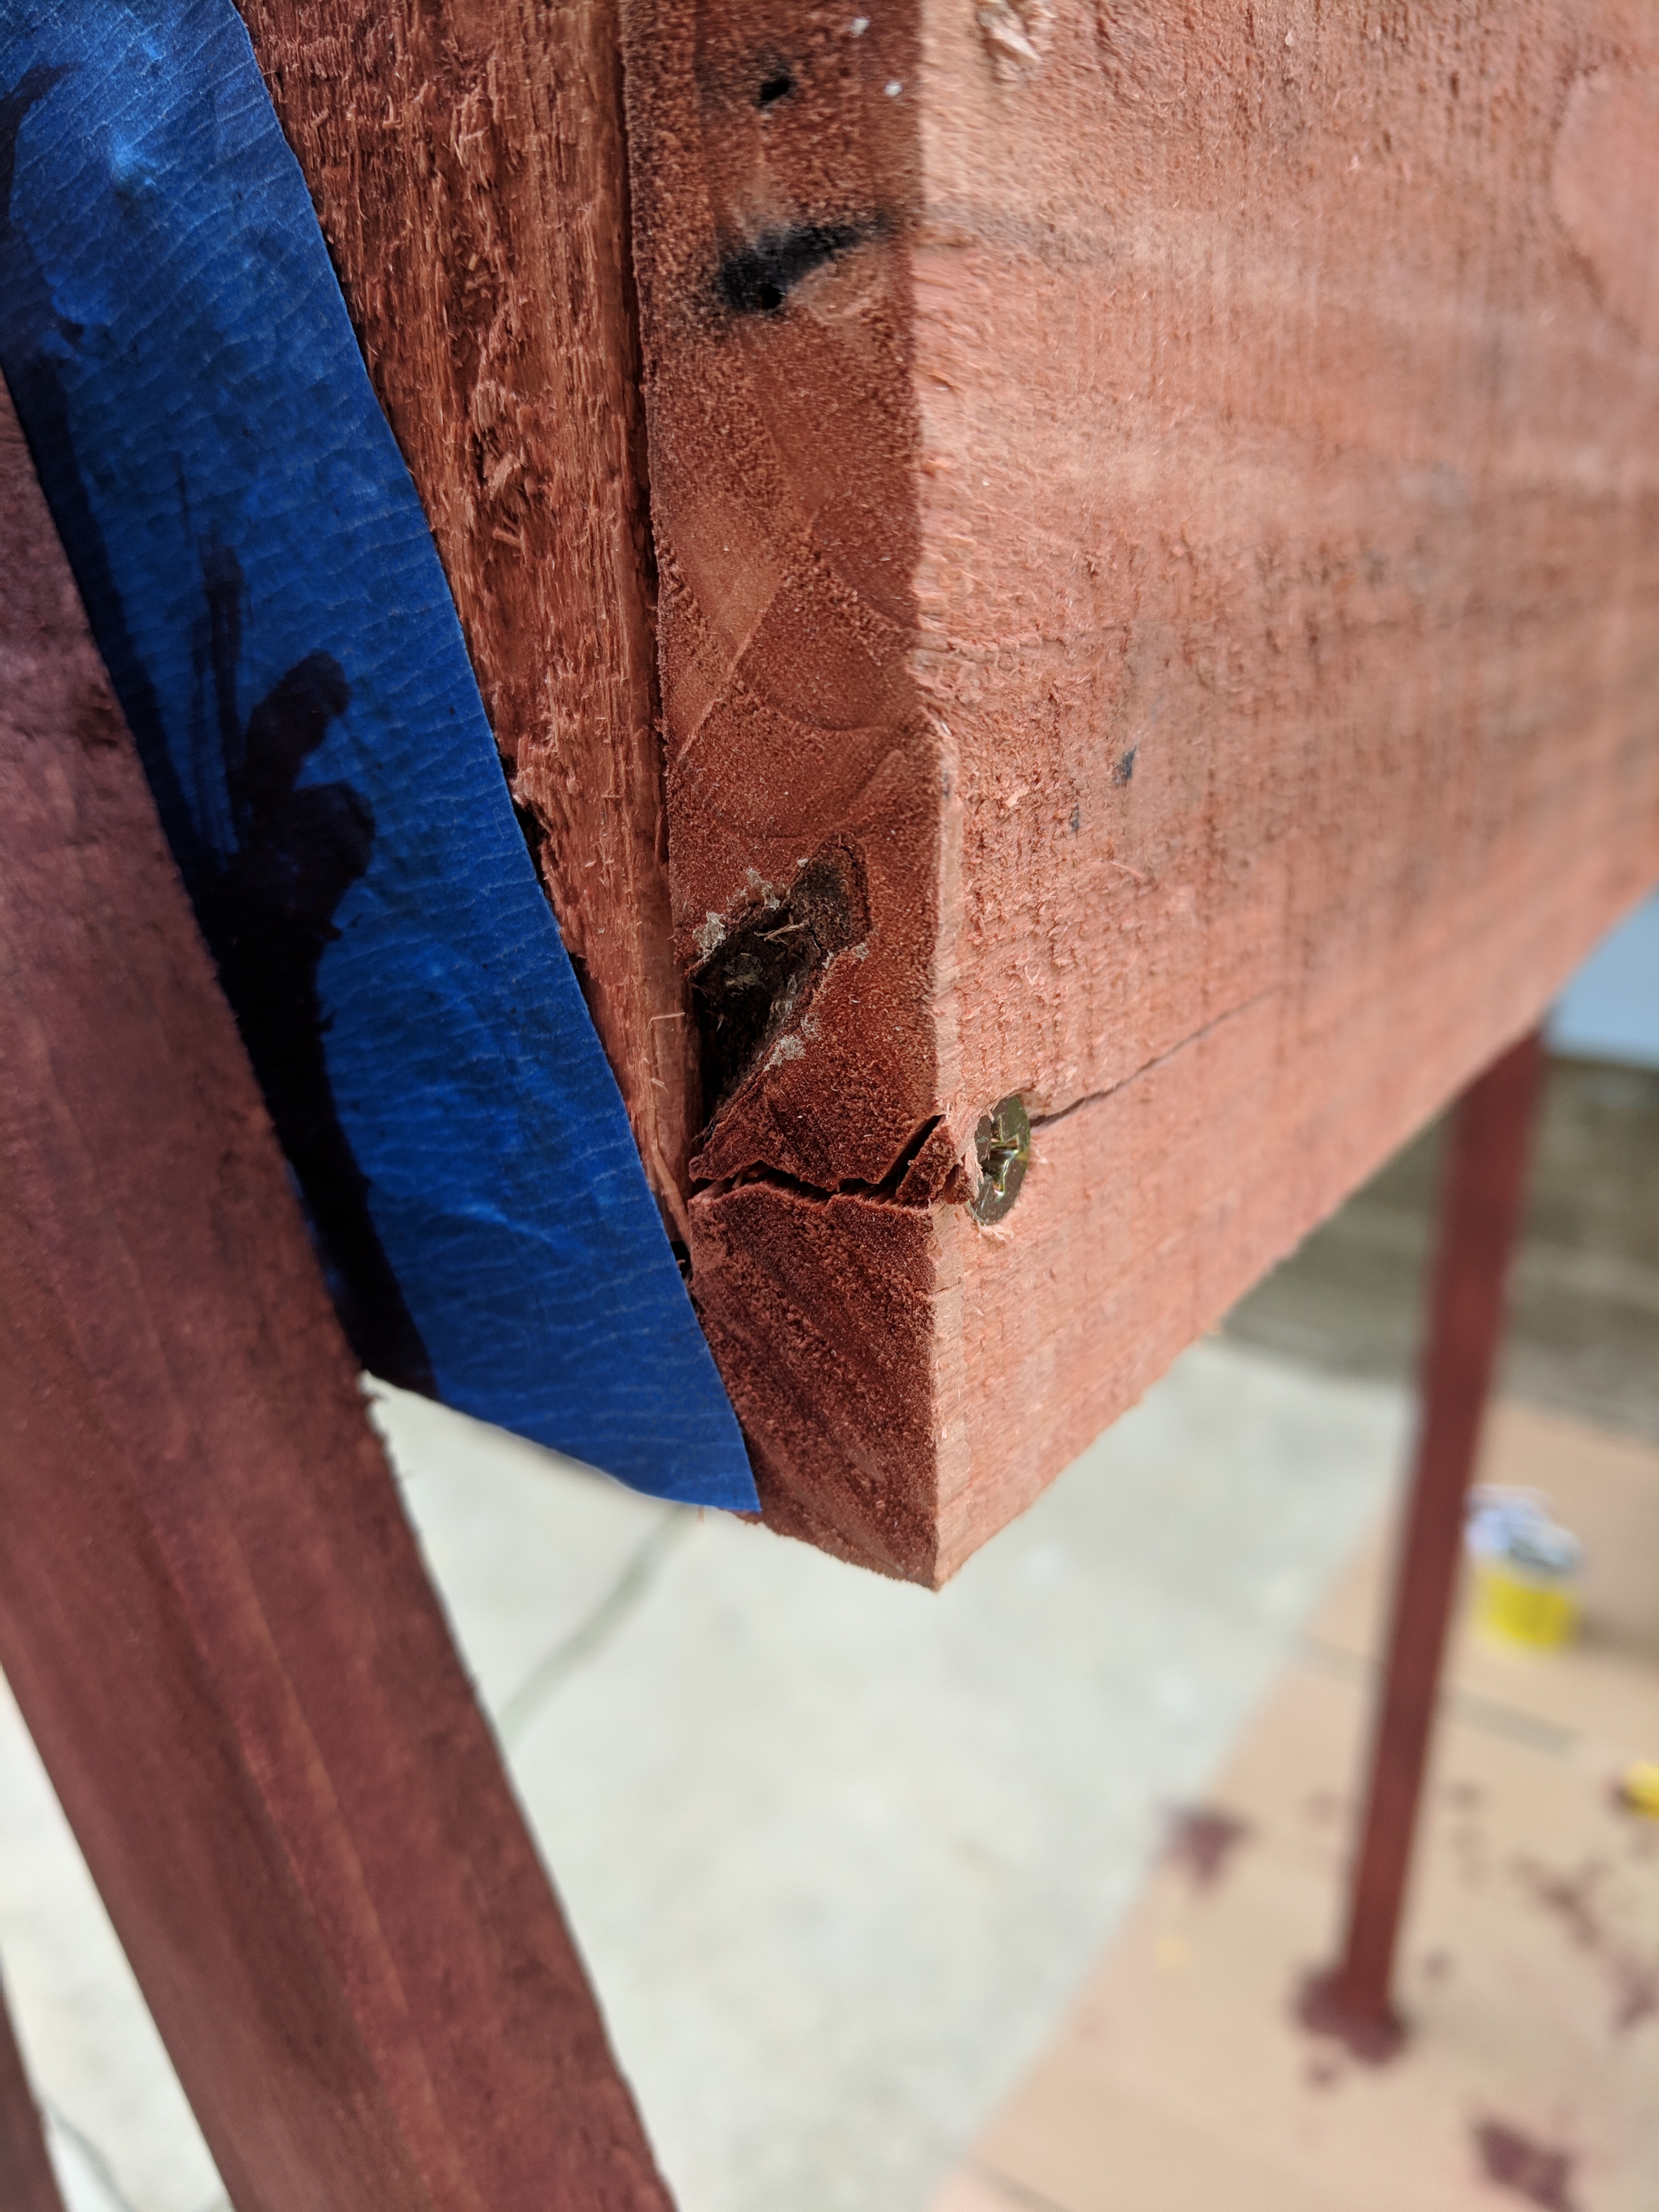
At one point I tried to take a shortcut and put a screw in without pre-drilling a pilot hole. This resulted in the wood splitting. Later I learned that pilot holes reduce the amount of “wedging” caused by screws, and are a great way to prevent wood splitting.
After assembling the boxes, we began sanding down the 1×2 legs in preparation for staining.
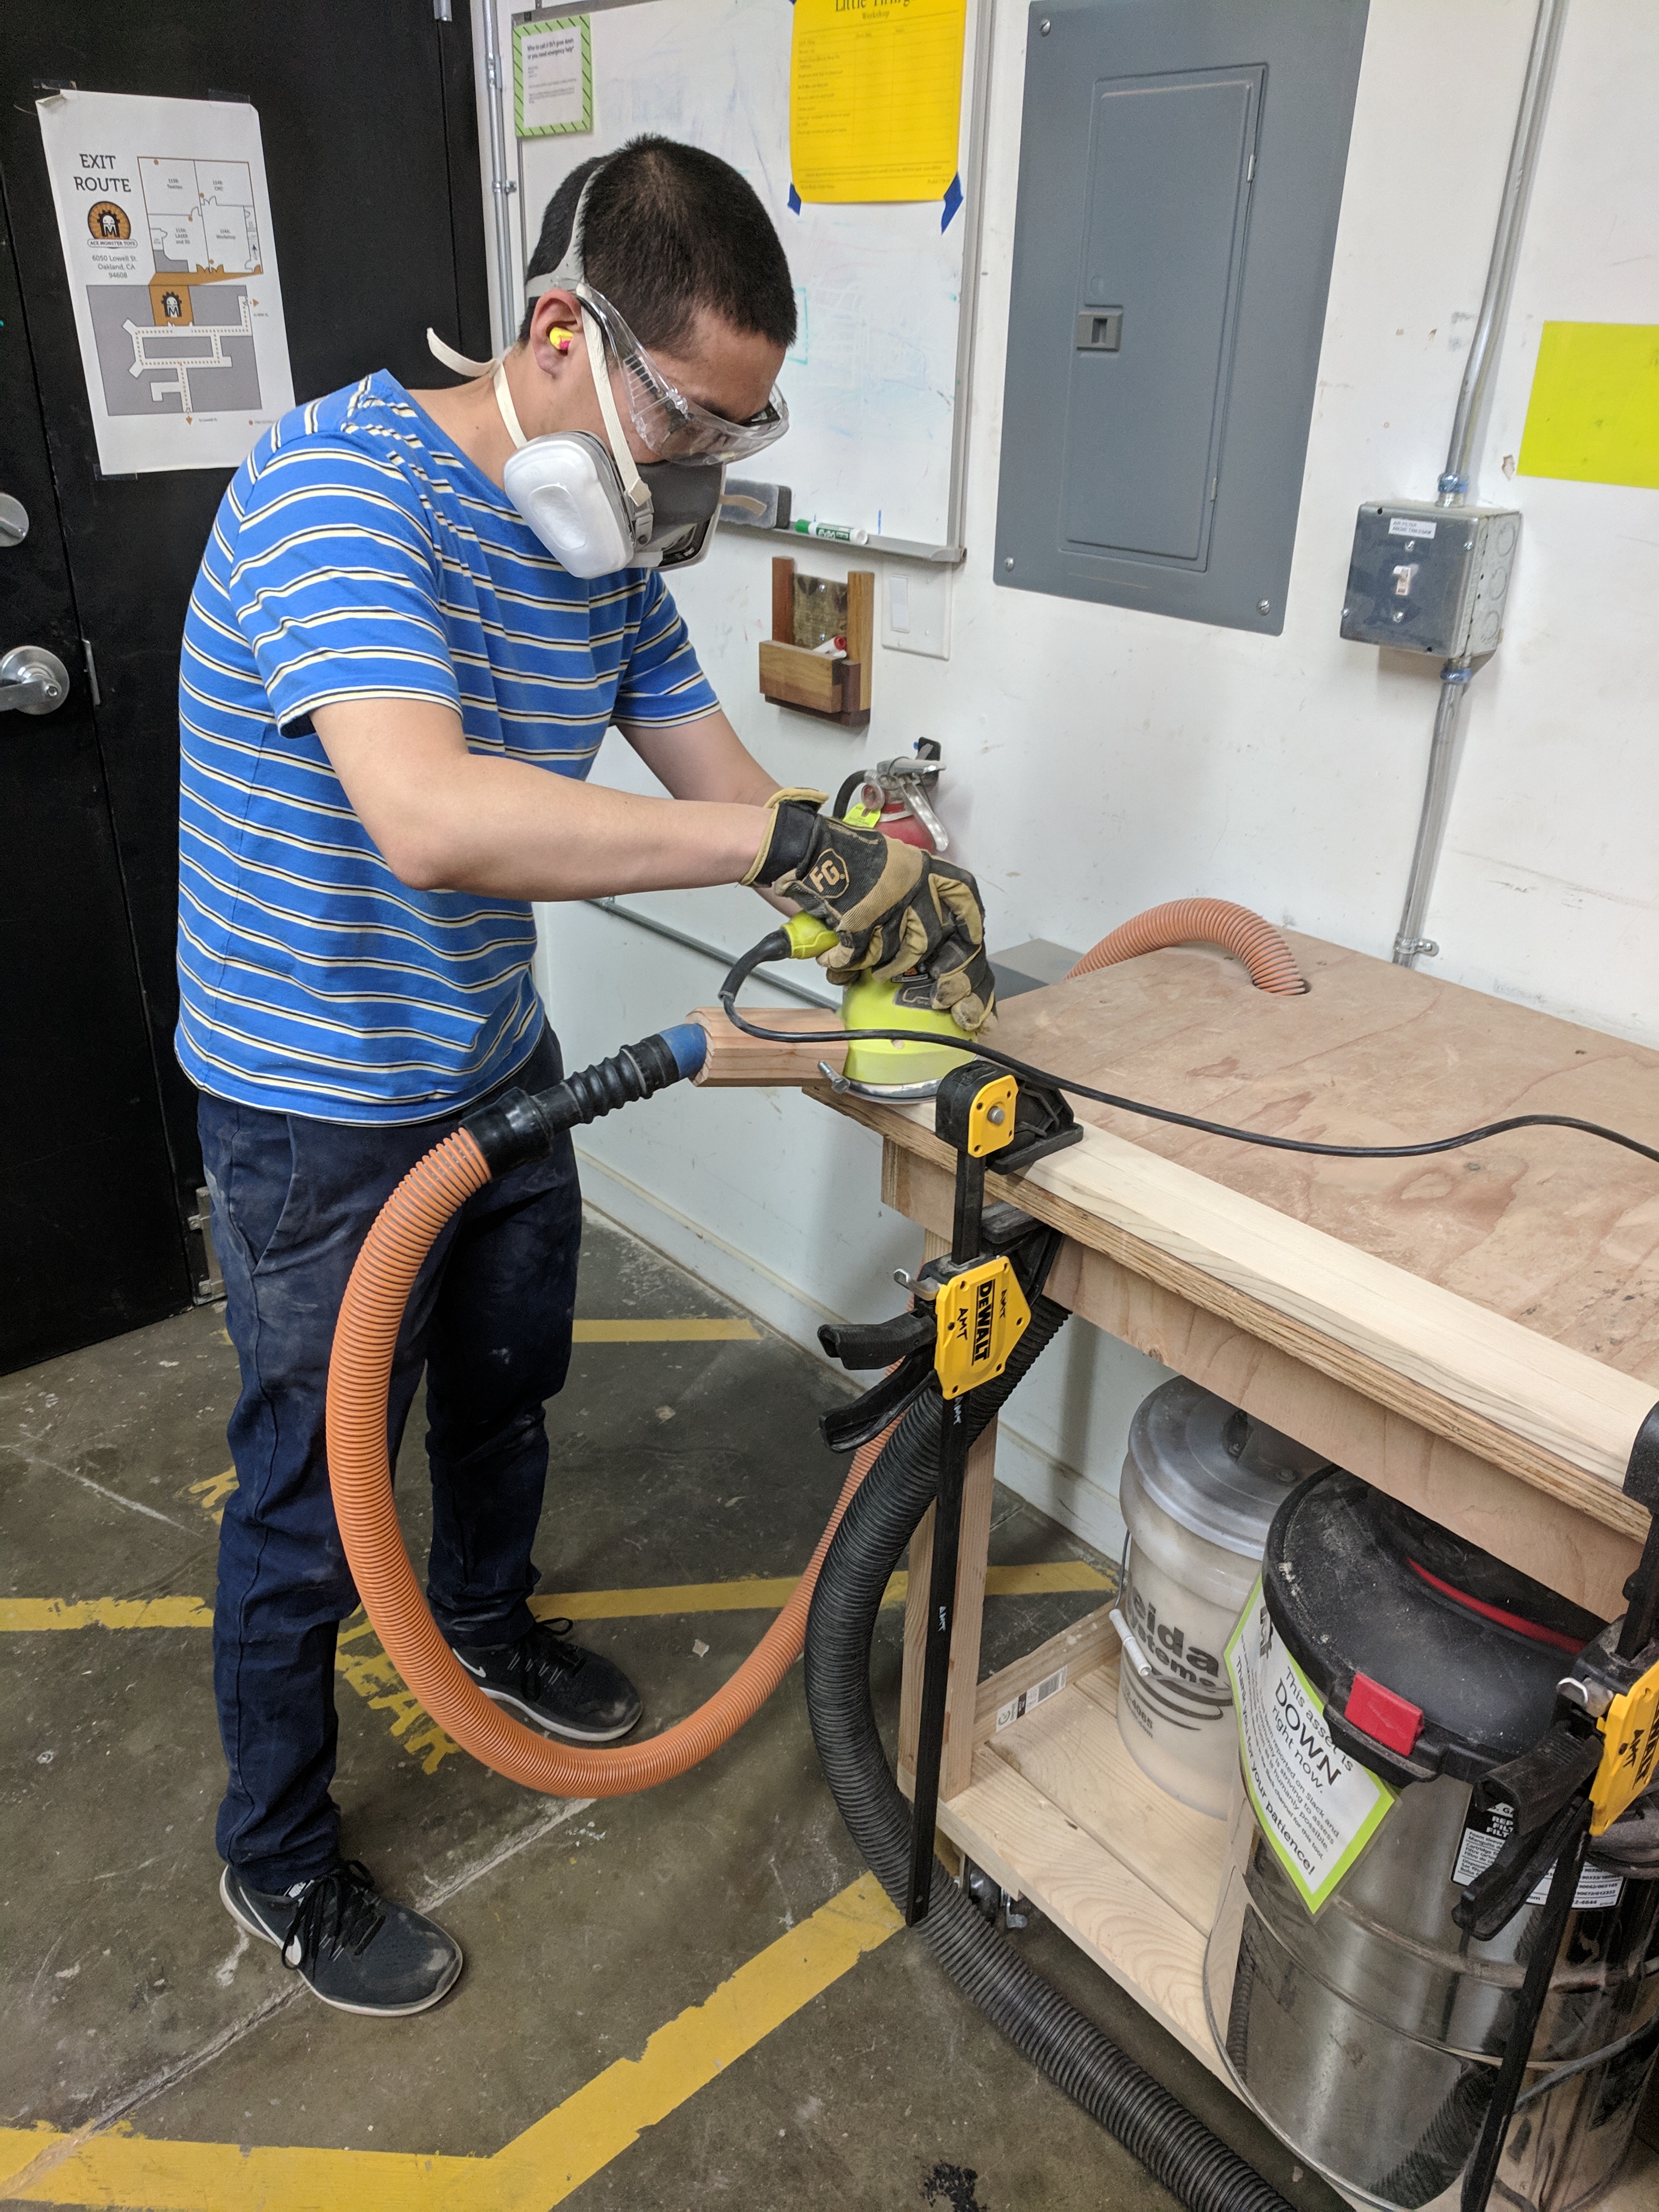
Long says he loves sanding (sarcasm).
After staining, all that was left was applying the stain to the pine 1×2 legs (to more closely match the color of the redwood). In trying to take the minimal approach, we used tack cloth to remove any dust particles from the wood. I chose a simple oil-based stain, and decided not to finish with poly or sealant (which is usually recommended to protect from the elements).
The wood took the stain tremendously well, and only required one coat. I’m not 100% sure, but I’m guessing sanding helps open up the wood and make it easier for the stain to penetrate and persist.
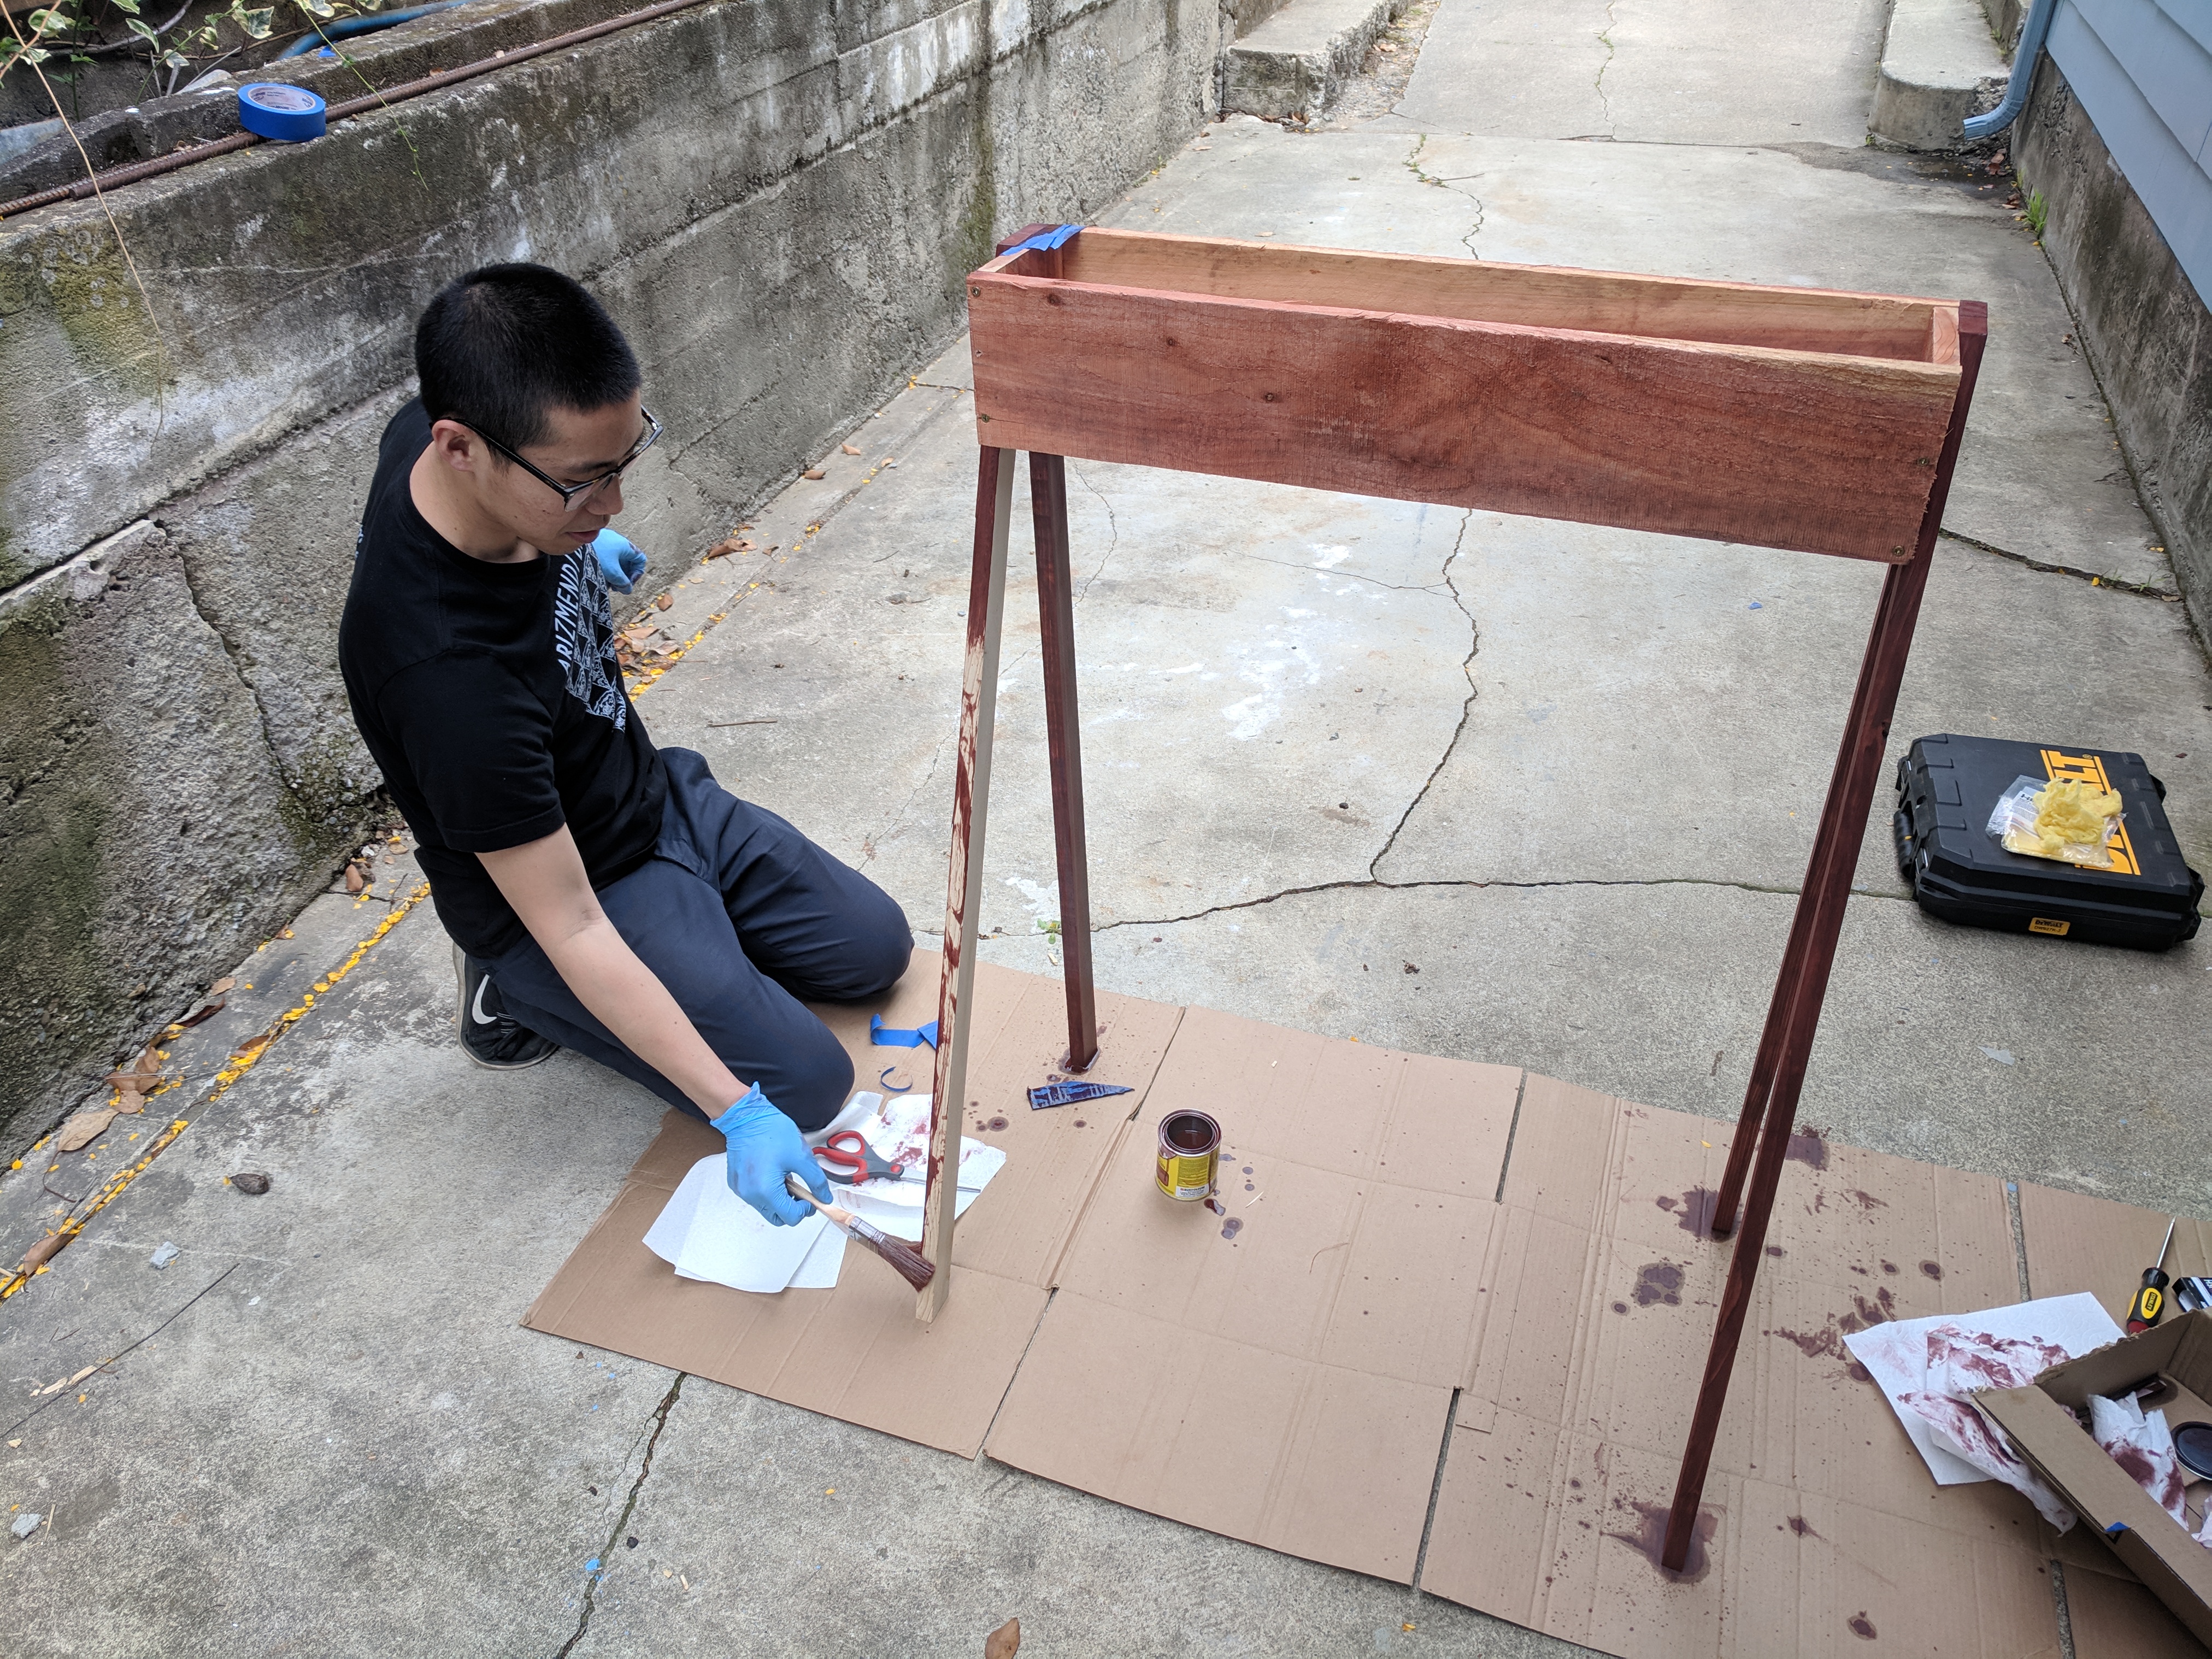
Dude, you missed a spot.
One lesson I learned when attaching the 4 legs is that if done all at once, the piece may not sit perfectly evenly (ours had quite a wobble!). Next time I will attach 3 of the legs, stand up the piece, and adjust the angle of the 4th leg so that the piece sits stably prior to fastening the last leg.
The project was a success! We’ve now got a place to plant a few herbs, lettuce, and other plants that do well in partial shade.
Comments
No responses yet