Redwood Potting Table
Published
Background
I found myself with extra time during the COVID-19 shelter-in-place order. I had been attending a introductory construction class at a local community college and felt like building something.
As part of the class, I had gotten more comfortable with circular saws. I thought it might be nice to incorporate some angled cuts, as well as some new joints (e.g. lap joints) in a project.
My girlfriend said she could use a table/bench for the back balcony, something we could put potted plants on. The project was born.
Design and SketchUp
We had touched on SketchUp Make 2017, a free 3d-modeling software commonly used for woodworking and home improvement projects. I found a few good YouTube tutorials and set out to sketch up the table we were envisioning.


Tools
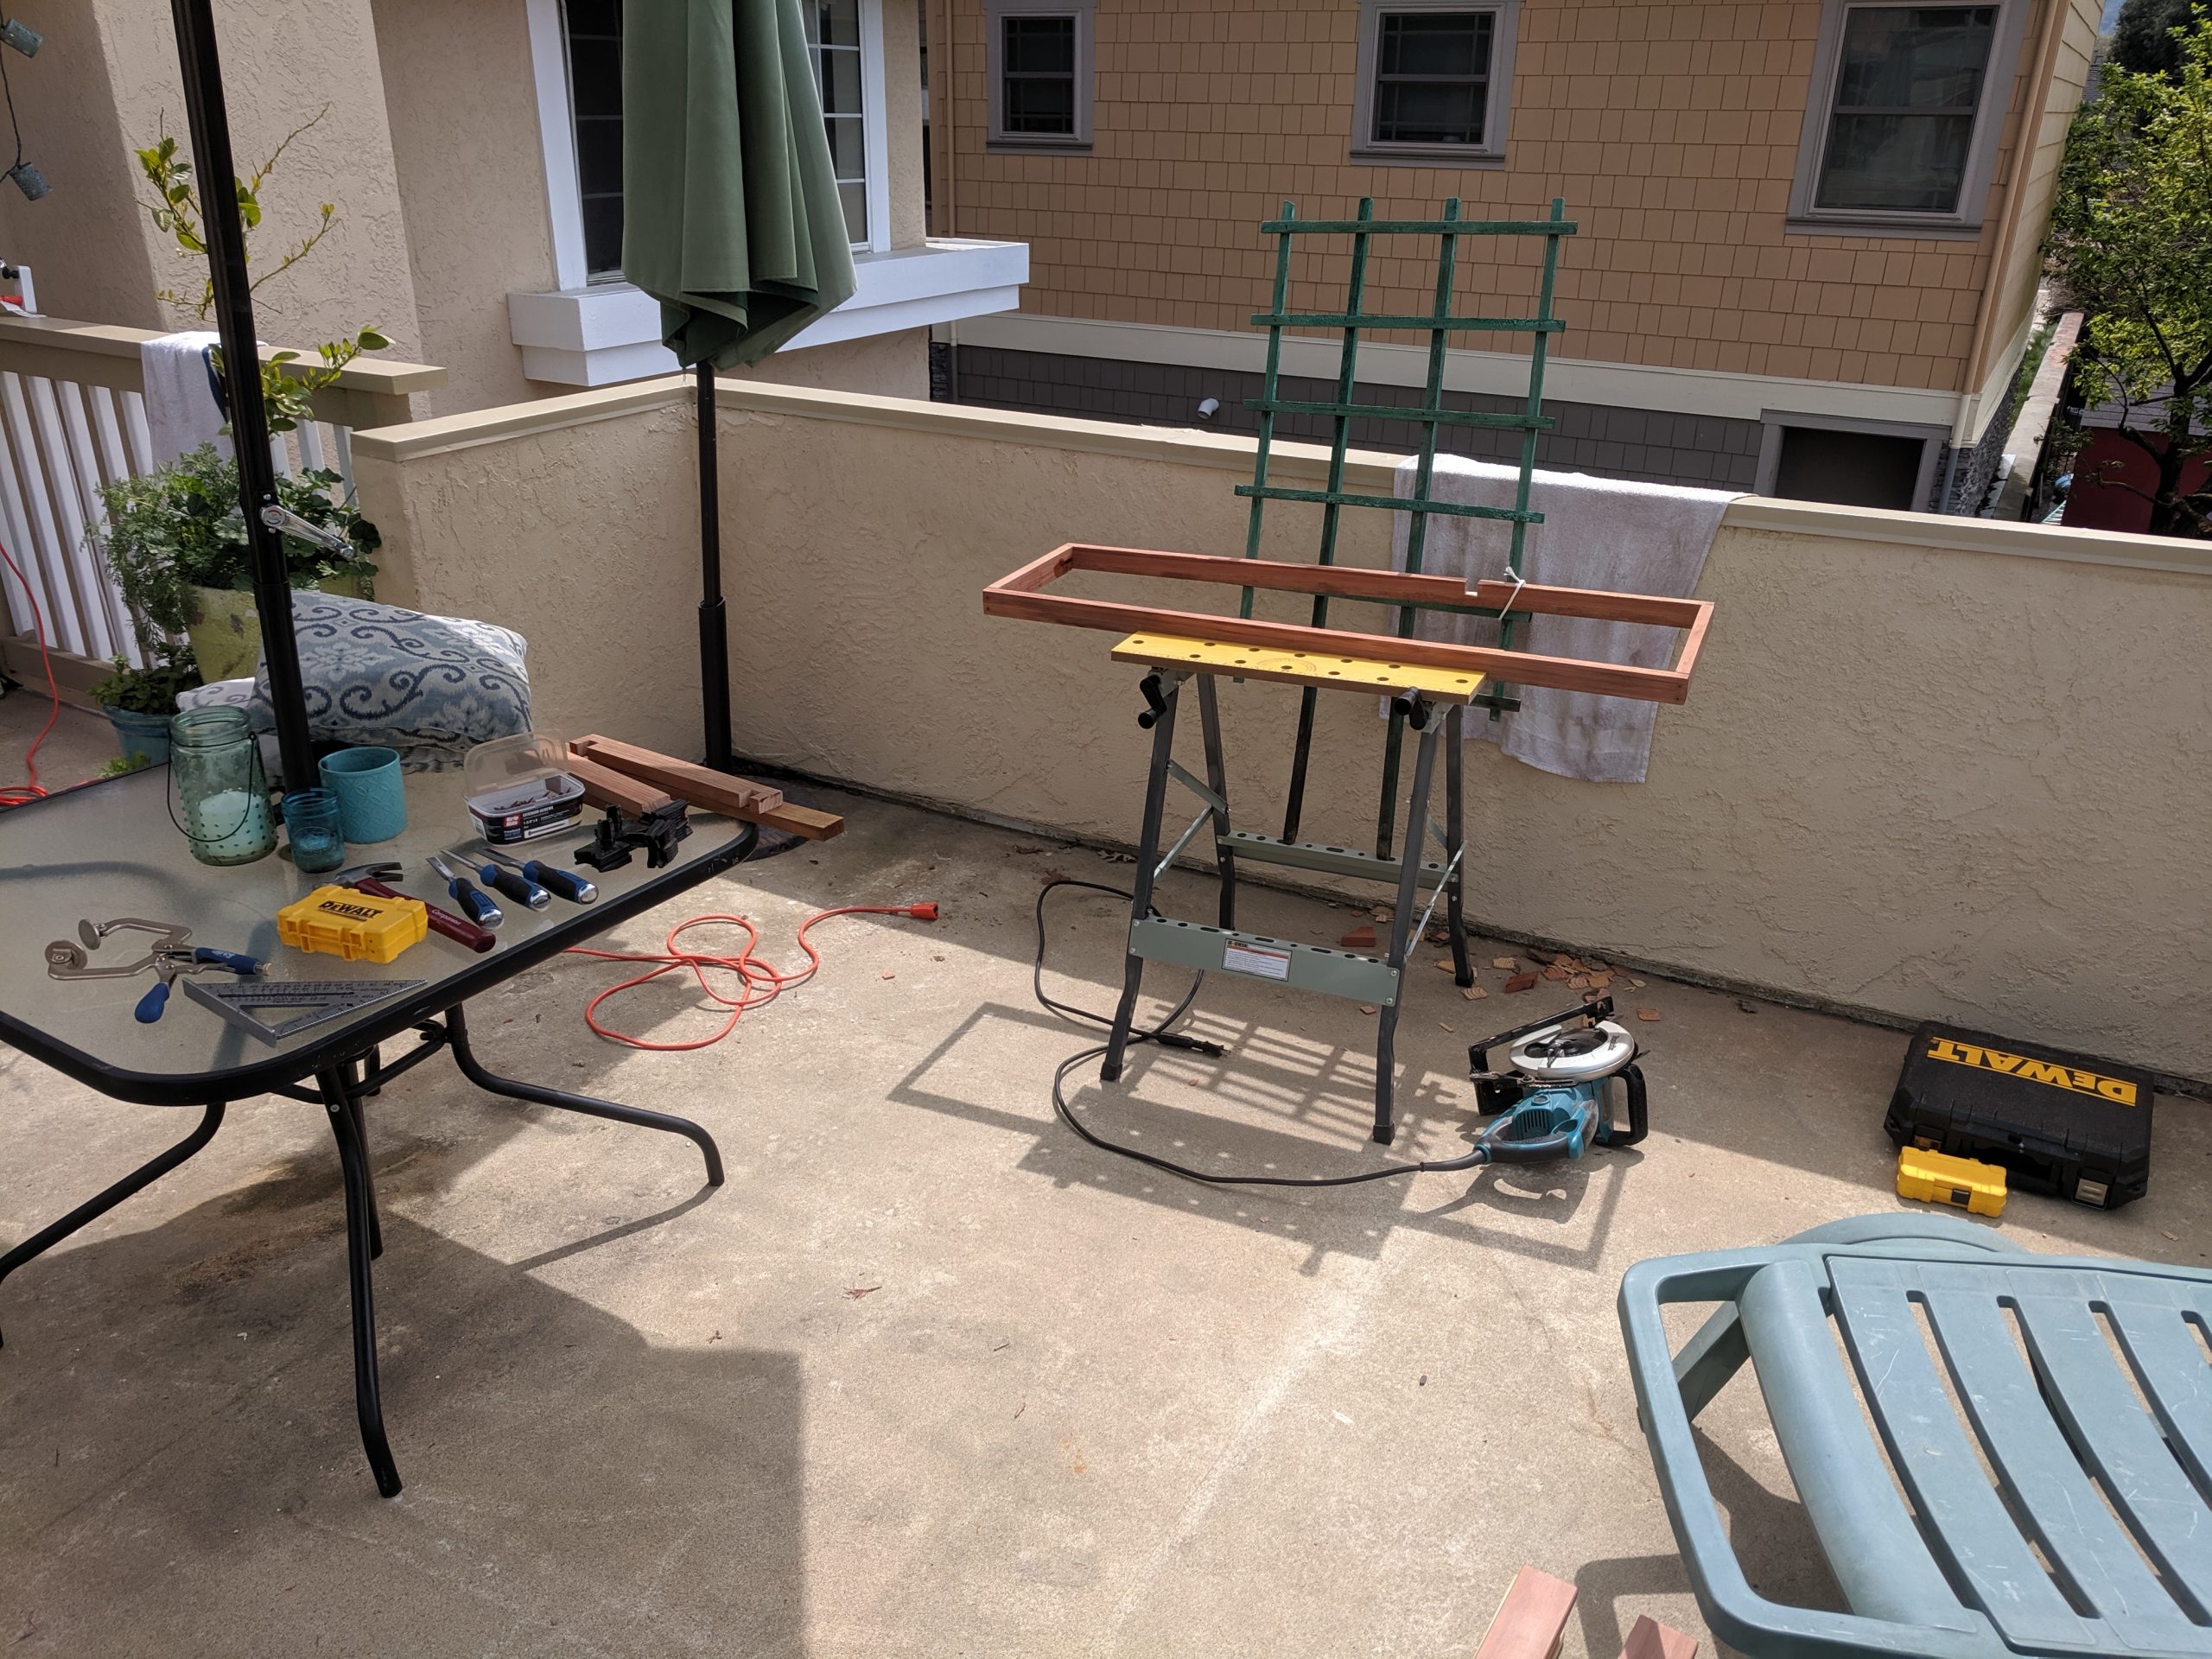
I picked up a few new tools for this project, including a circular saw, a (cheap) workbench, and some wood chisels. These were largely used for cutting and smoothing out lap joints.
I also used a drill to pre-drilling and placed screws. Fortunately I had the drill and bits already.
Wood
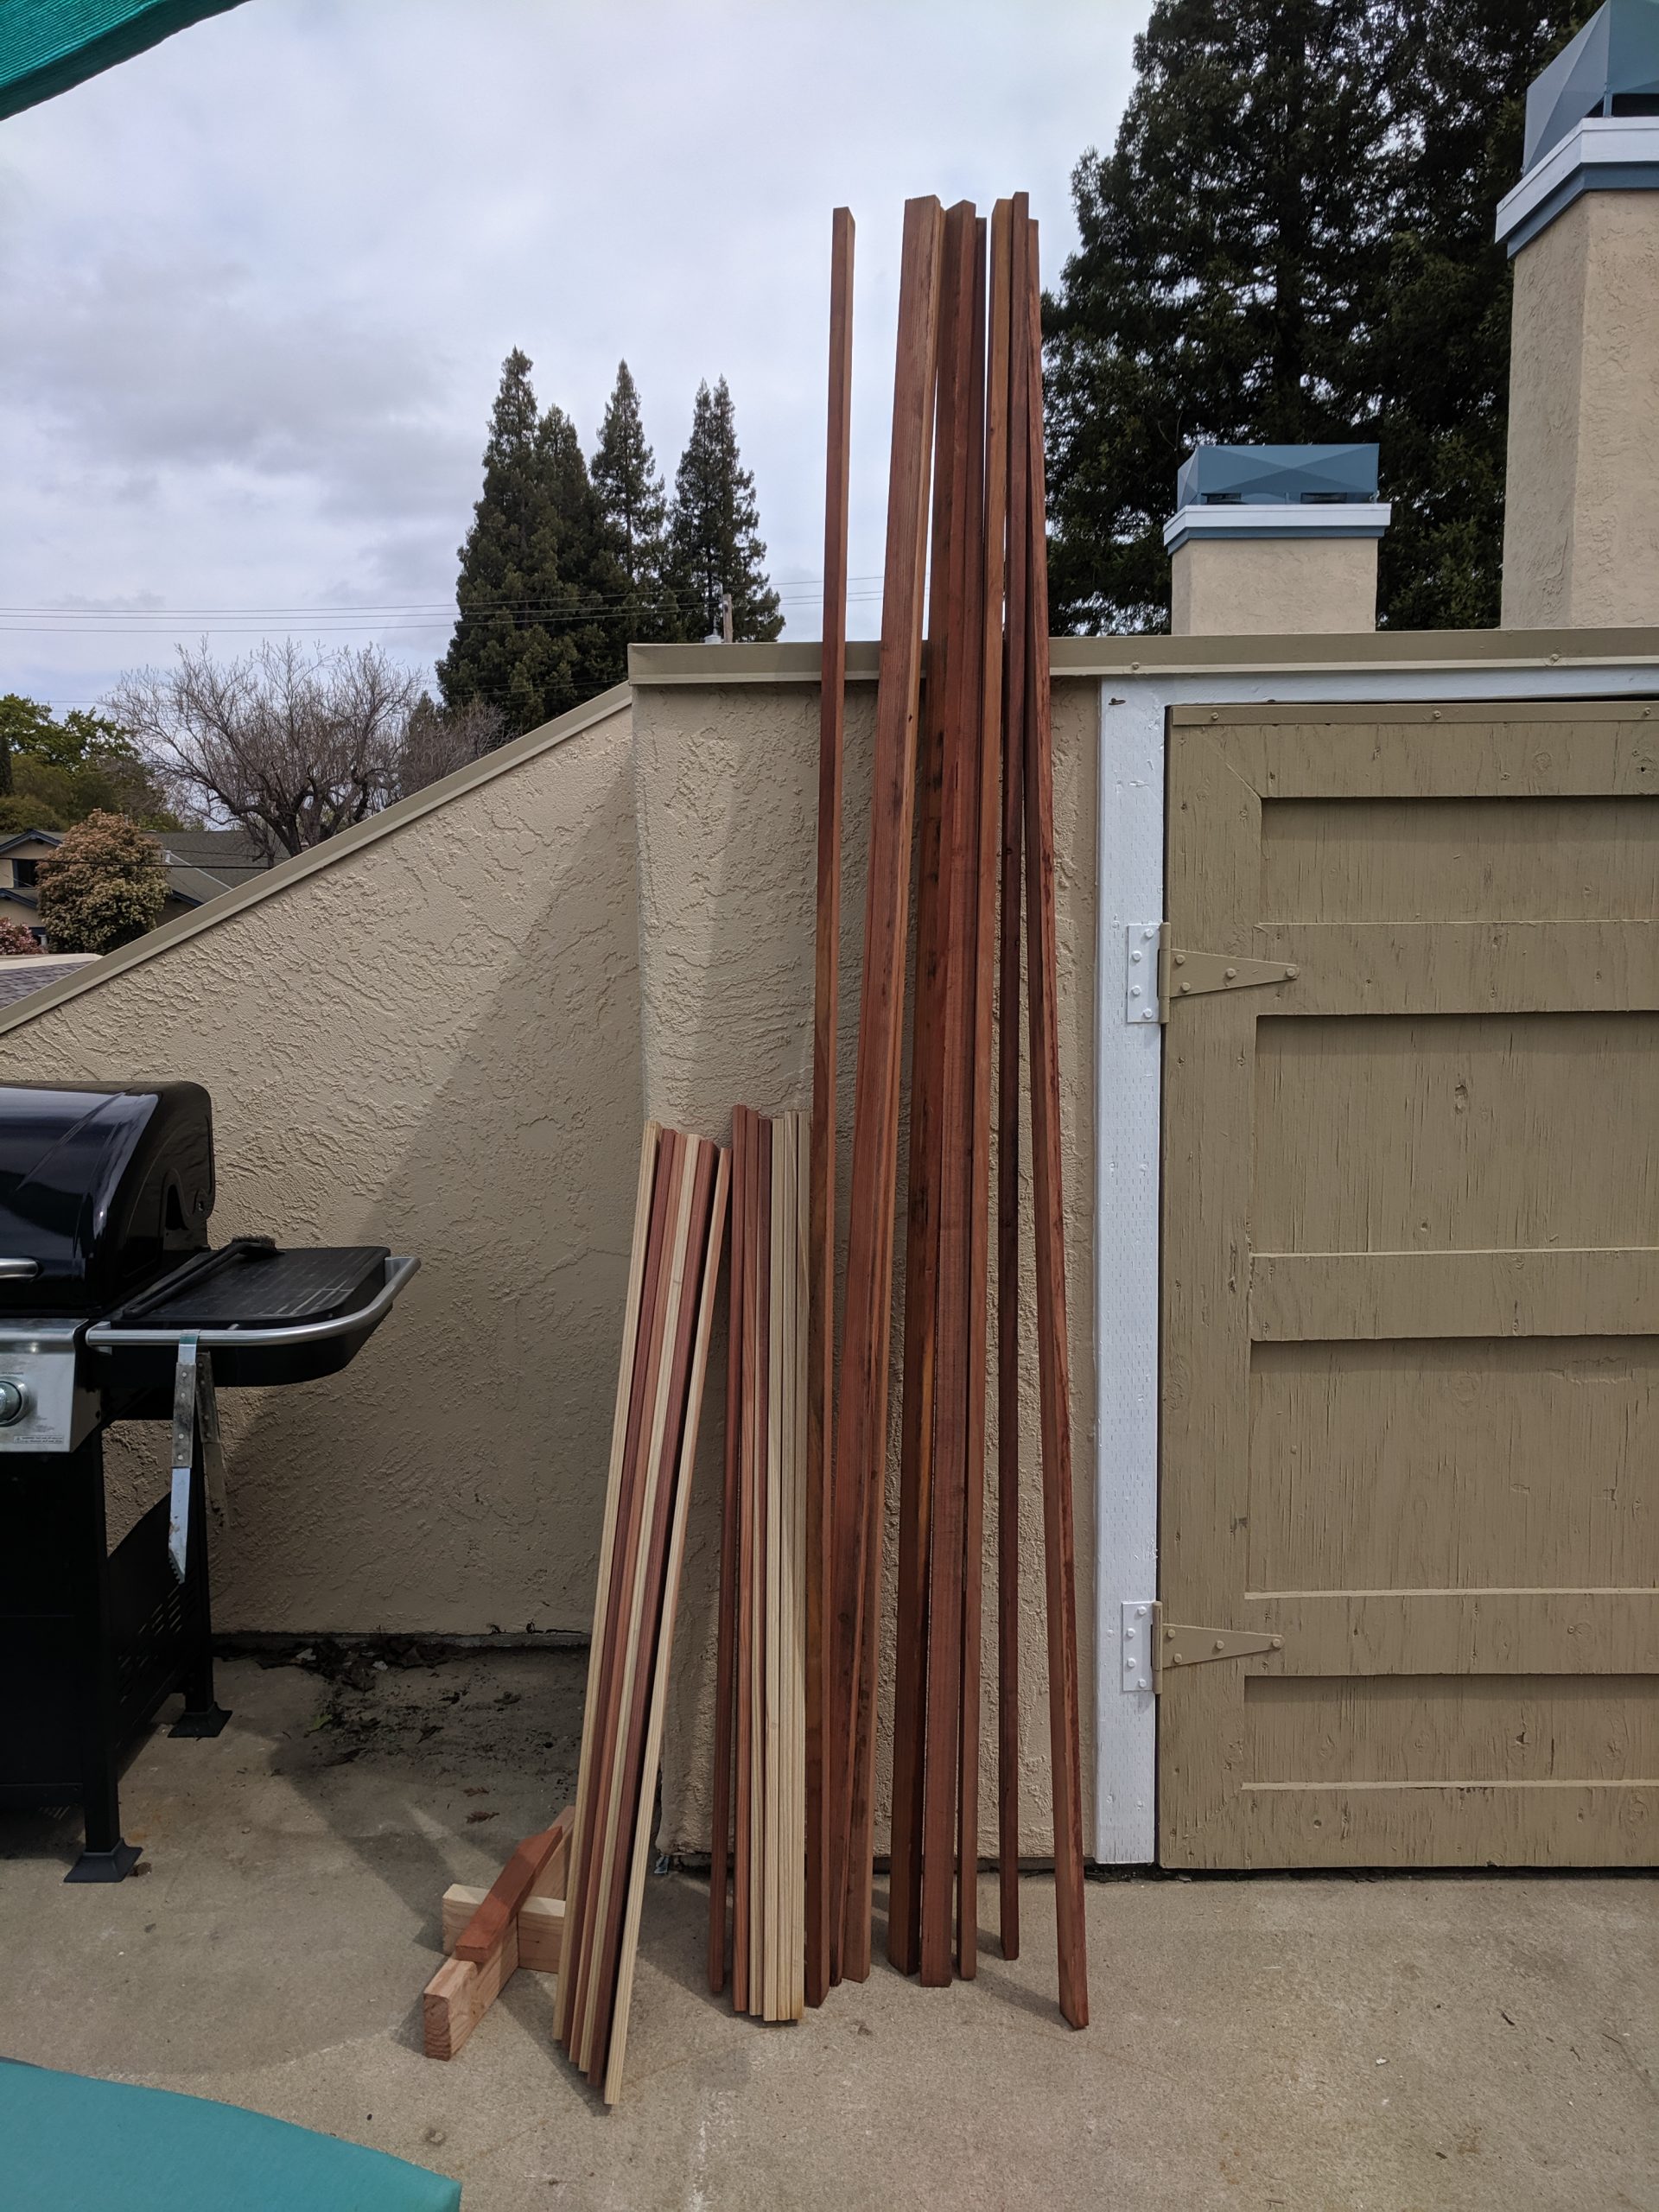
I used redwood for the table since it was going to be placed outdoors. The project required:
- 6 – 1x3x8 redwood boards
- 6 – 1x2x8 redwood boards
The total cost of the wood was around $130 dollars, with the majority being spent on the 1×3 boards. I learned the hard way that 1×3 is not a common size, and usually used indoors.
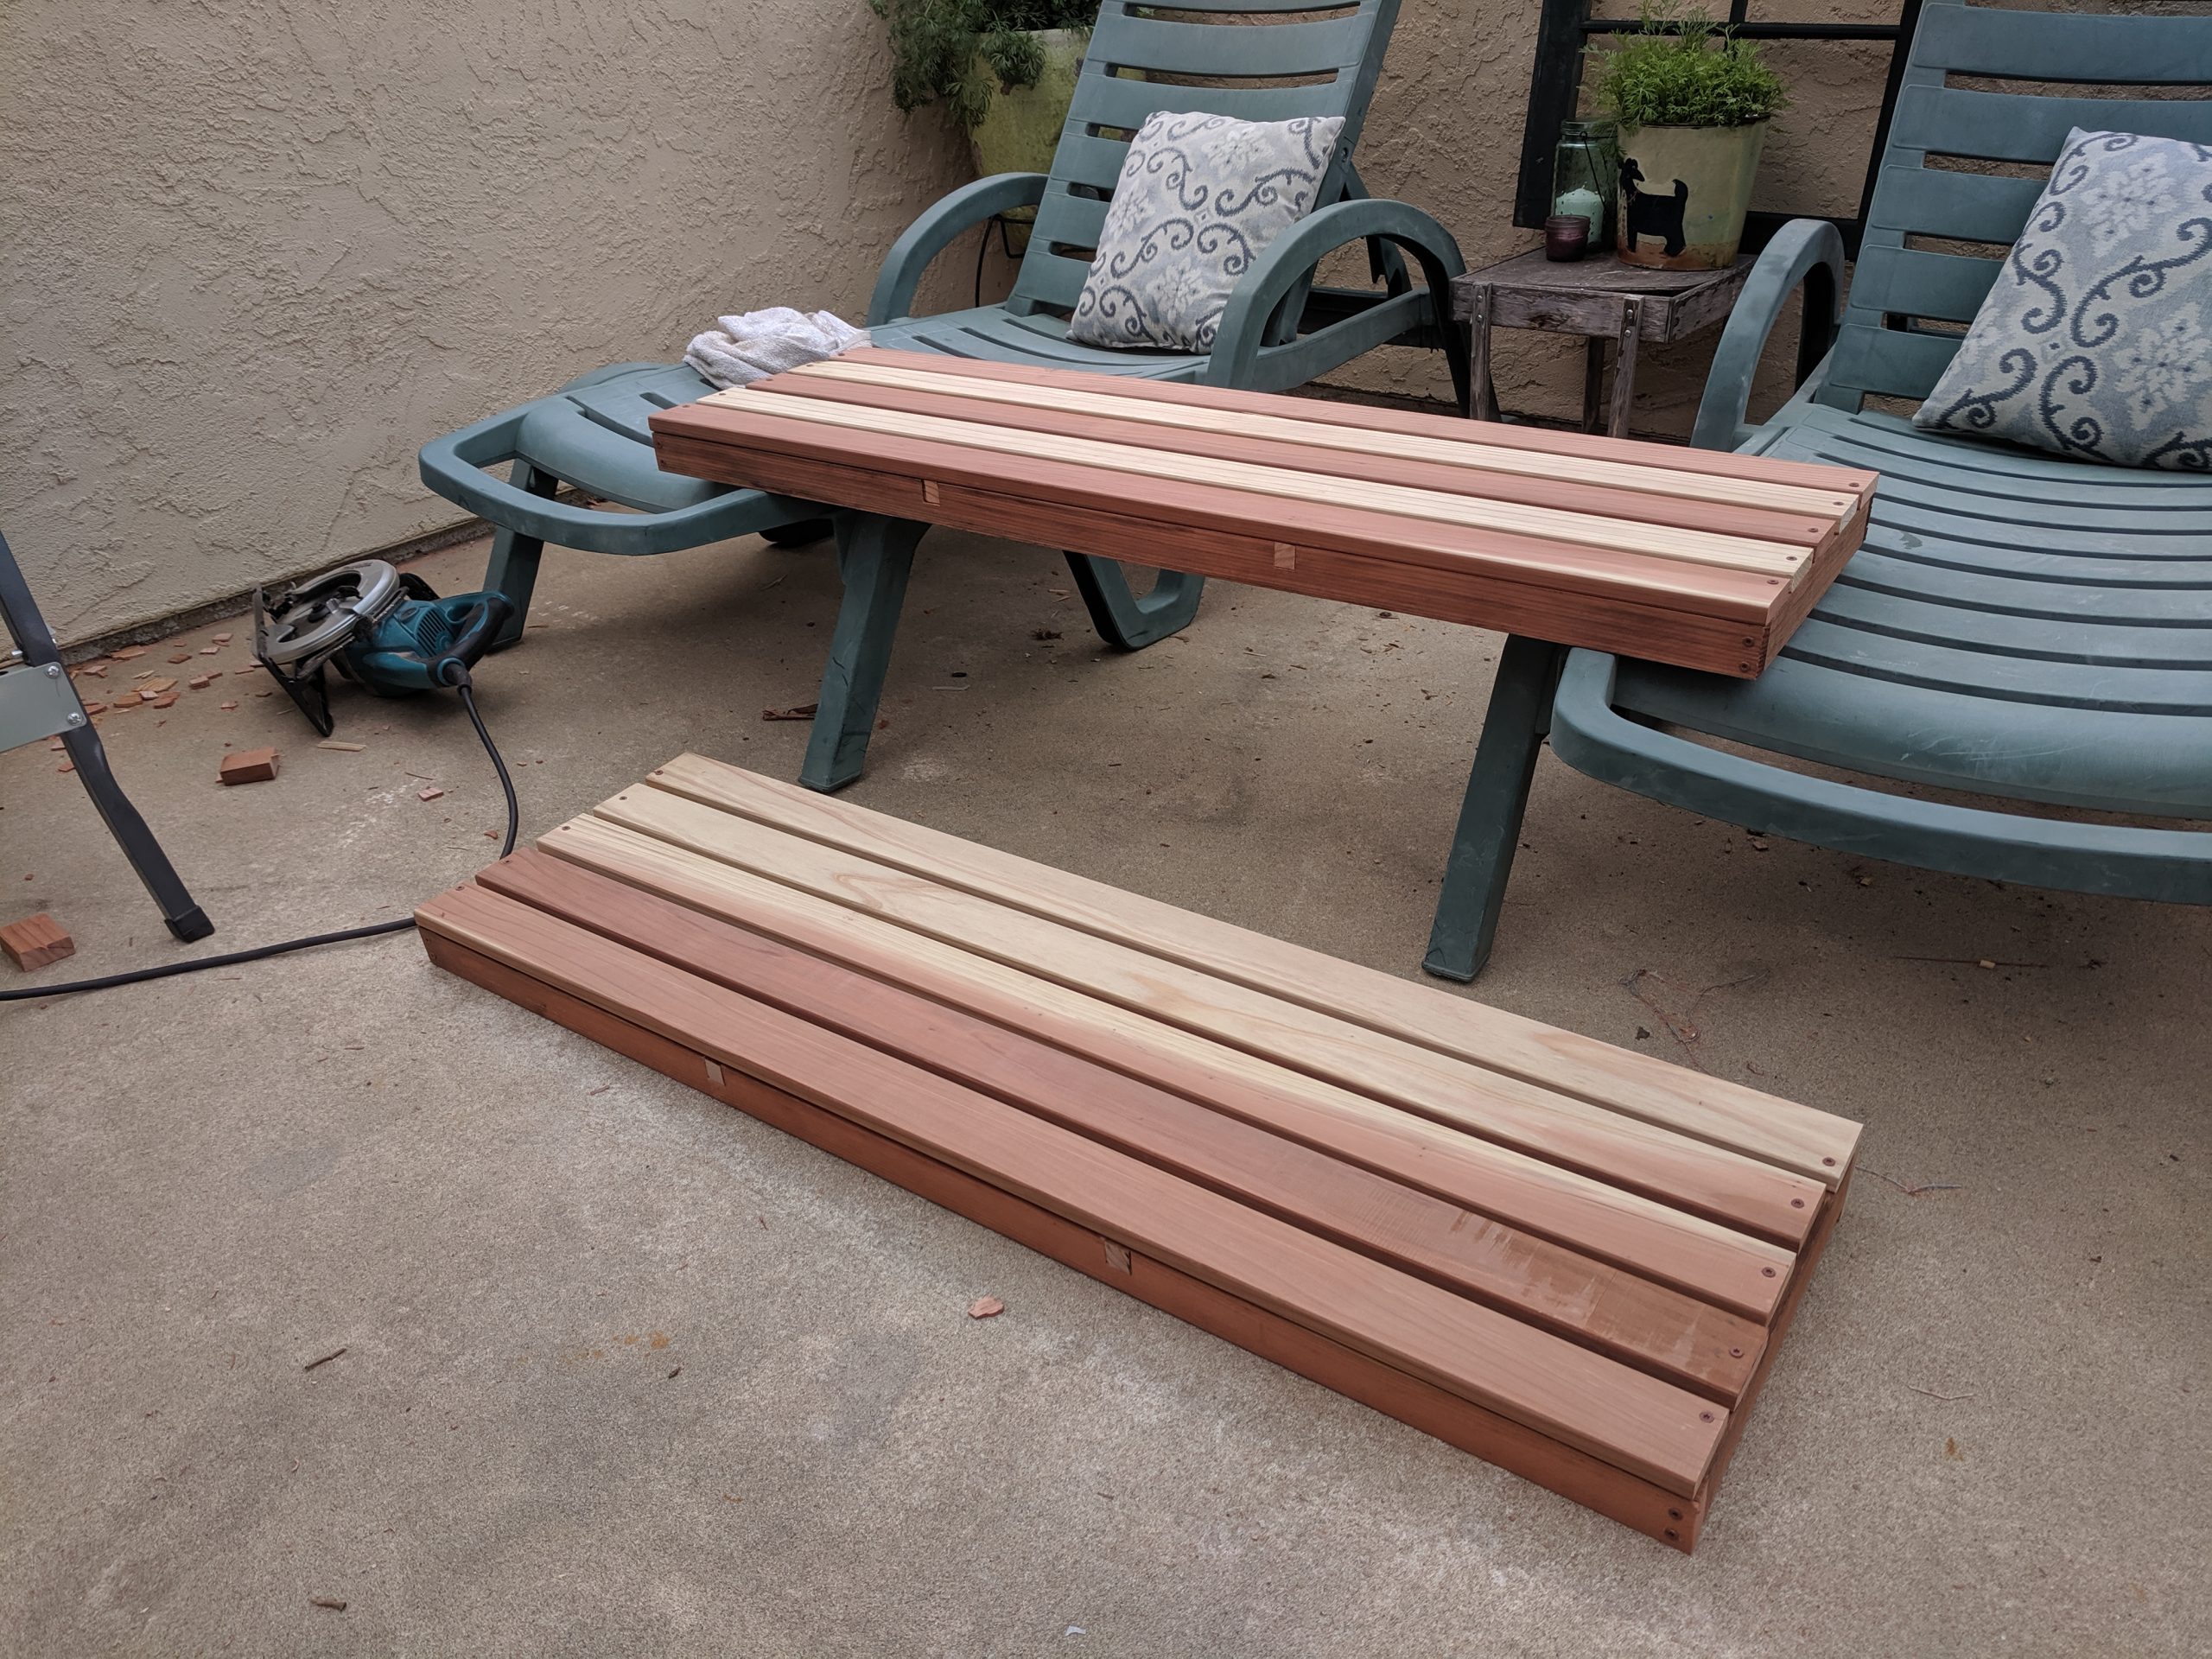
Day One: Top Brace
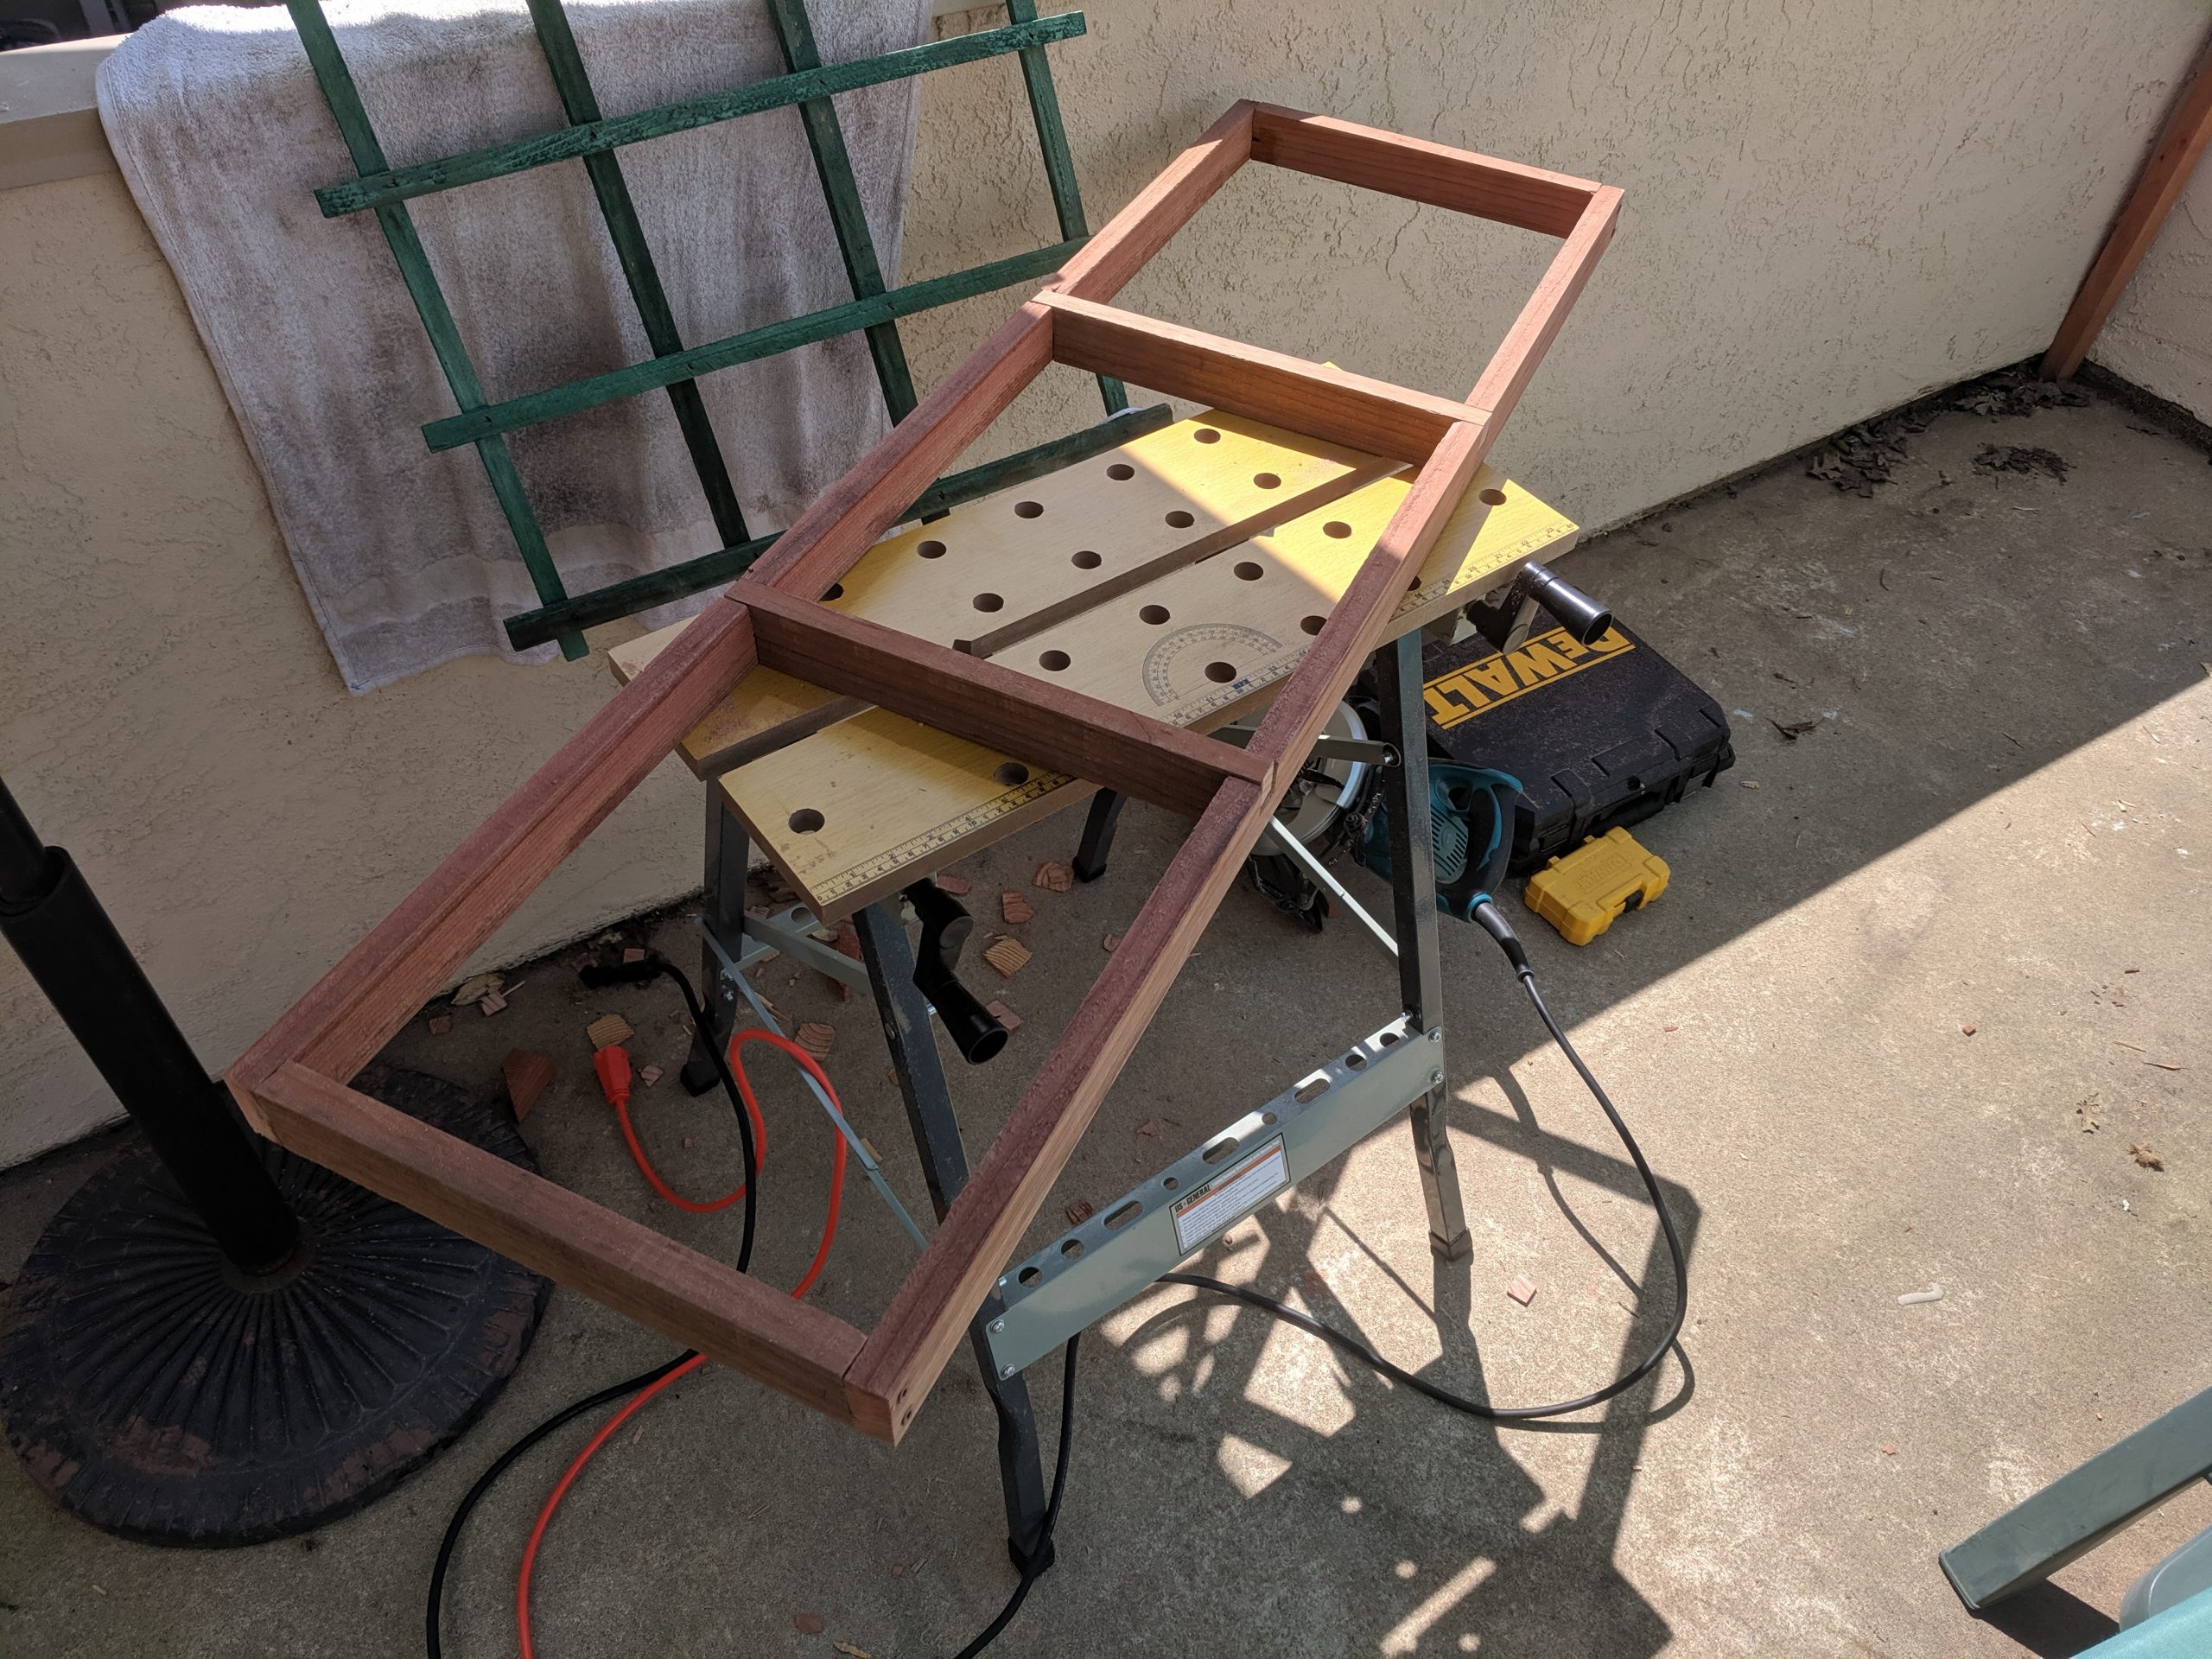
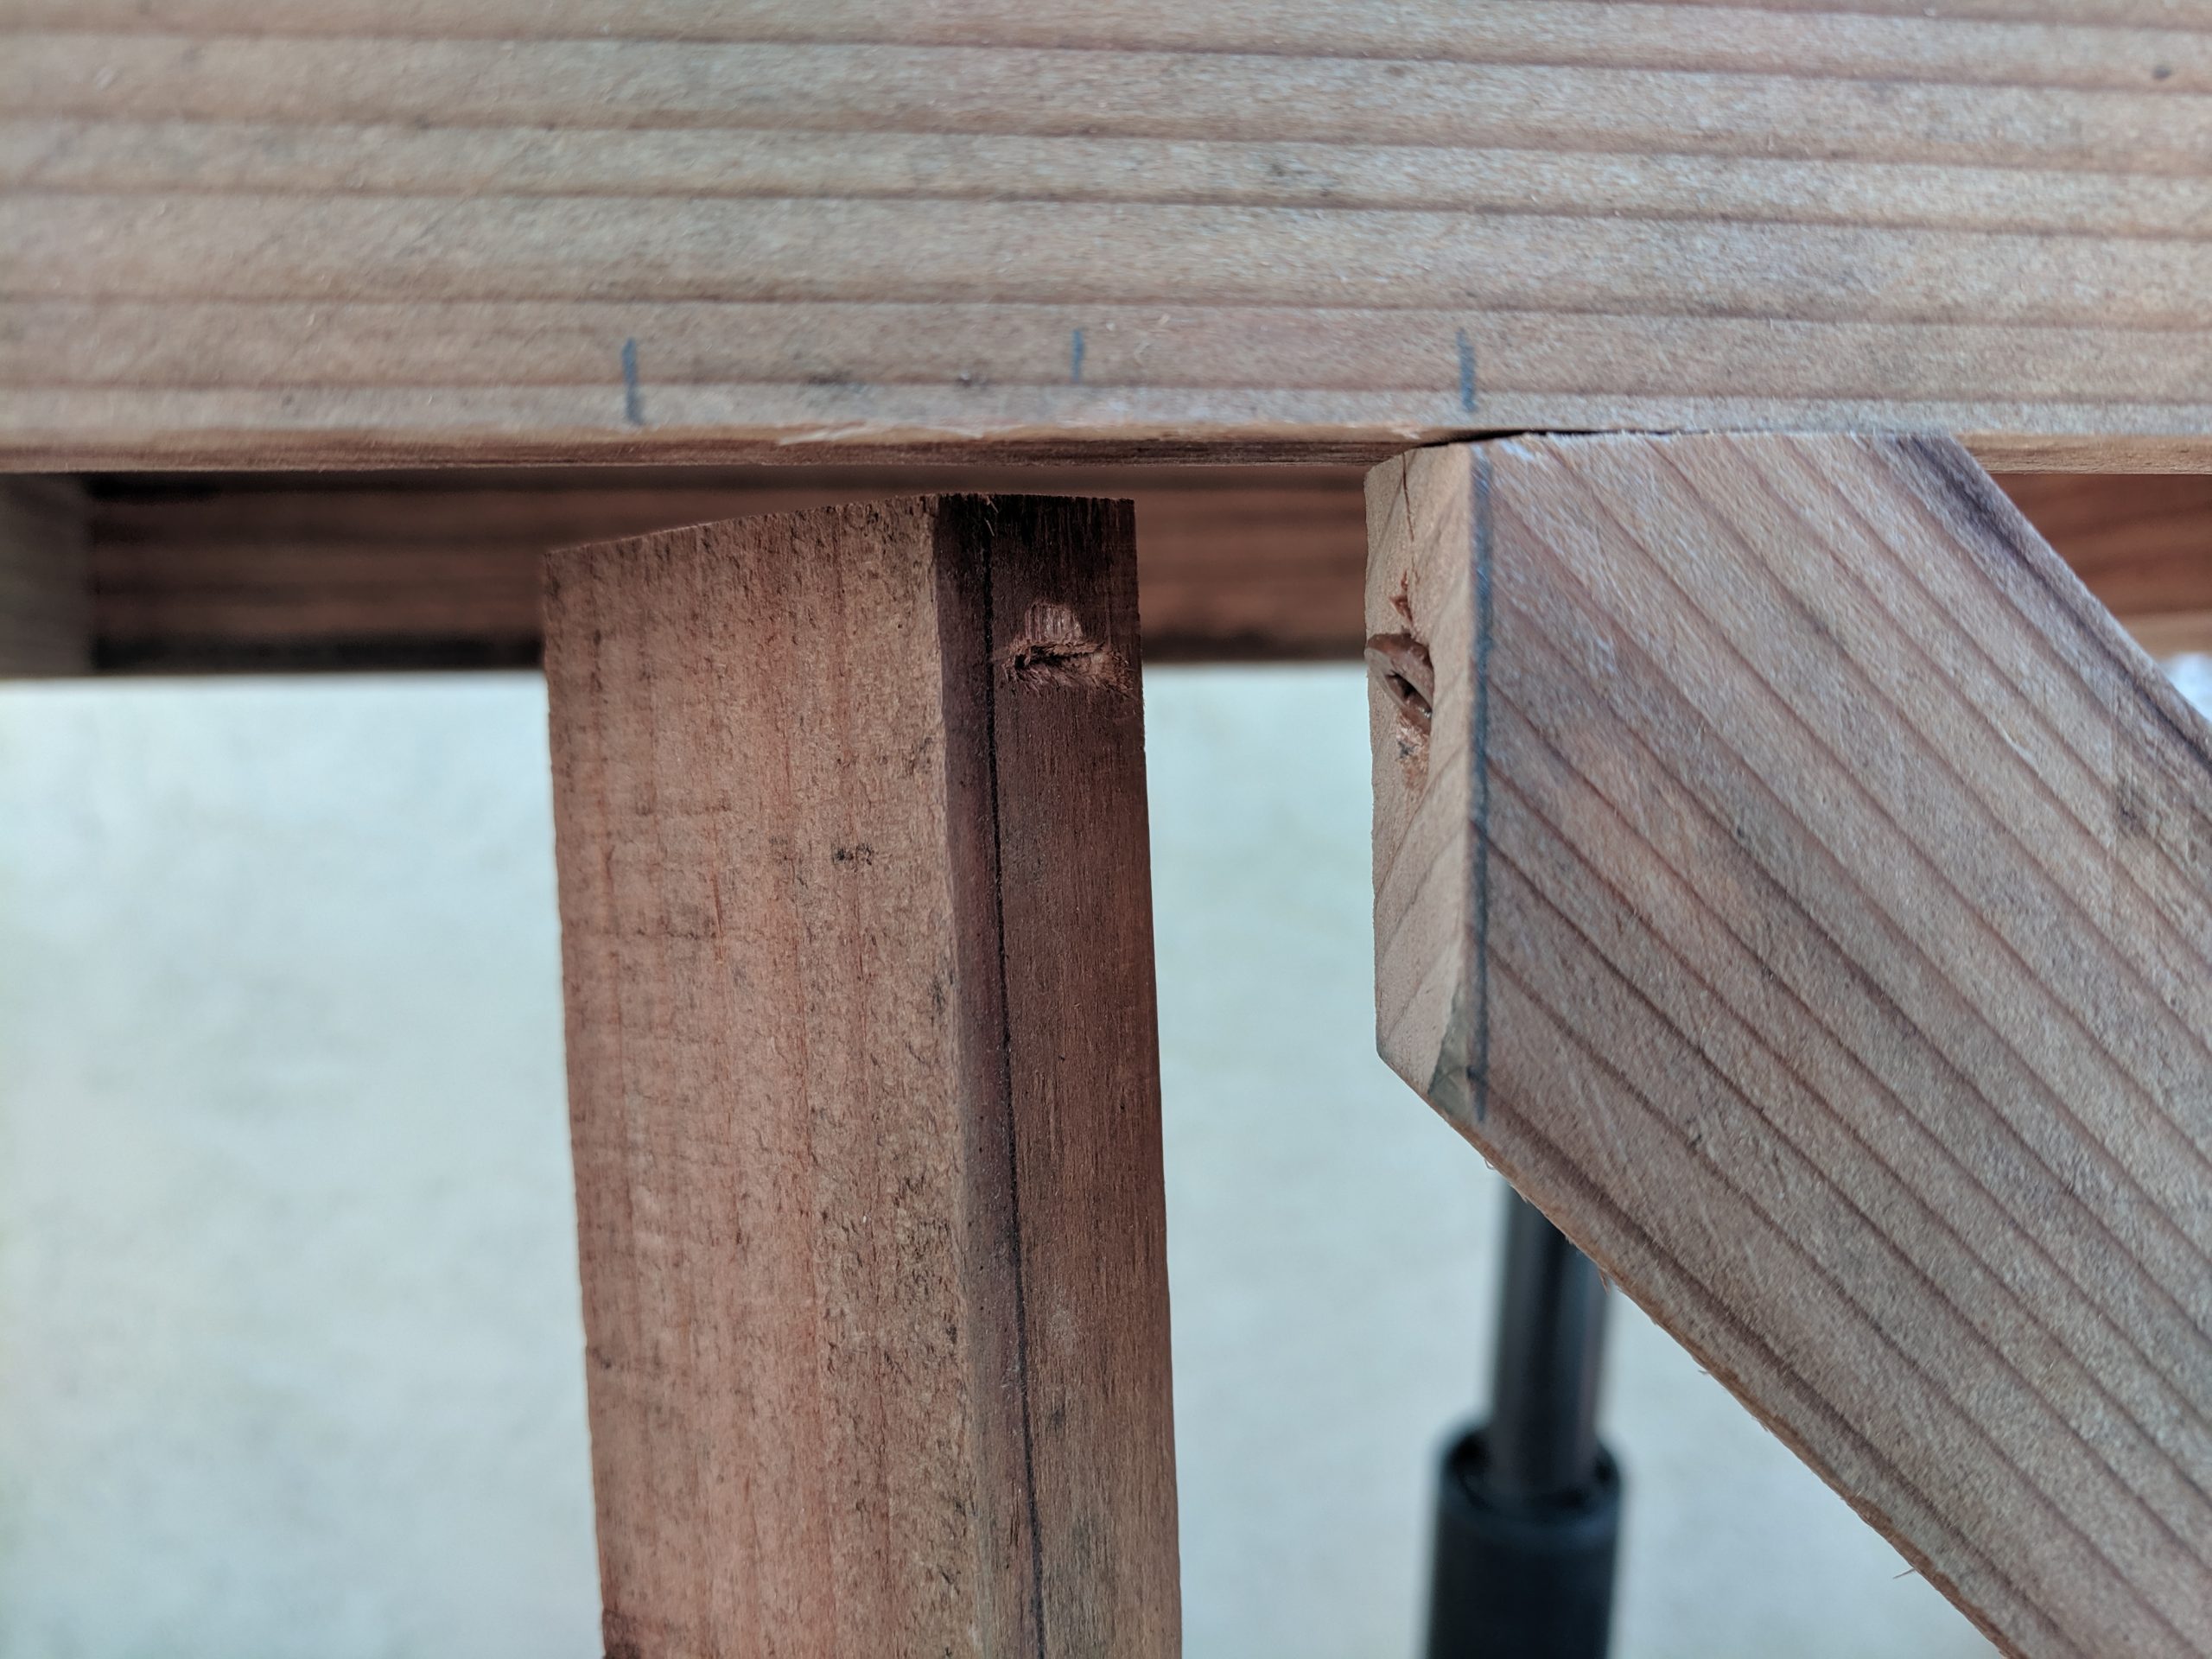
My first day was spent getting familiar with the circular saw. After a few botched cuts, I finally got the top shelf brace together, including a few lap joints. Some turned out better than others 🙂
Day Two: Bottom Brace and Shelves
I got to work creating a second brace, this time for the bottom shelf. While it was mostly the same, the back side featured a 1×3 board so that it could support more weight (a diagonal support would run from the top brace to the bottom to provide extra support and shear strength).
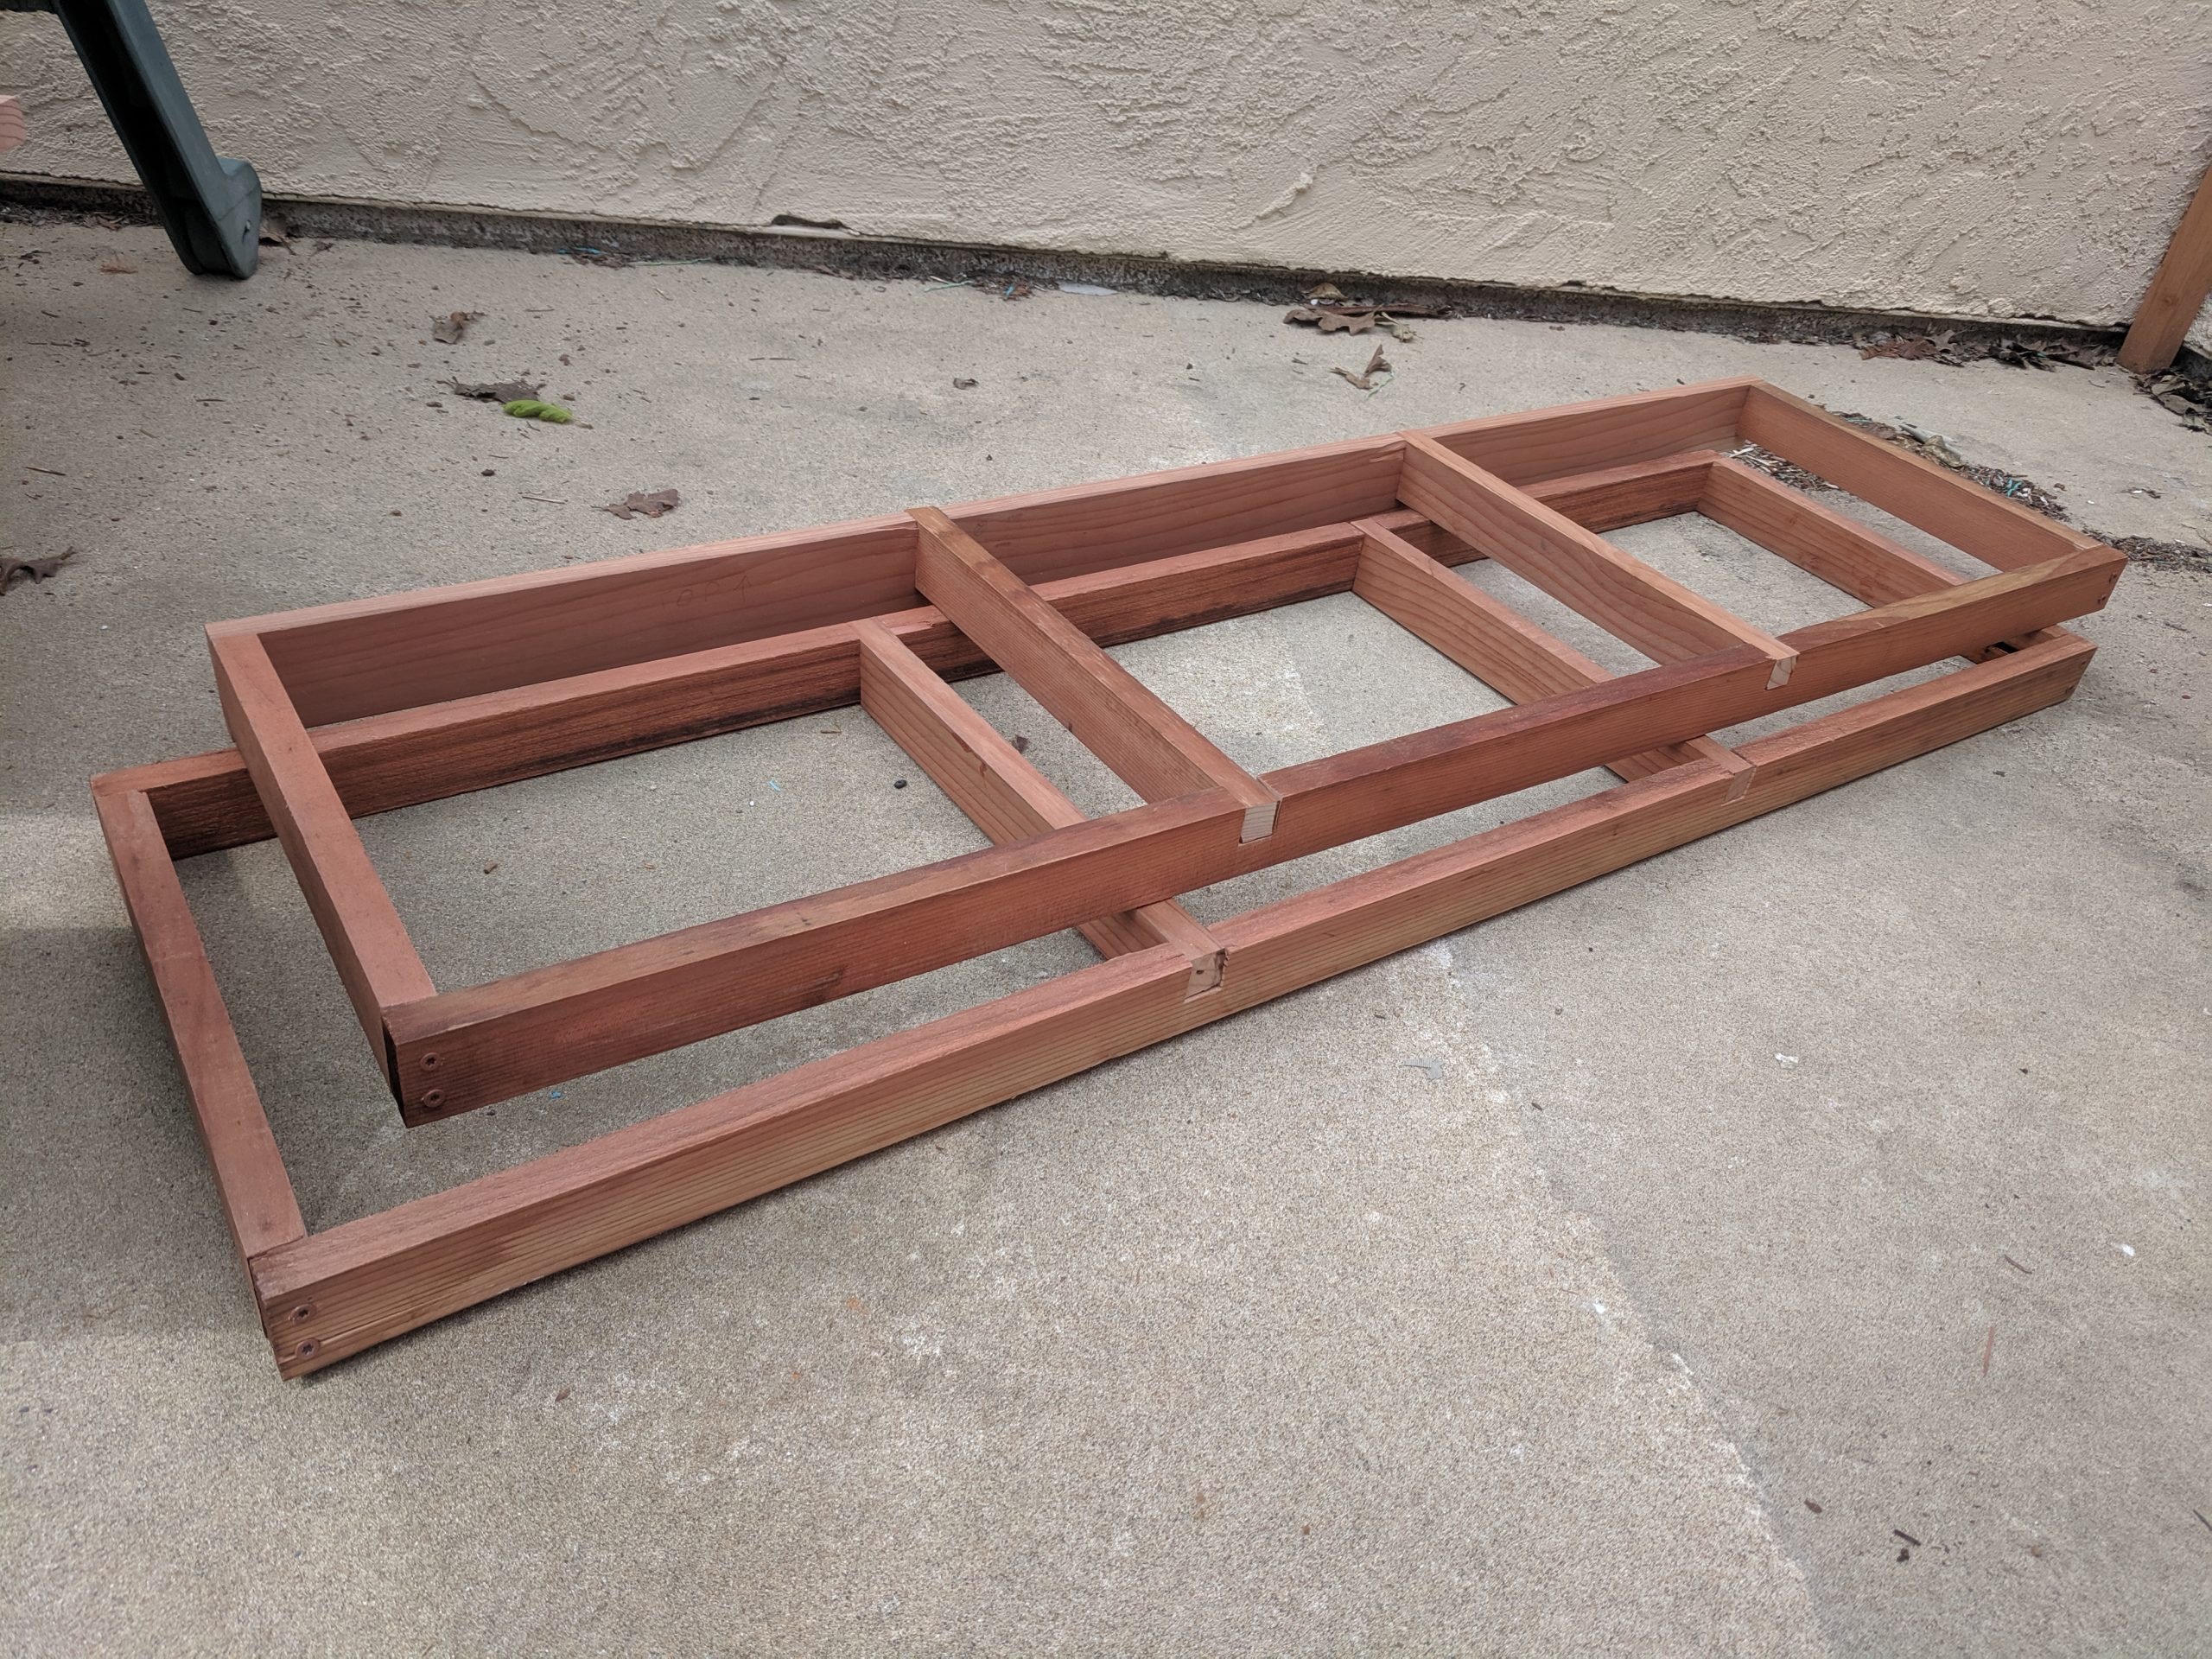
Once the bottom brace was together, I screwed in the the 1×3 shelf boards.
Day Three: Adding the Legs
Day three was short and sweet. I added the legs to the top and bottom shelves. The hardest part was figuring out where to drive the screws, since the corners had screws from two difference directions.
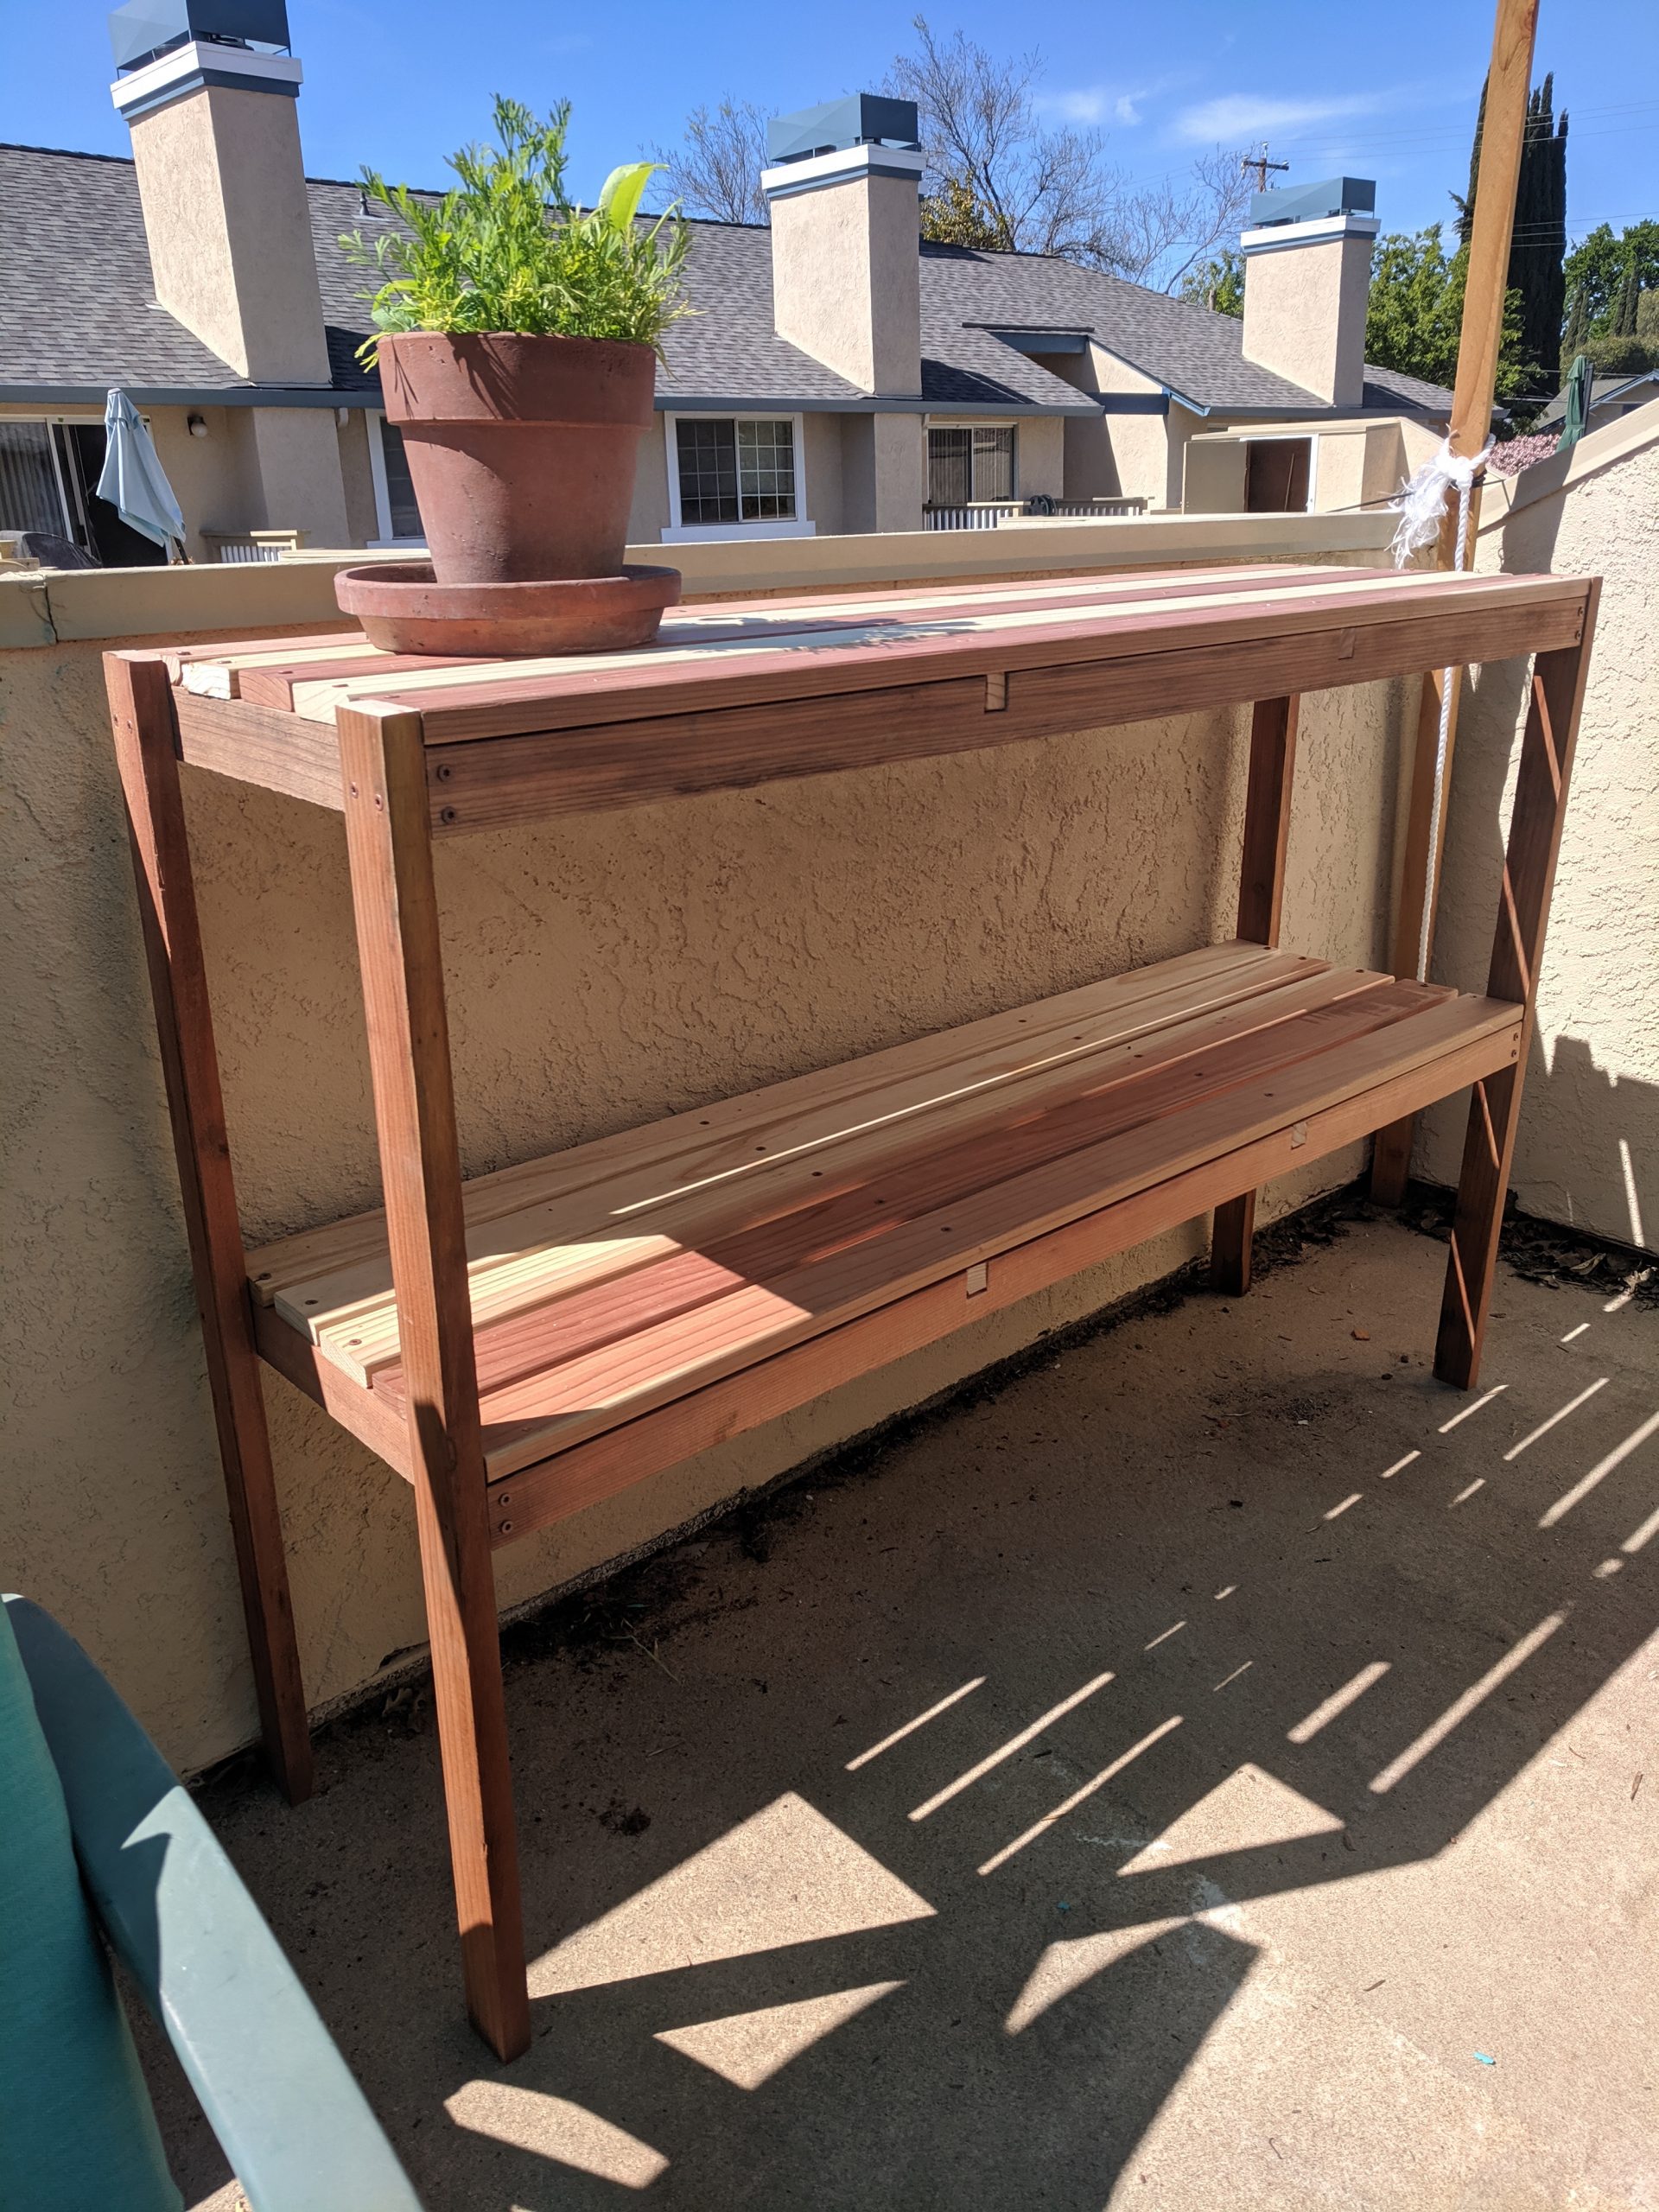
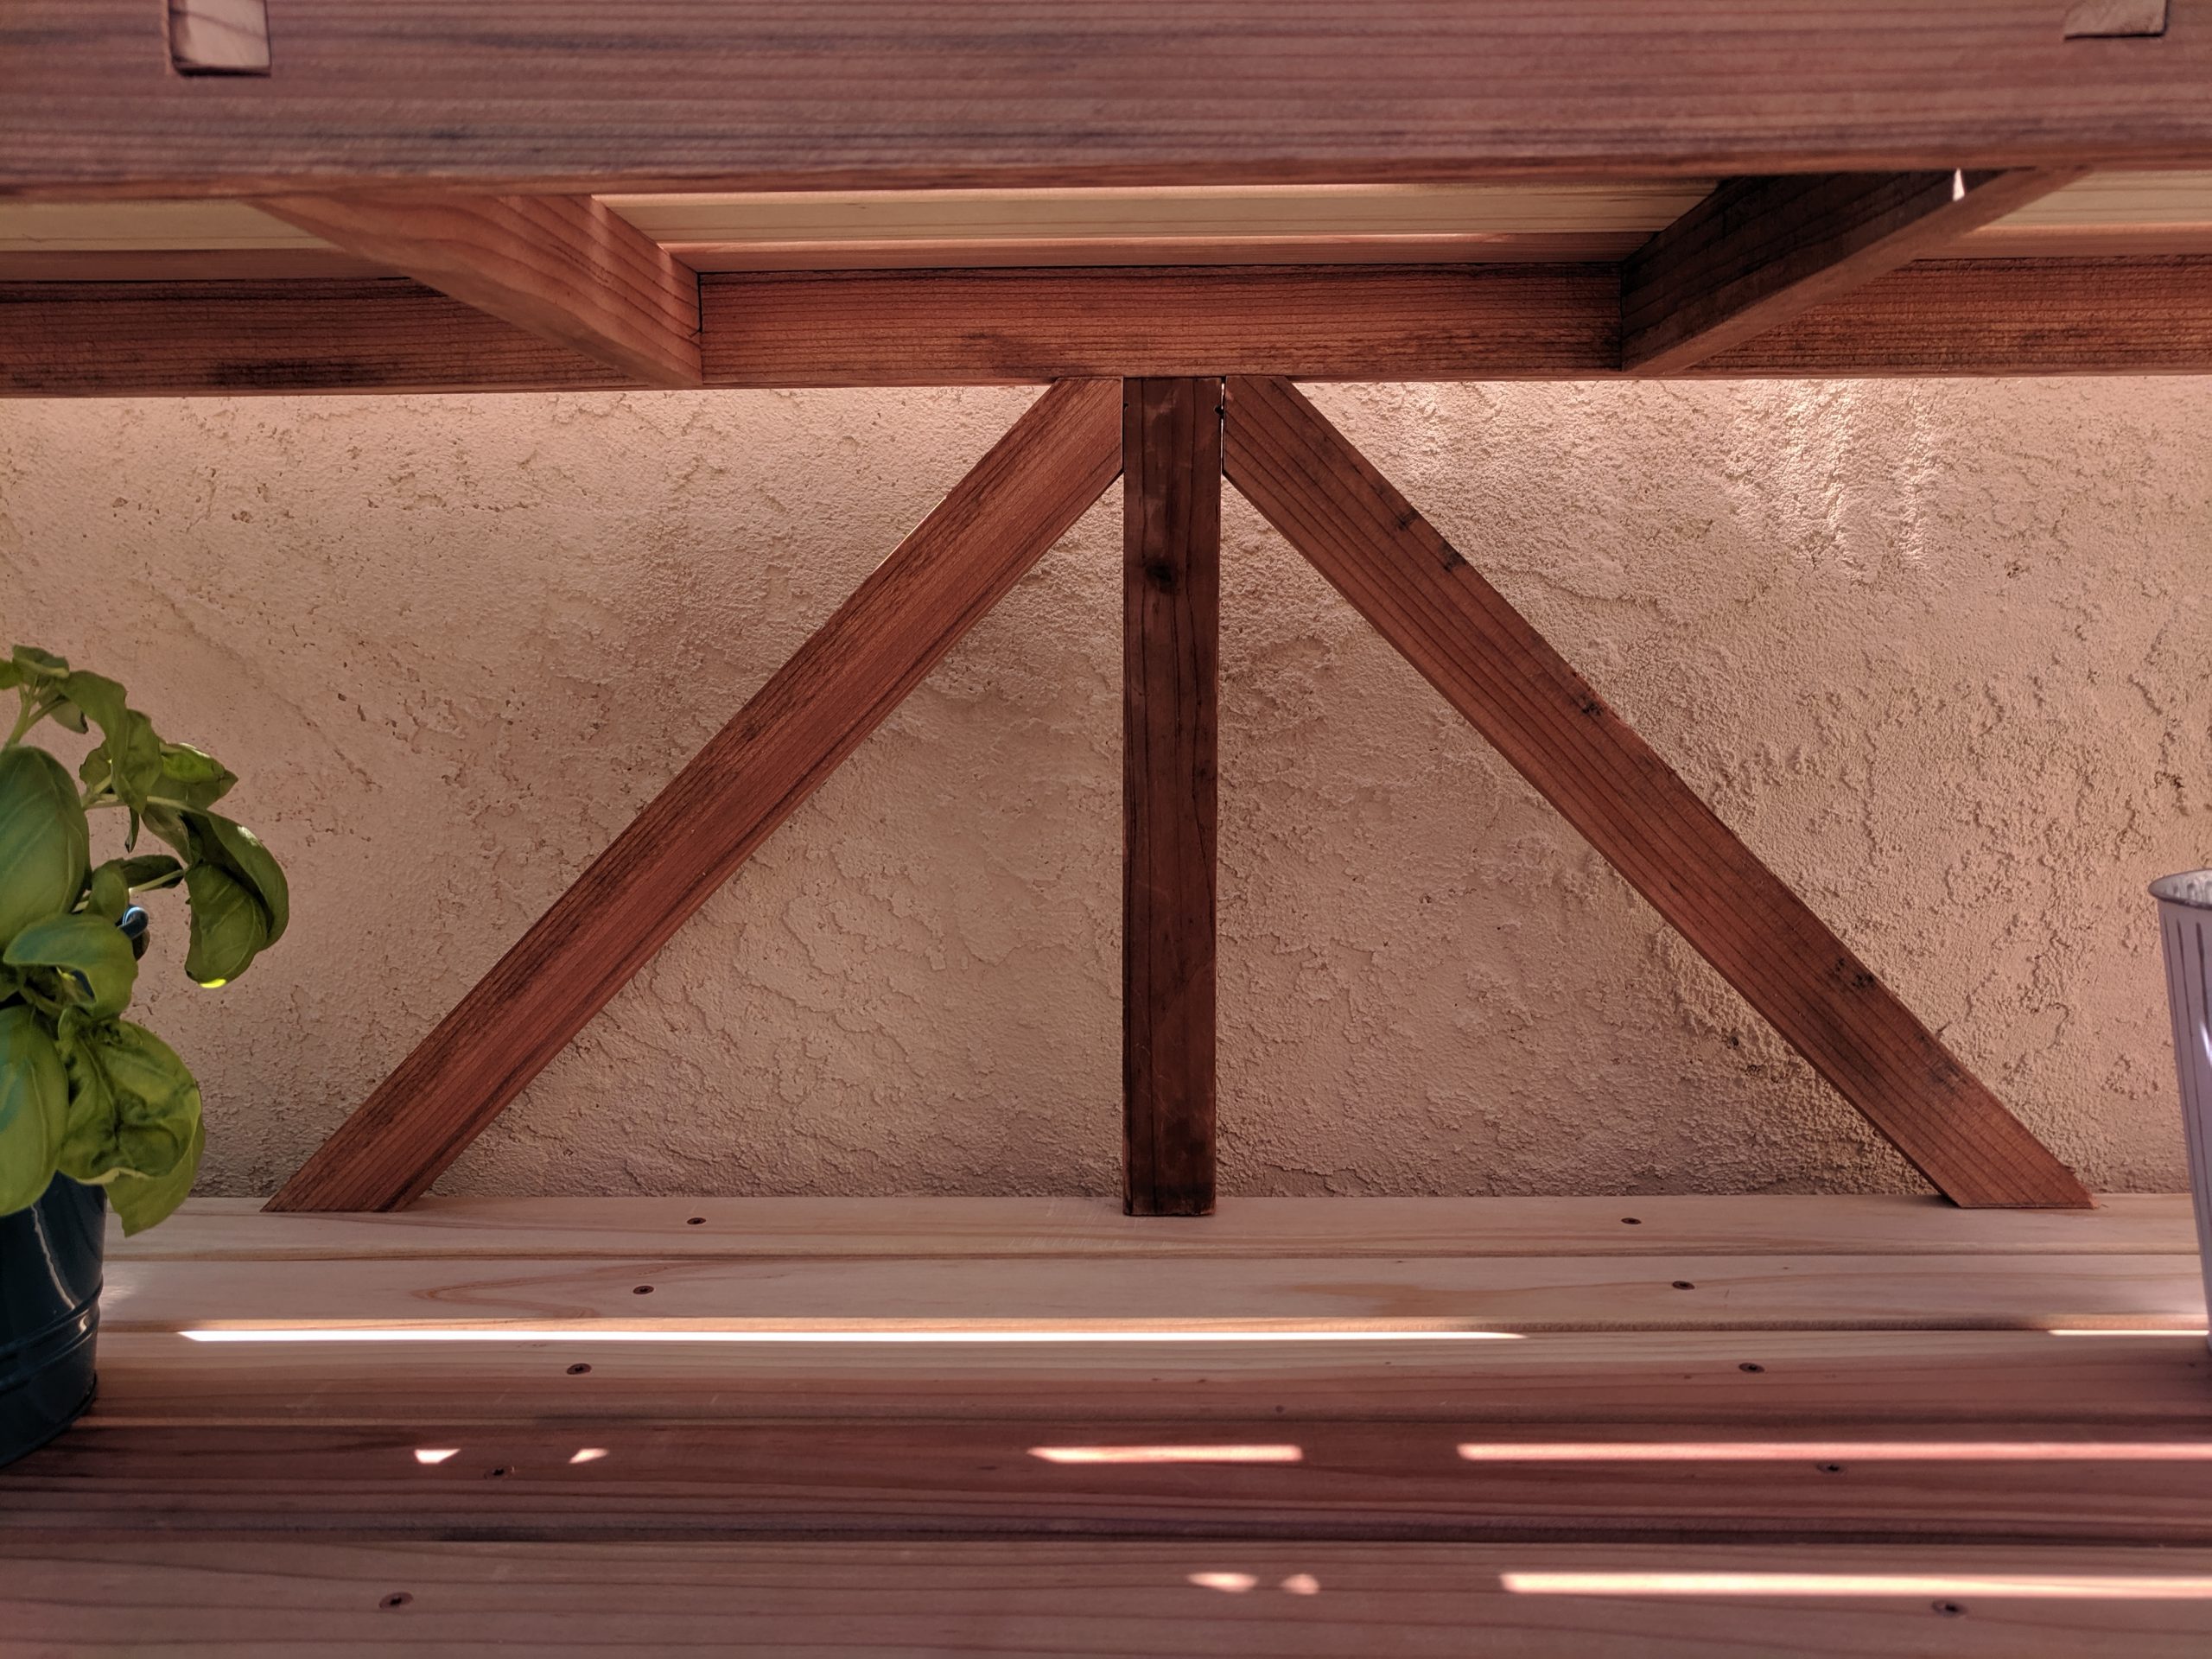
Day Four: Diagonal Bracing
While the table seemed sturdy with just the legs and the shelves, I wanted to add some shear strength by including some diagonal braces. This also seemed like an opportunity to play with the 45 degree angled cuts on the circular saw.
I had to put in some diagonal screws, which split the wood and didn’t make for the tightest seal. The end result was close enough, but next time I may try to use some countersink bits for a more snug joint.
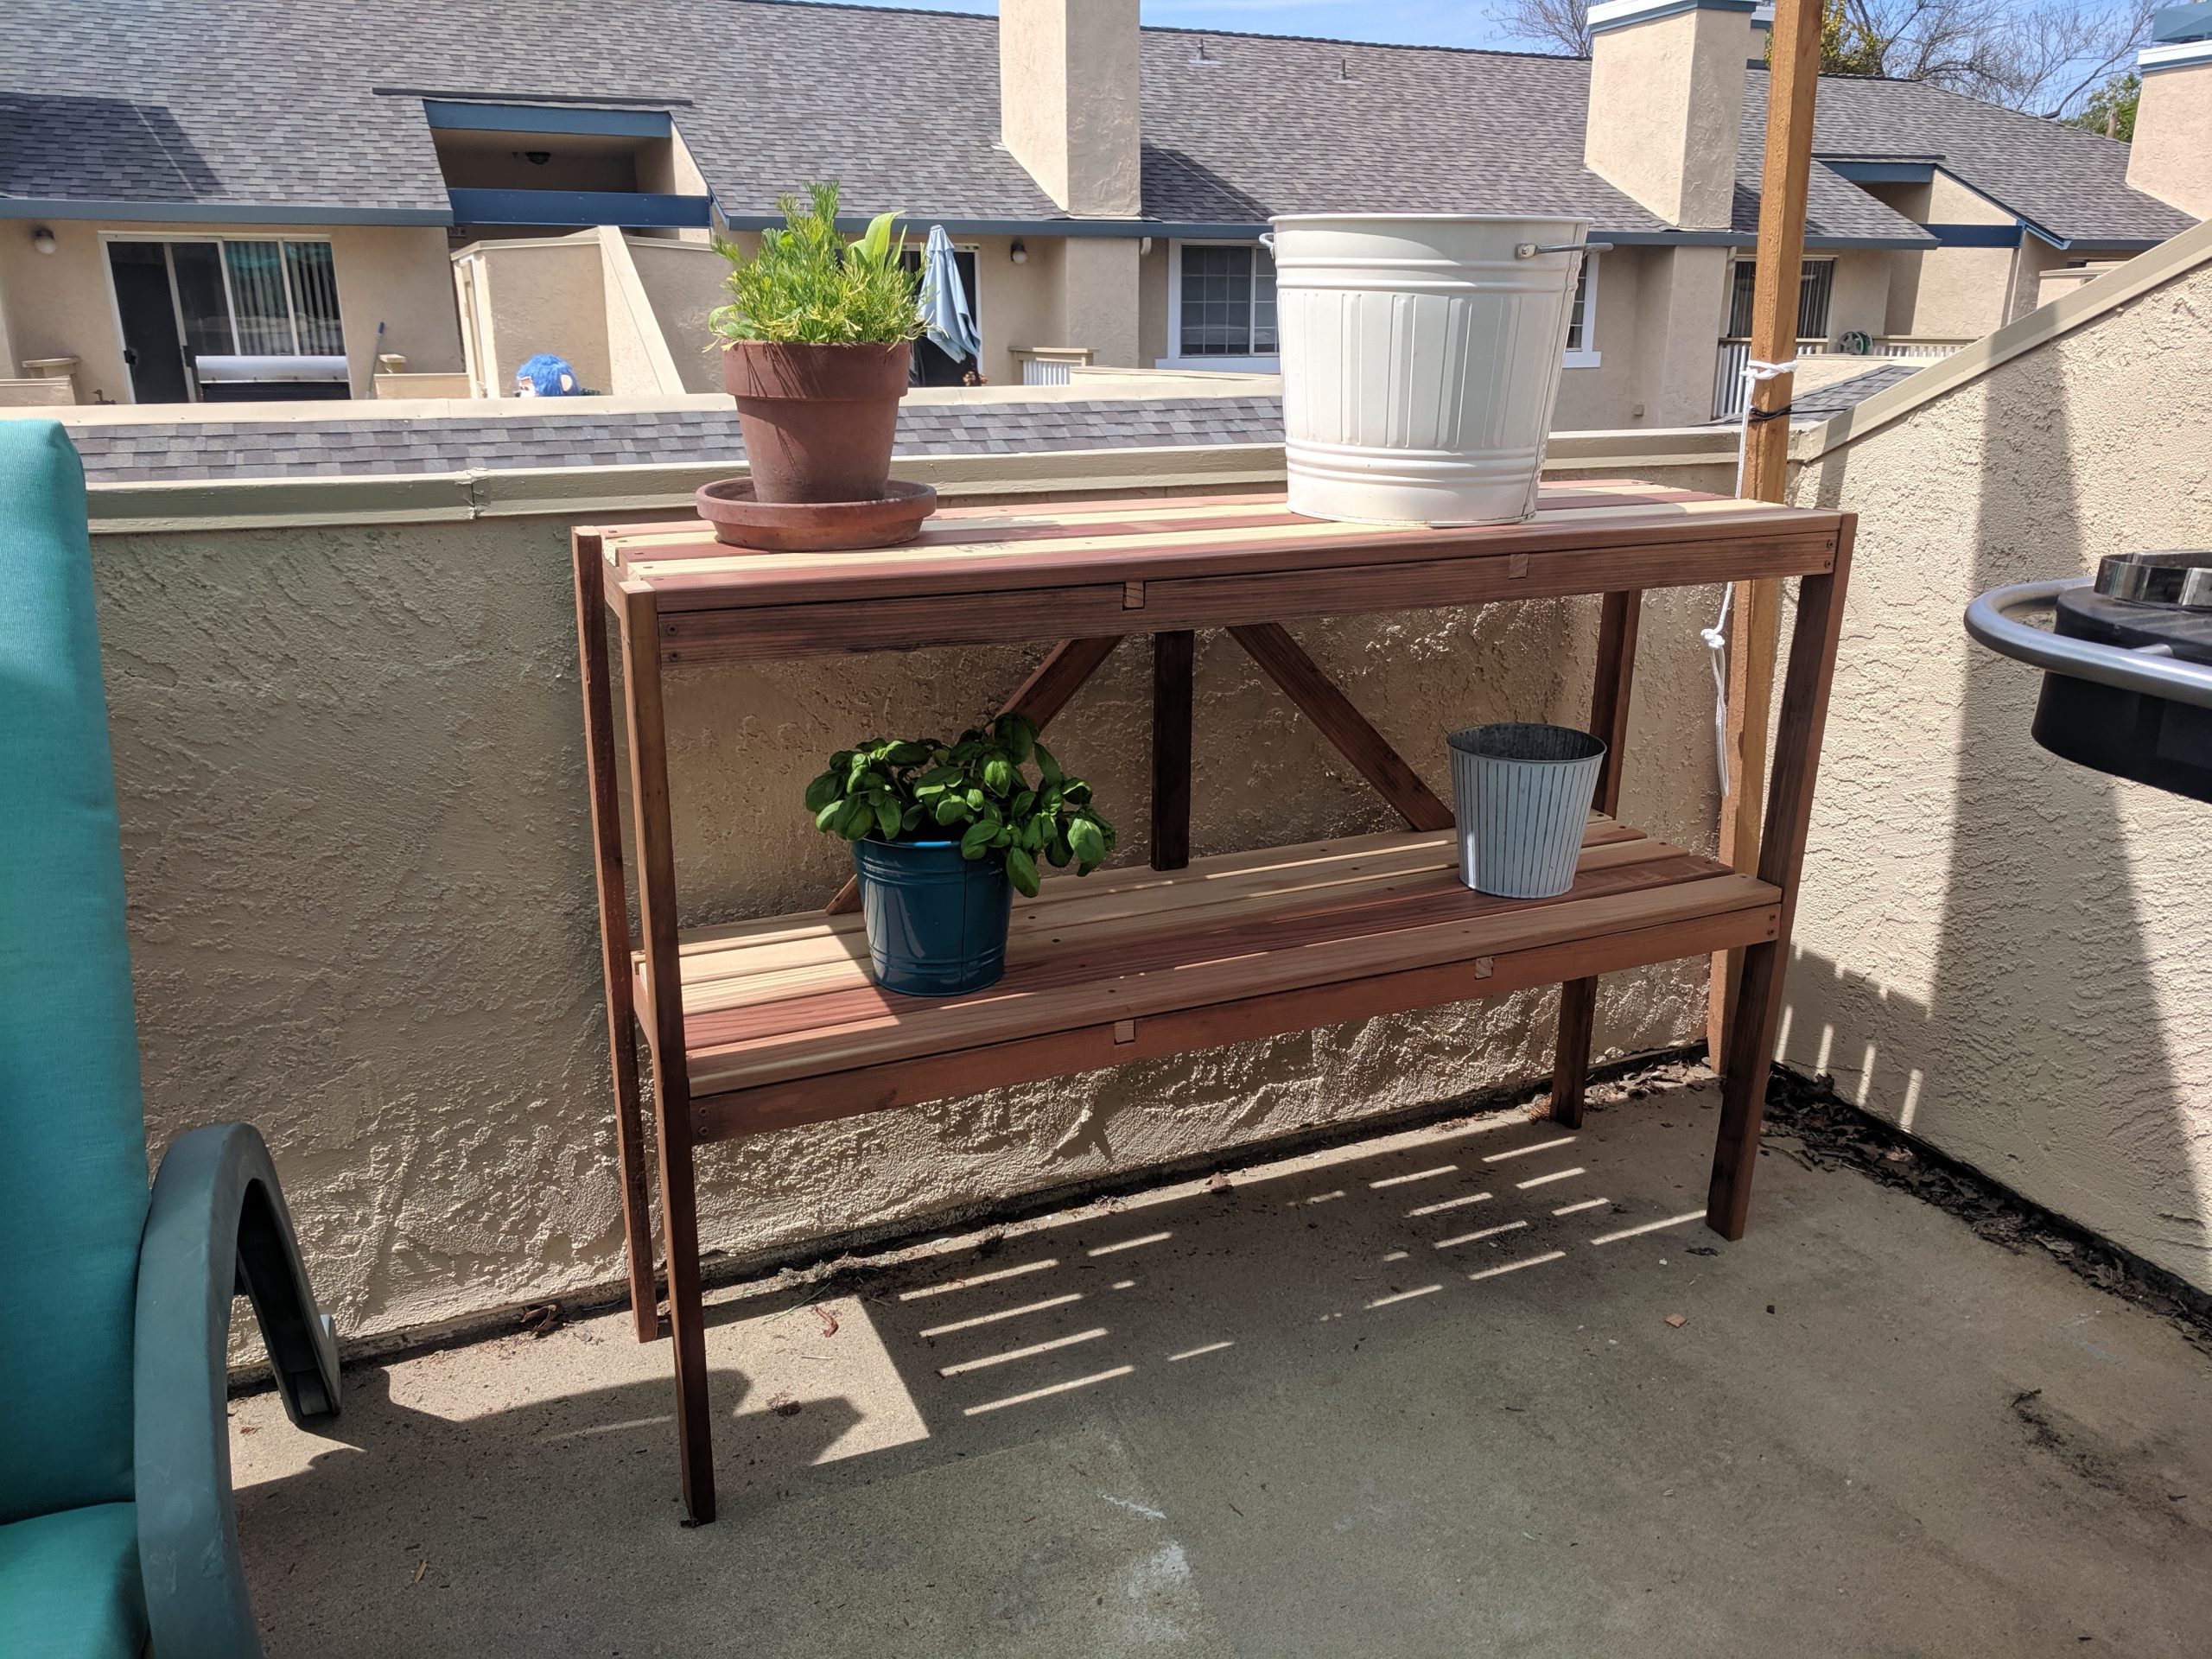
End Result
All and all, the project was a ton a fun, and taught me a lot. It was fun to get familiar with some new tools and joinery. The table is complete, and is now in use holding potted plants 😉 We’ll see if the extra supports help prevent bowing in the shelves.
Lessons Learned
Here are a few of the things I learned for next time:
- Before you spec out something with an oddly sized board (e.g. 1x3s in my case), call around to the local lumber yards to make sure you can find them at an affordable price..
- Practice Lap Joints, or any other special joinery, prior to working on your project!
- When designing projects, think about where your screws are going to go – corners with three or more pieces of wood coming together can get crowded!
Comments
No responses yet