Optimizing Docker Image Sizes
Published
No matter how much we fight it, we’ll all end up working with Docker at some point. Below are a few tips to help optimize the size of your Docker images.
Sample Dockerfiles uploaded to GitHub
Two Dockerfiles have been posted to GitHub, and are referenced through-out this article. The repository includes a pre-optimization Dockerfile and an optimized Dockerfile that follows the techniques discussed below.
1. Choose a “slim” base image that includes dependencies
When choosing a base image to to start with, opt for one that has been optimized for size. Many popular Docker images offer a slim or cloud version. In general, alpine base images are a great place to start whenever a Linux image is needed.

If certain runtime environments or other dependencies are required for your project, choose an image that already includes these by default. For example, the sample project above requires the Java Development Kit (JDK), and both of the Dockerfiles start from an image that already includes the JDK: openjdk:11-jdk-slim.
2. Reduce the amount of extra files layers produced
When composing Docker images, every instruction will create a new layer that inflates the size of the resulting image. Official documentation suggests to minimize the number of layers (and instruction steps).
One way to reduce instructions is the use && to join multiple commands into a single statement. In addition, performing any available clean-up or removal of temporary files in the statement will reduce its footprint.
For example, it is common to install all apt dependencies at the same time, and then clean up the apt cache once this is complete. In the sample project, we can see this performed on lines 4-7 in the code snippet below:
FROM openjdk:11-jdk-slim AS builder

# install maven and git
RUN apt-get update && apt-get install -y \
    maven \
    git \
 && apt-get clean && rm -rf /var/lib/apt/lists/*

# continue with build
RUN mkdir -p /workspace

# remaining instructions/steps removed for brevity
3. Perform multi-stage builds when possible
Multi-stage builds can provide a huge reduction in image size in situations where code is compiled or built from source. Conceptually, the code and dependencies are built in one image, and then the compiled binaries are copied into a separate image, which becomes the final image. This final image contains only the finished product (e.g. binary, executable, or library), without all of the dependencies and build environment.
Consider the pre-optimization Dockerfile from the sample project:
FROM openjdk:11-jdk-slim

# install maven and git
RUN apt-get update && apt-get install -y \
    maven \
    git

# clone loader repo
RUN mkdir -p /workspace
WORKDIR /workspace
# checkout specific branch for demonstration purposes
RUN git clone -b neo4j-3.5.11 https://github.com/tcallsen/osm2graph-neo4j.git
WORKDIR /workspace/osm2graph-neo4j

# build loader repo
RUN mvn clean install

# execute loader
CMD ["mvn", "exec:java", "-DosmFile=/workspace/in.osm", "-DgraphDb=/workspace/out/graph.db"]
The mvn clean install command on line 16 compiles the Java project, and downloads each dependency required for compilation (which inflates the Docker image size). However, these dependencies are not needed to actually execute the project.
With the multi-stage build shown below, the mvn clean install is executed in the first phase (labeled as builder), and the compiled executable (a Java .jar file in this case) is copied into the second phase of the build on line 29:
### Build in first stage

FROM openjdk:11-jdk-slim AS builder

# install maven and git
RUN apt-get update && apt-get install -y \
    maven \
    git \
 && apt-get clean && rm -rf /var/lib/apt/lists/*

# clone repo
RUN mkdir -p /workspace
WORKDIR /workspace
RUN git clone https://github.com/tcallsen/osm2graph-neo4j.git
WORKDIR /workspace/osm2graph-neo4j

# build repo
RUN mvn clean install


### Execute in second stage - only copy compiled jar to second stage to
###   reduce docker image size

FROM openjdk:11-jdk-slim

RUN mkdir -p /workspace
WORKDIR /workspace

COPY --from=builder /workspace/osm2graph-neo4j/target /workspace/osm2graph-neo4j

# execute loader
CMD ["java", "-jar", "osm2graph-neo4j/osm2graph-neo4j-0.0.2-SNAPSHOT.jar", "/workspace/in.osm", "/workspace/out/graph.db"]
In this case, introducing a multi-stage build reduces the image size by 100s of megabytes!
4. Use tools to identify large dependencies
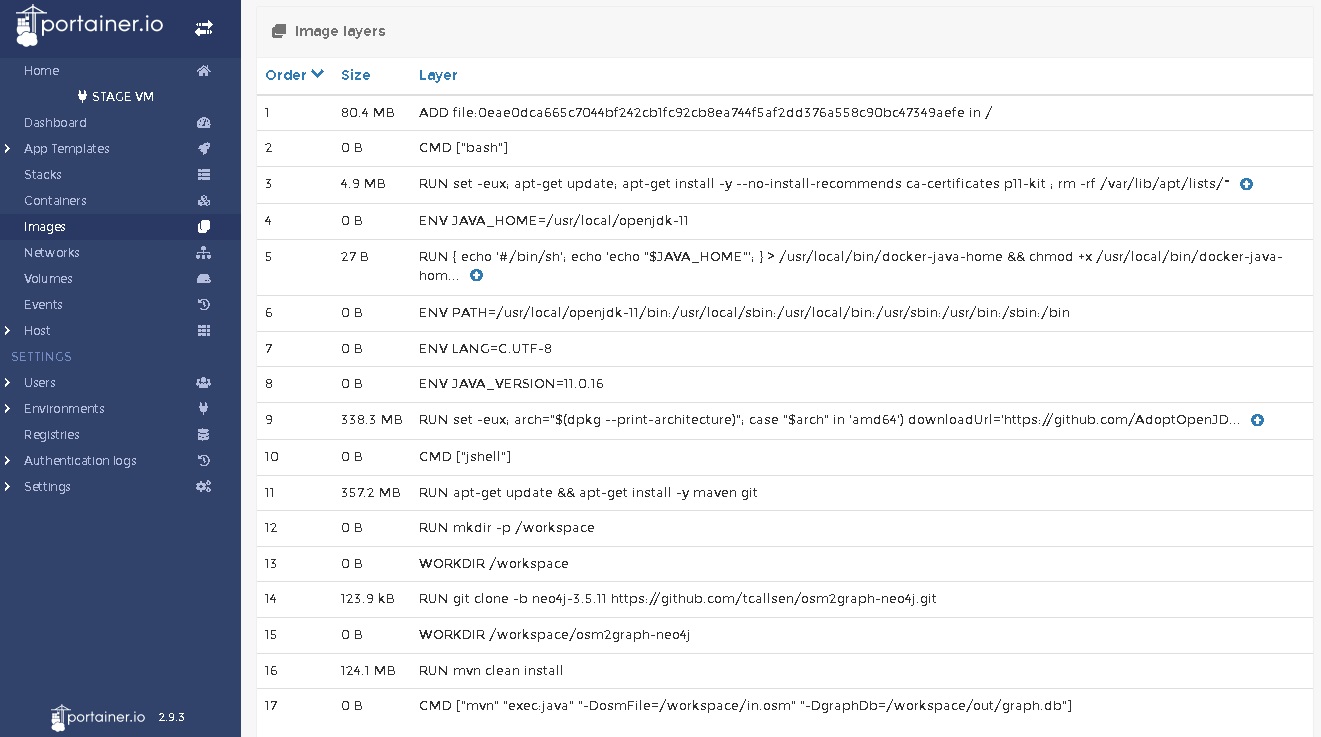
There are great tools available to analyze Dockerfiles and figure out which steps/layers are contributing the most size to an image.
One tool I enjoy is dive, which is shown in the sequence below. Dive allows the user to inspect the layers (shown on the left), and dive into which parts of the filesystem are impacted (on the right):
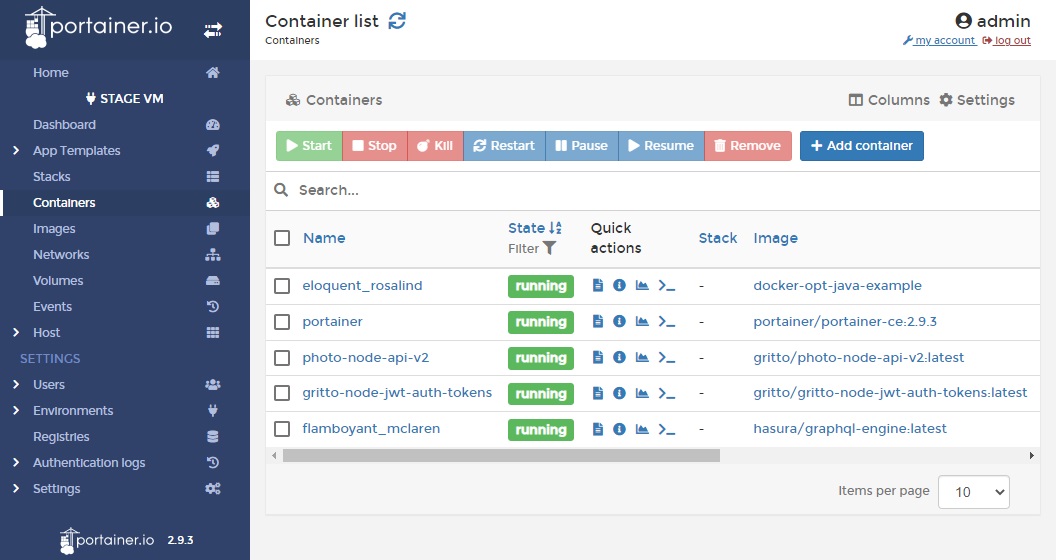
Portainer is another great tool that provides a graphical interface for managing Docker containers and images. It is incredibly easy to set up, and gets rid of the tedious CLI commands required for house-keeping in Docker environments.
Check out Other Resources
Many articles and posts have been written on this topic, and other optimizations may work better for you specific case. A great starting point is always the official best practices guide published by Docker:
Comments
No responses yet