Murphy’s Pole Barn
Published
In March of 2022, we set out to build a pole barn up at the Murphy’s property to store wood, tools, and at the time potentially a horse. I was lucky enough to have my family come out to California and help with the build. I couldn’t have done it without them!
The build took place April 2nd – April 9th, 2022, when the weather in Murphy’s was sunny, but not too hot.

The Best Part
By far the best and most memorable part of the whole experience was getting to spend time with my family. My dad, brother, sister & husband Mike (brother at this point) all came out to Murphys to help with the build. It was amazing to have their support.
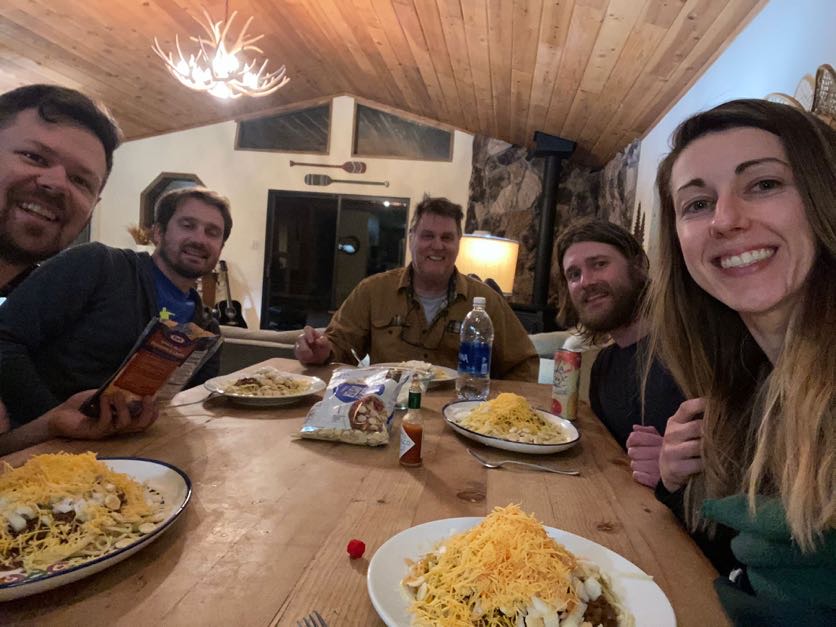
We rented a cabin in Arnold, and all stayed together for the week. After working on the pole barn during the day, we would cook meals and watch movies or play games together at night. I will always treasure this time we had together.


1. The Plans
Now on to the build! The fun part of any project is dreaming about it what it could be, without actually doing any of the work. We created plans for the pole barn from scratch based on pictures people shared on the Internet.
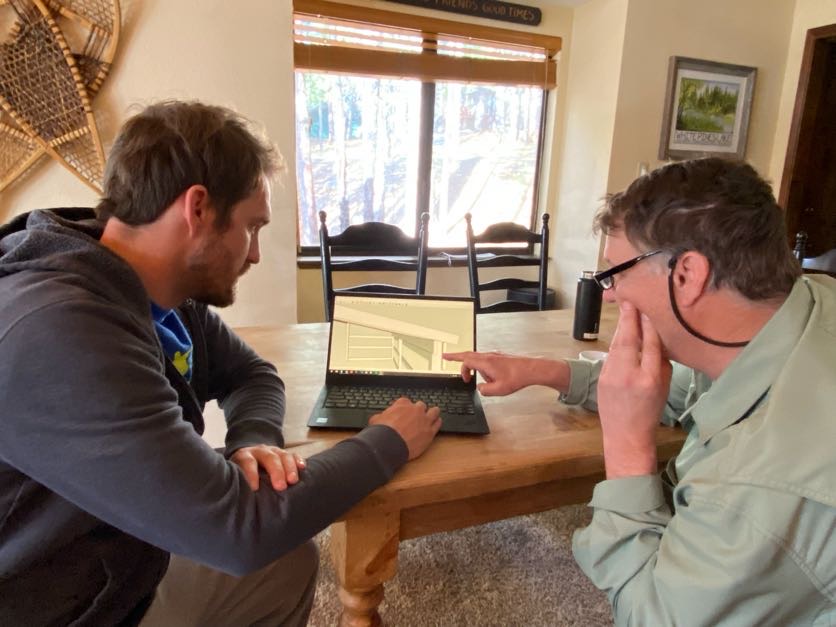
During the months leading up to the build, it was a lot of fun discussing the plans over Zoom calls with my dad and Uncle David, who is a professional builder. We talked a lot about the weight of the roof, doubling up the back header boards, and the thickness of the various wood pieces.


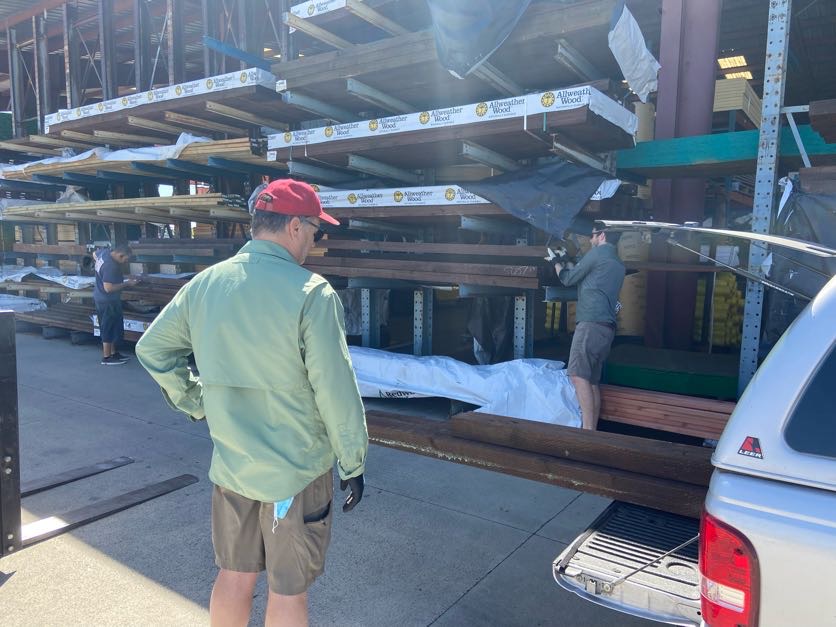
2. Materials
As with any project, we made SEVERAL trips to the local hardware store. In total, I probably spent close to $1,800 in materials, mostly in pressure treated lumber and the corrugated metal for the roof (about $400 worth). We also bought several bags of concrete, and different types of screws/bolts.

3. Layout
We spent almost 2 days laying out the posts and digging the post holes (aimed for about 2ft deep). We tried to dig with an auger, but had no luck. We were digging into dry clay, and towards the end were “chipping away” at the clay with a maul and metal stakes.


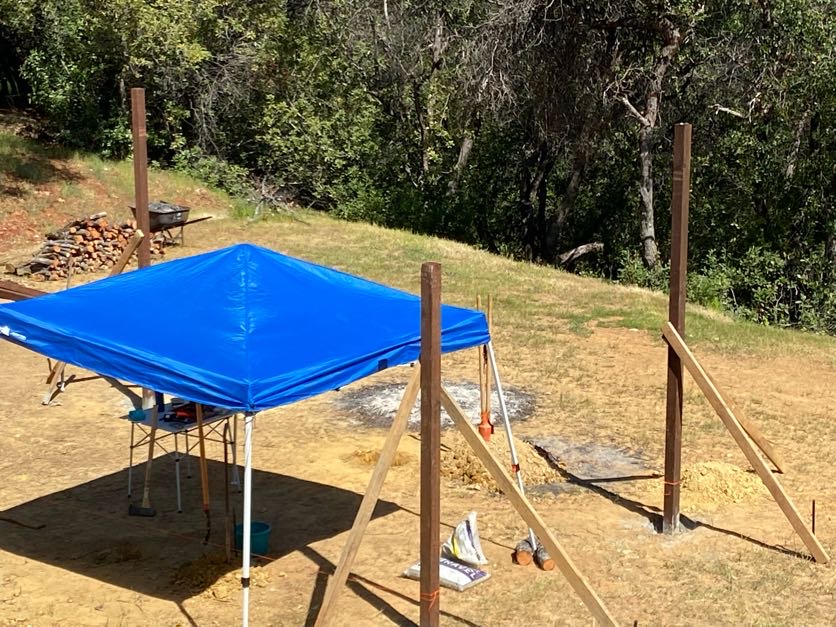
4. Posts
Once we finally got the diagonals to match (which took a lot of half-brained geometry and arguing over sketches done on scratch paper), we began setting the posts in concrete. Fortunately, it was a team effort.

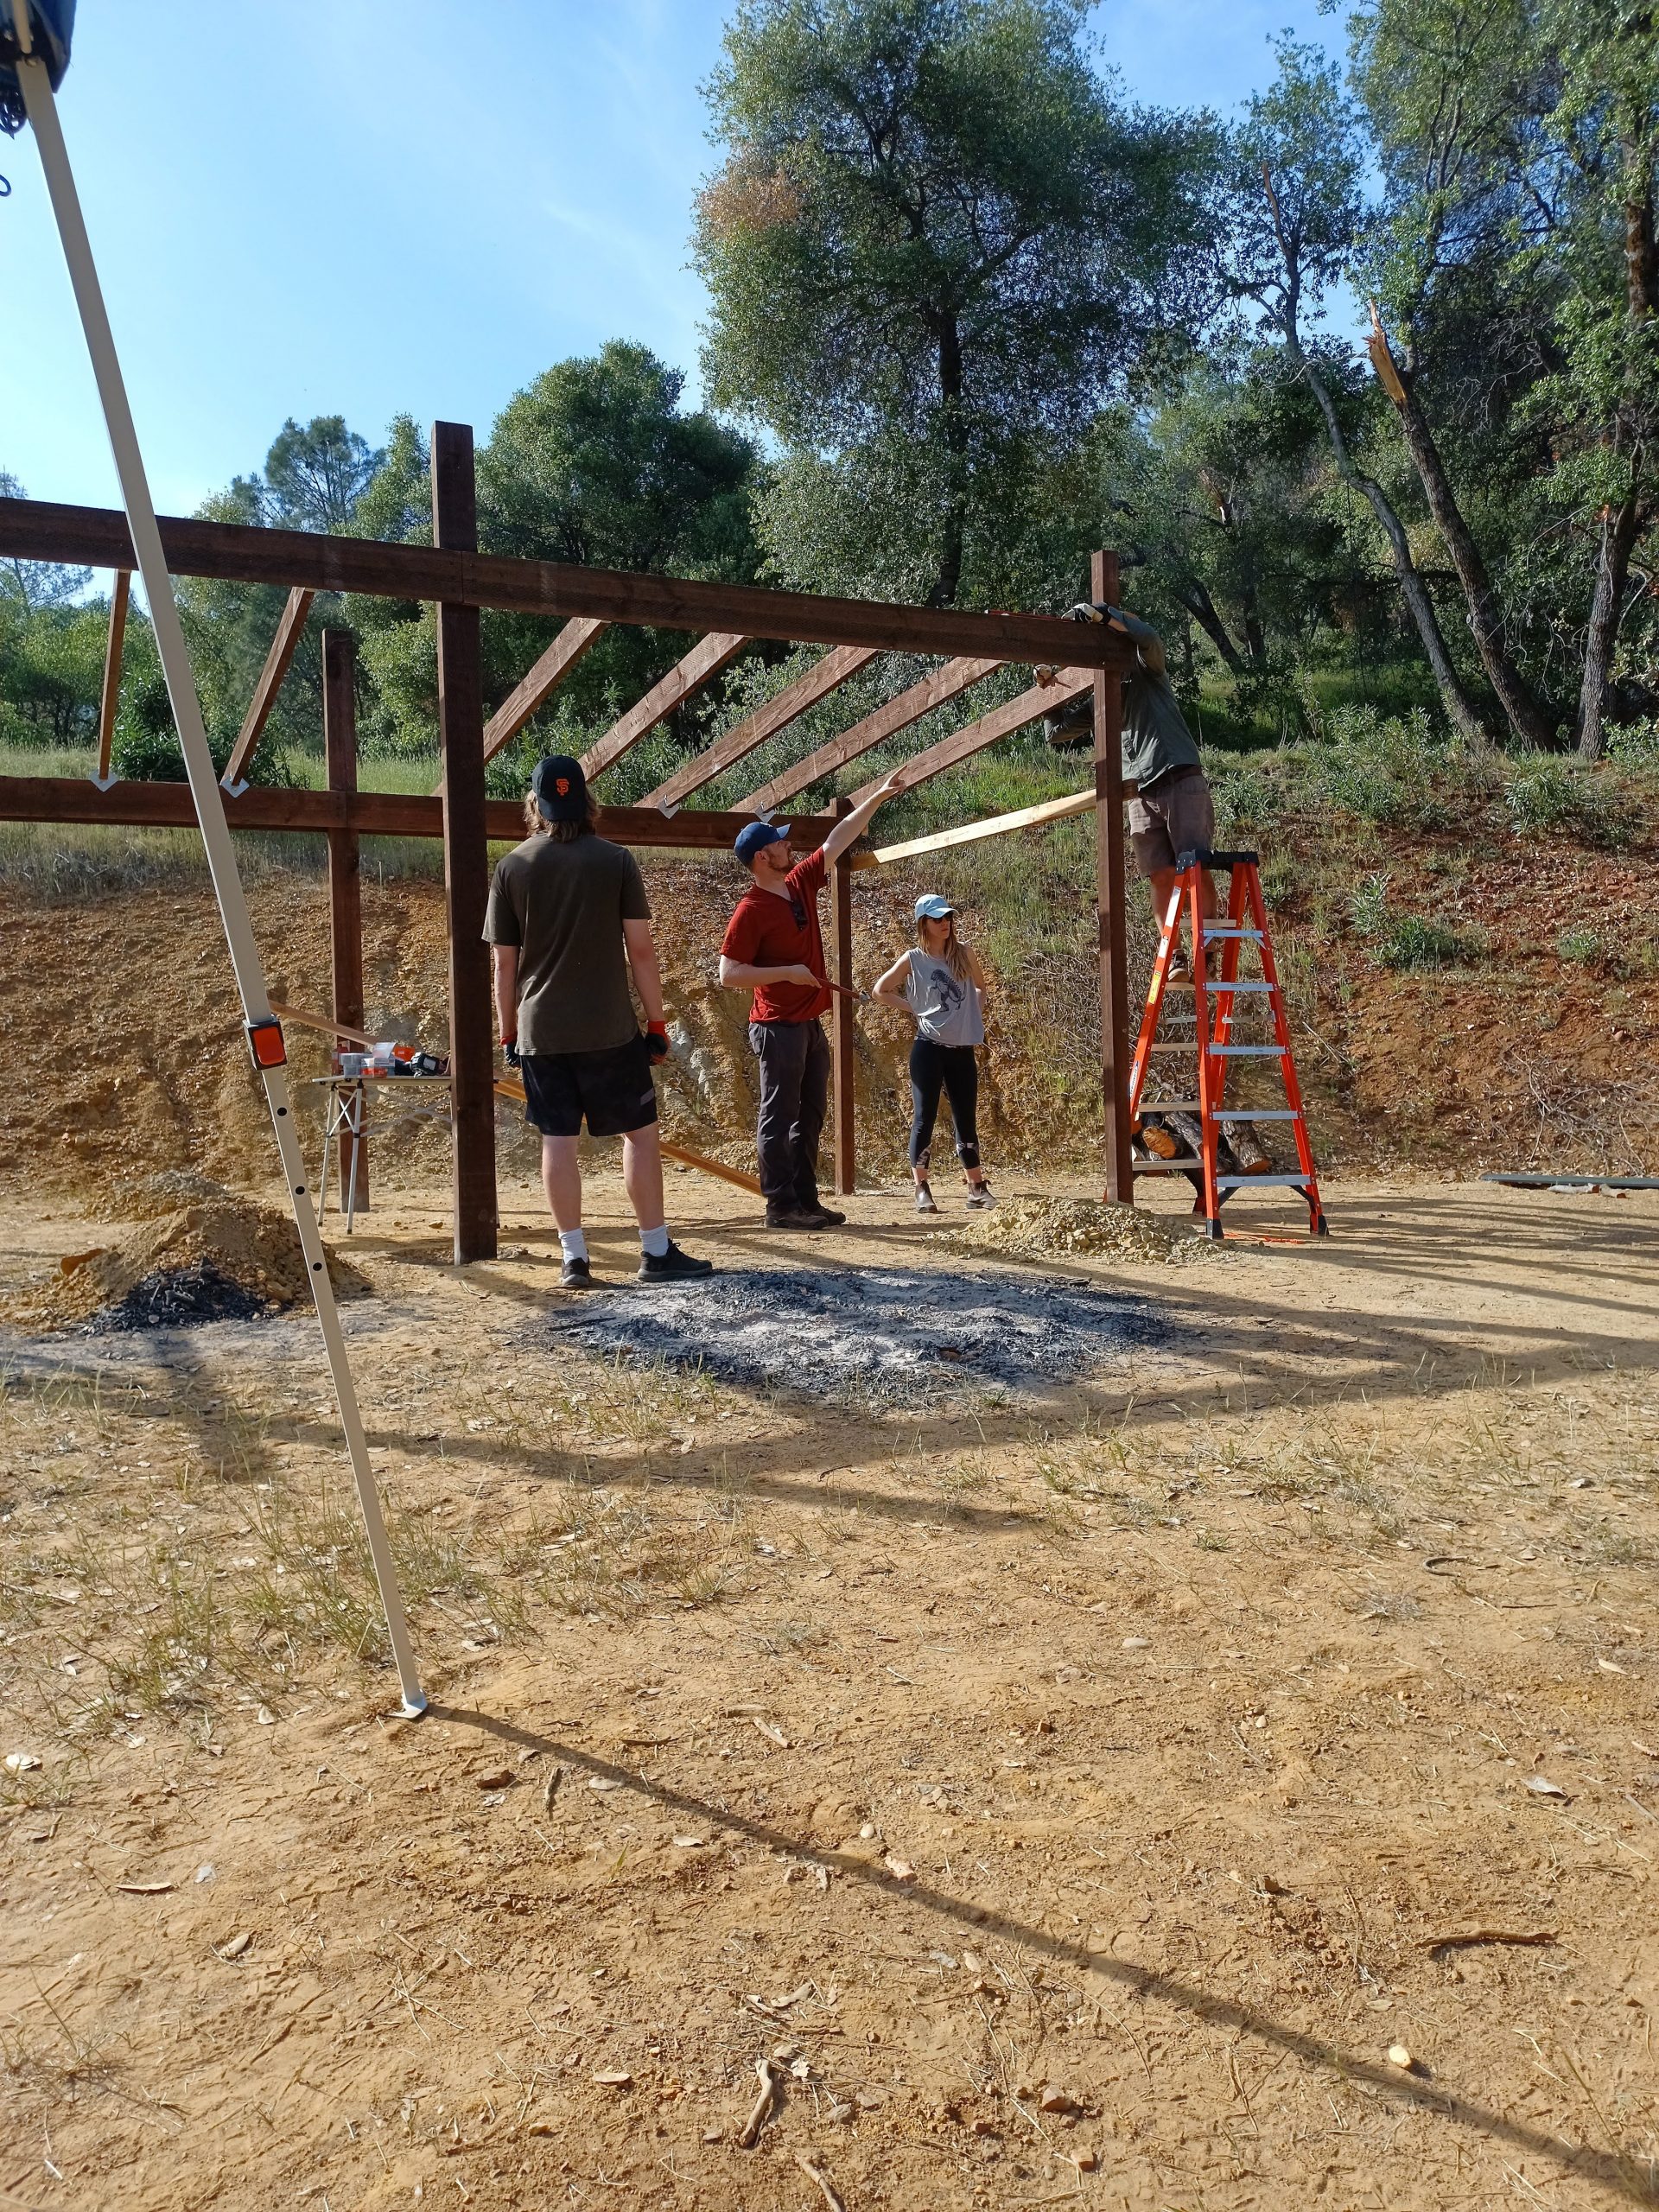
5. Headers
Once we had the posts set, we were off to the races. We started adding the headers, which would support the roof.

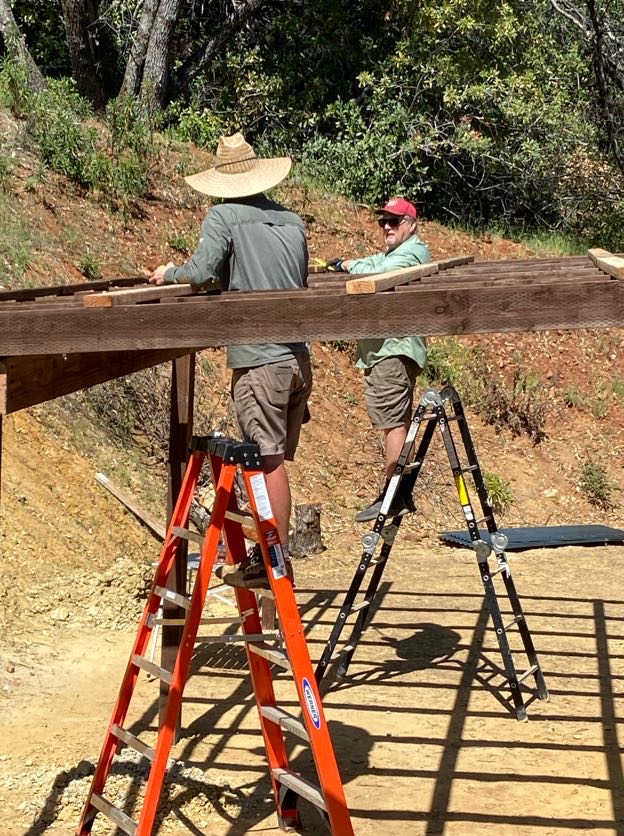
6. Rafters
The rafters took some more thought due to the need for angled cuts. Any thinking done in direct sun was challenging, but we eventually figured it out thanks to some suggestions from Mike.
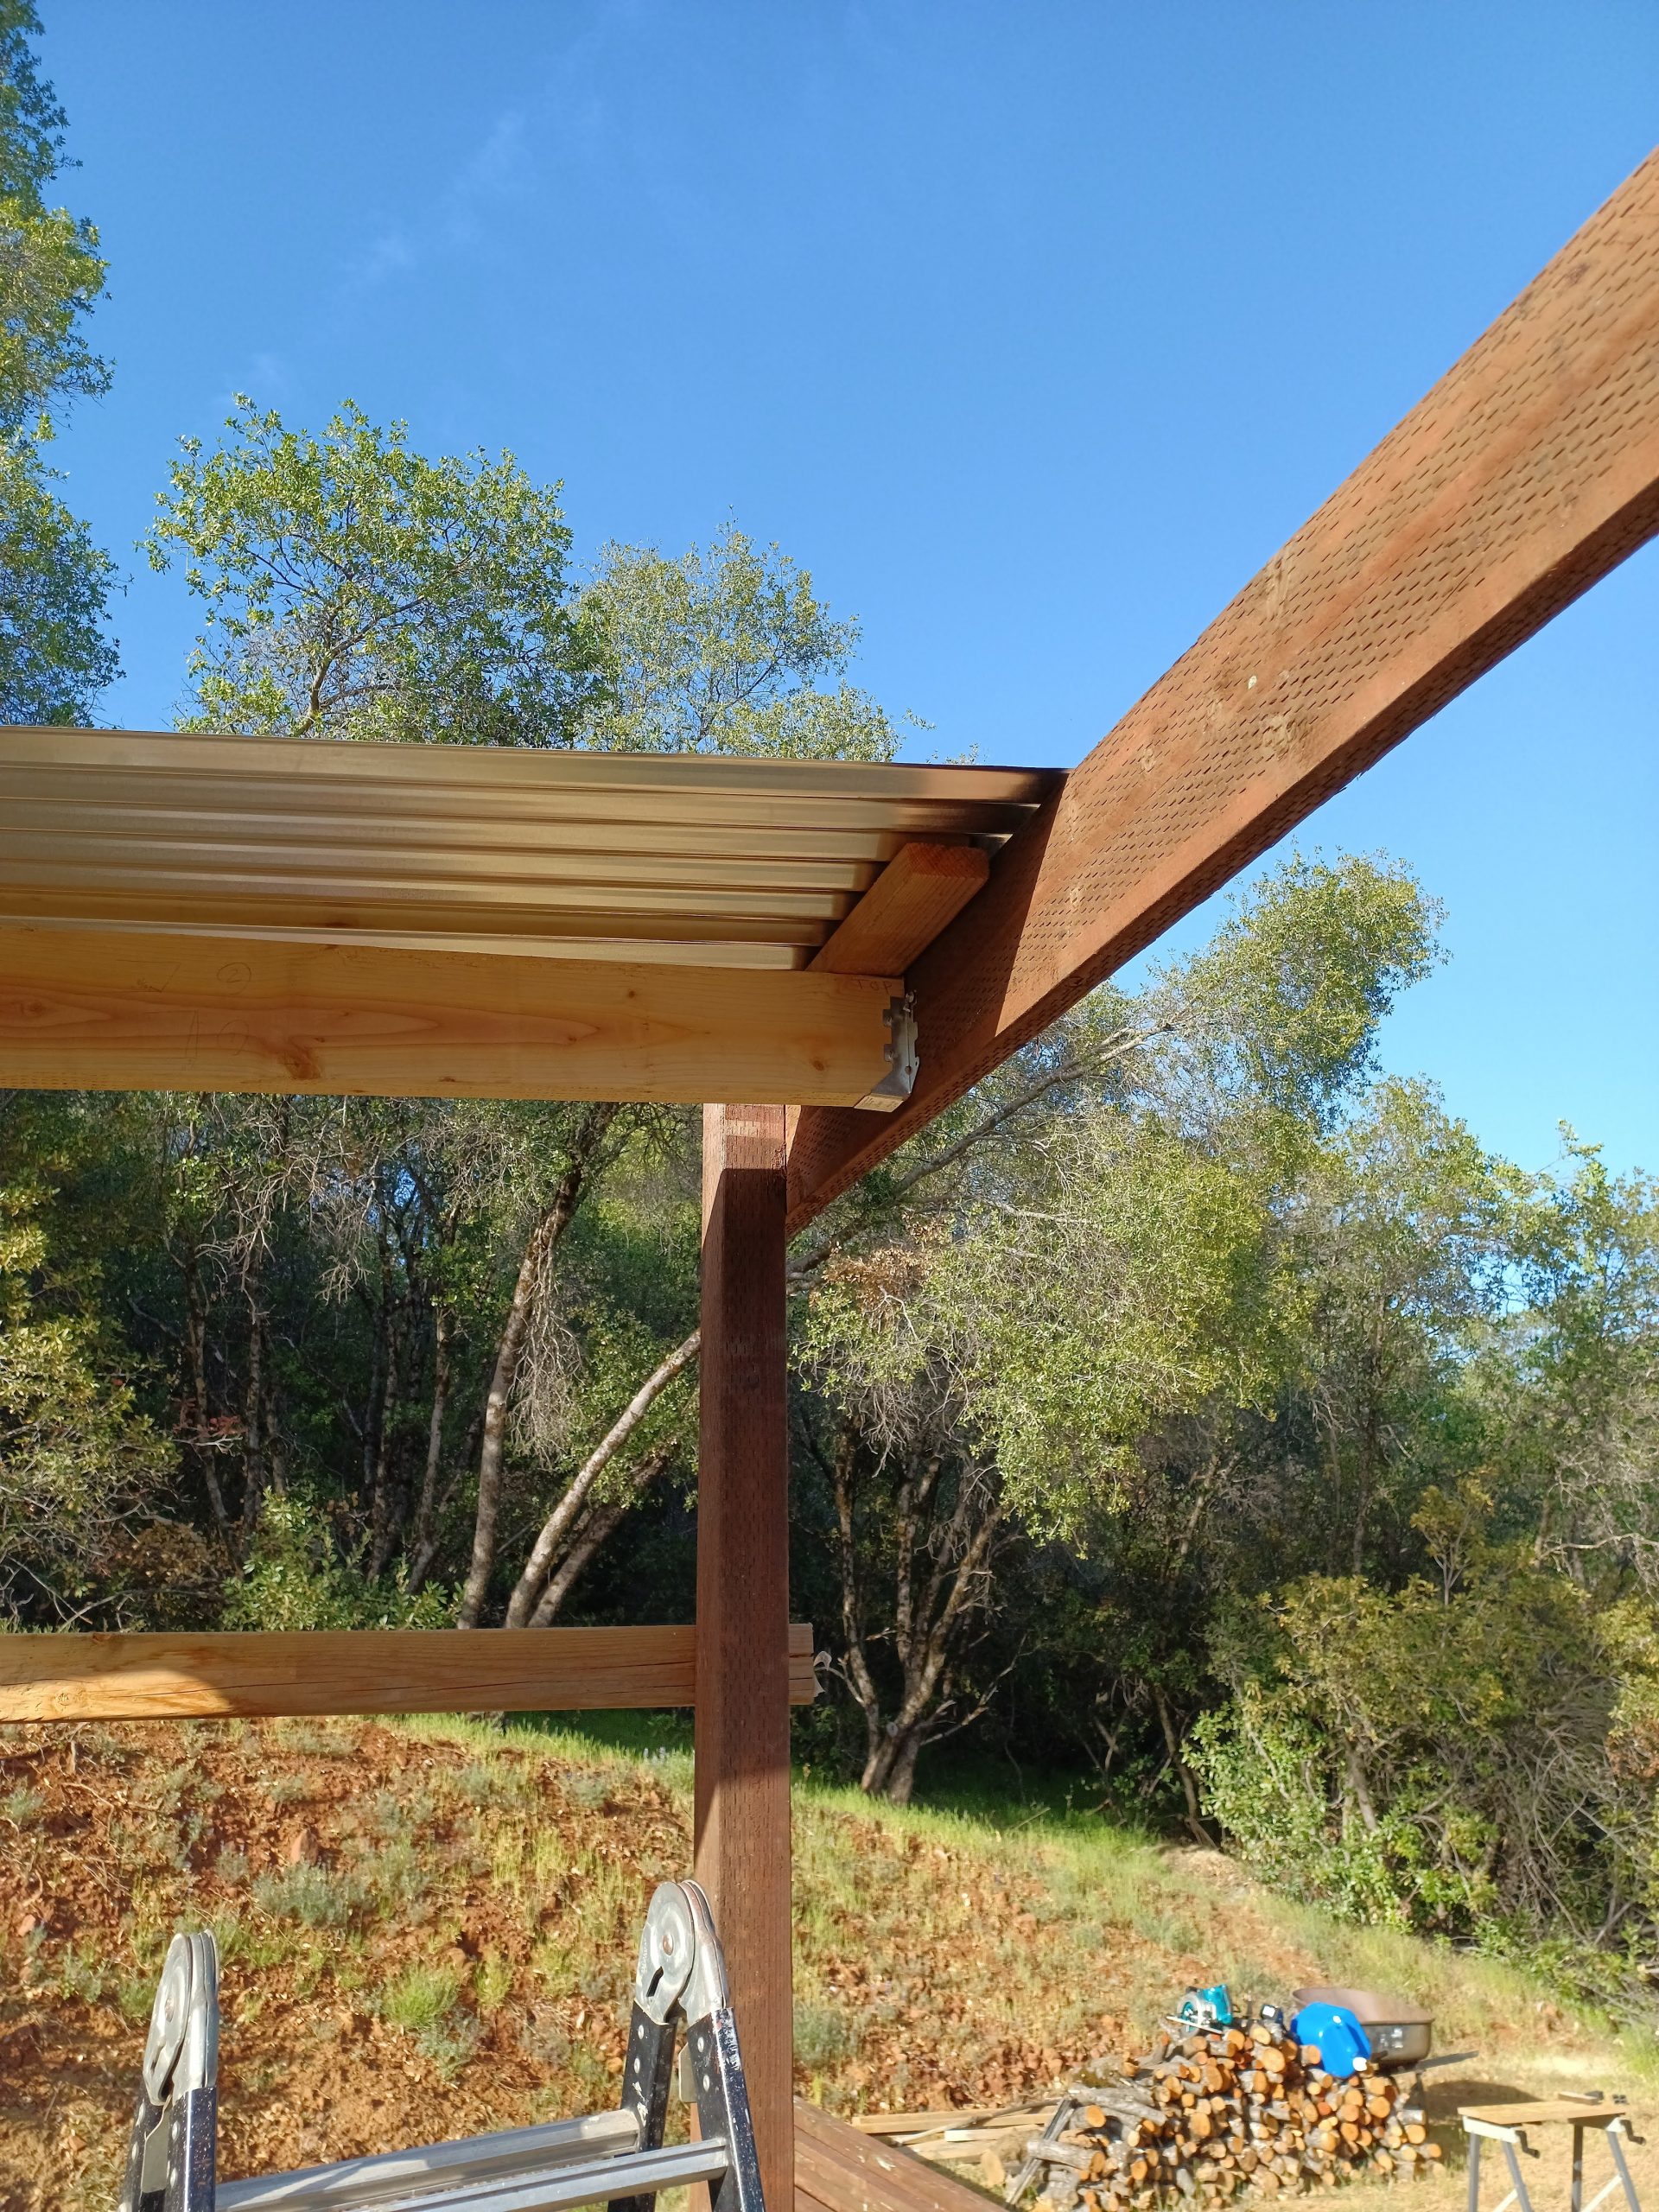
7. Purlins
Once the rafters were on, we used some scrap 2x4s as purlins to support the metal roof.


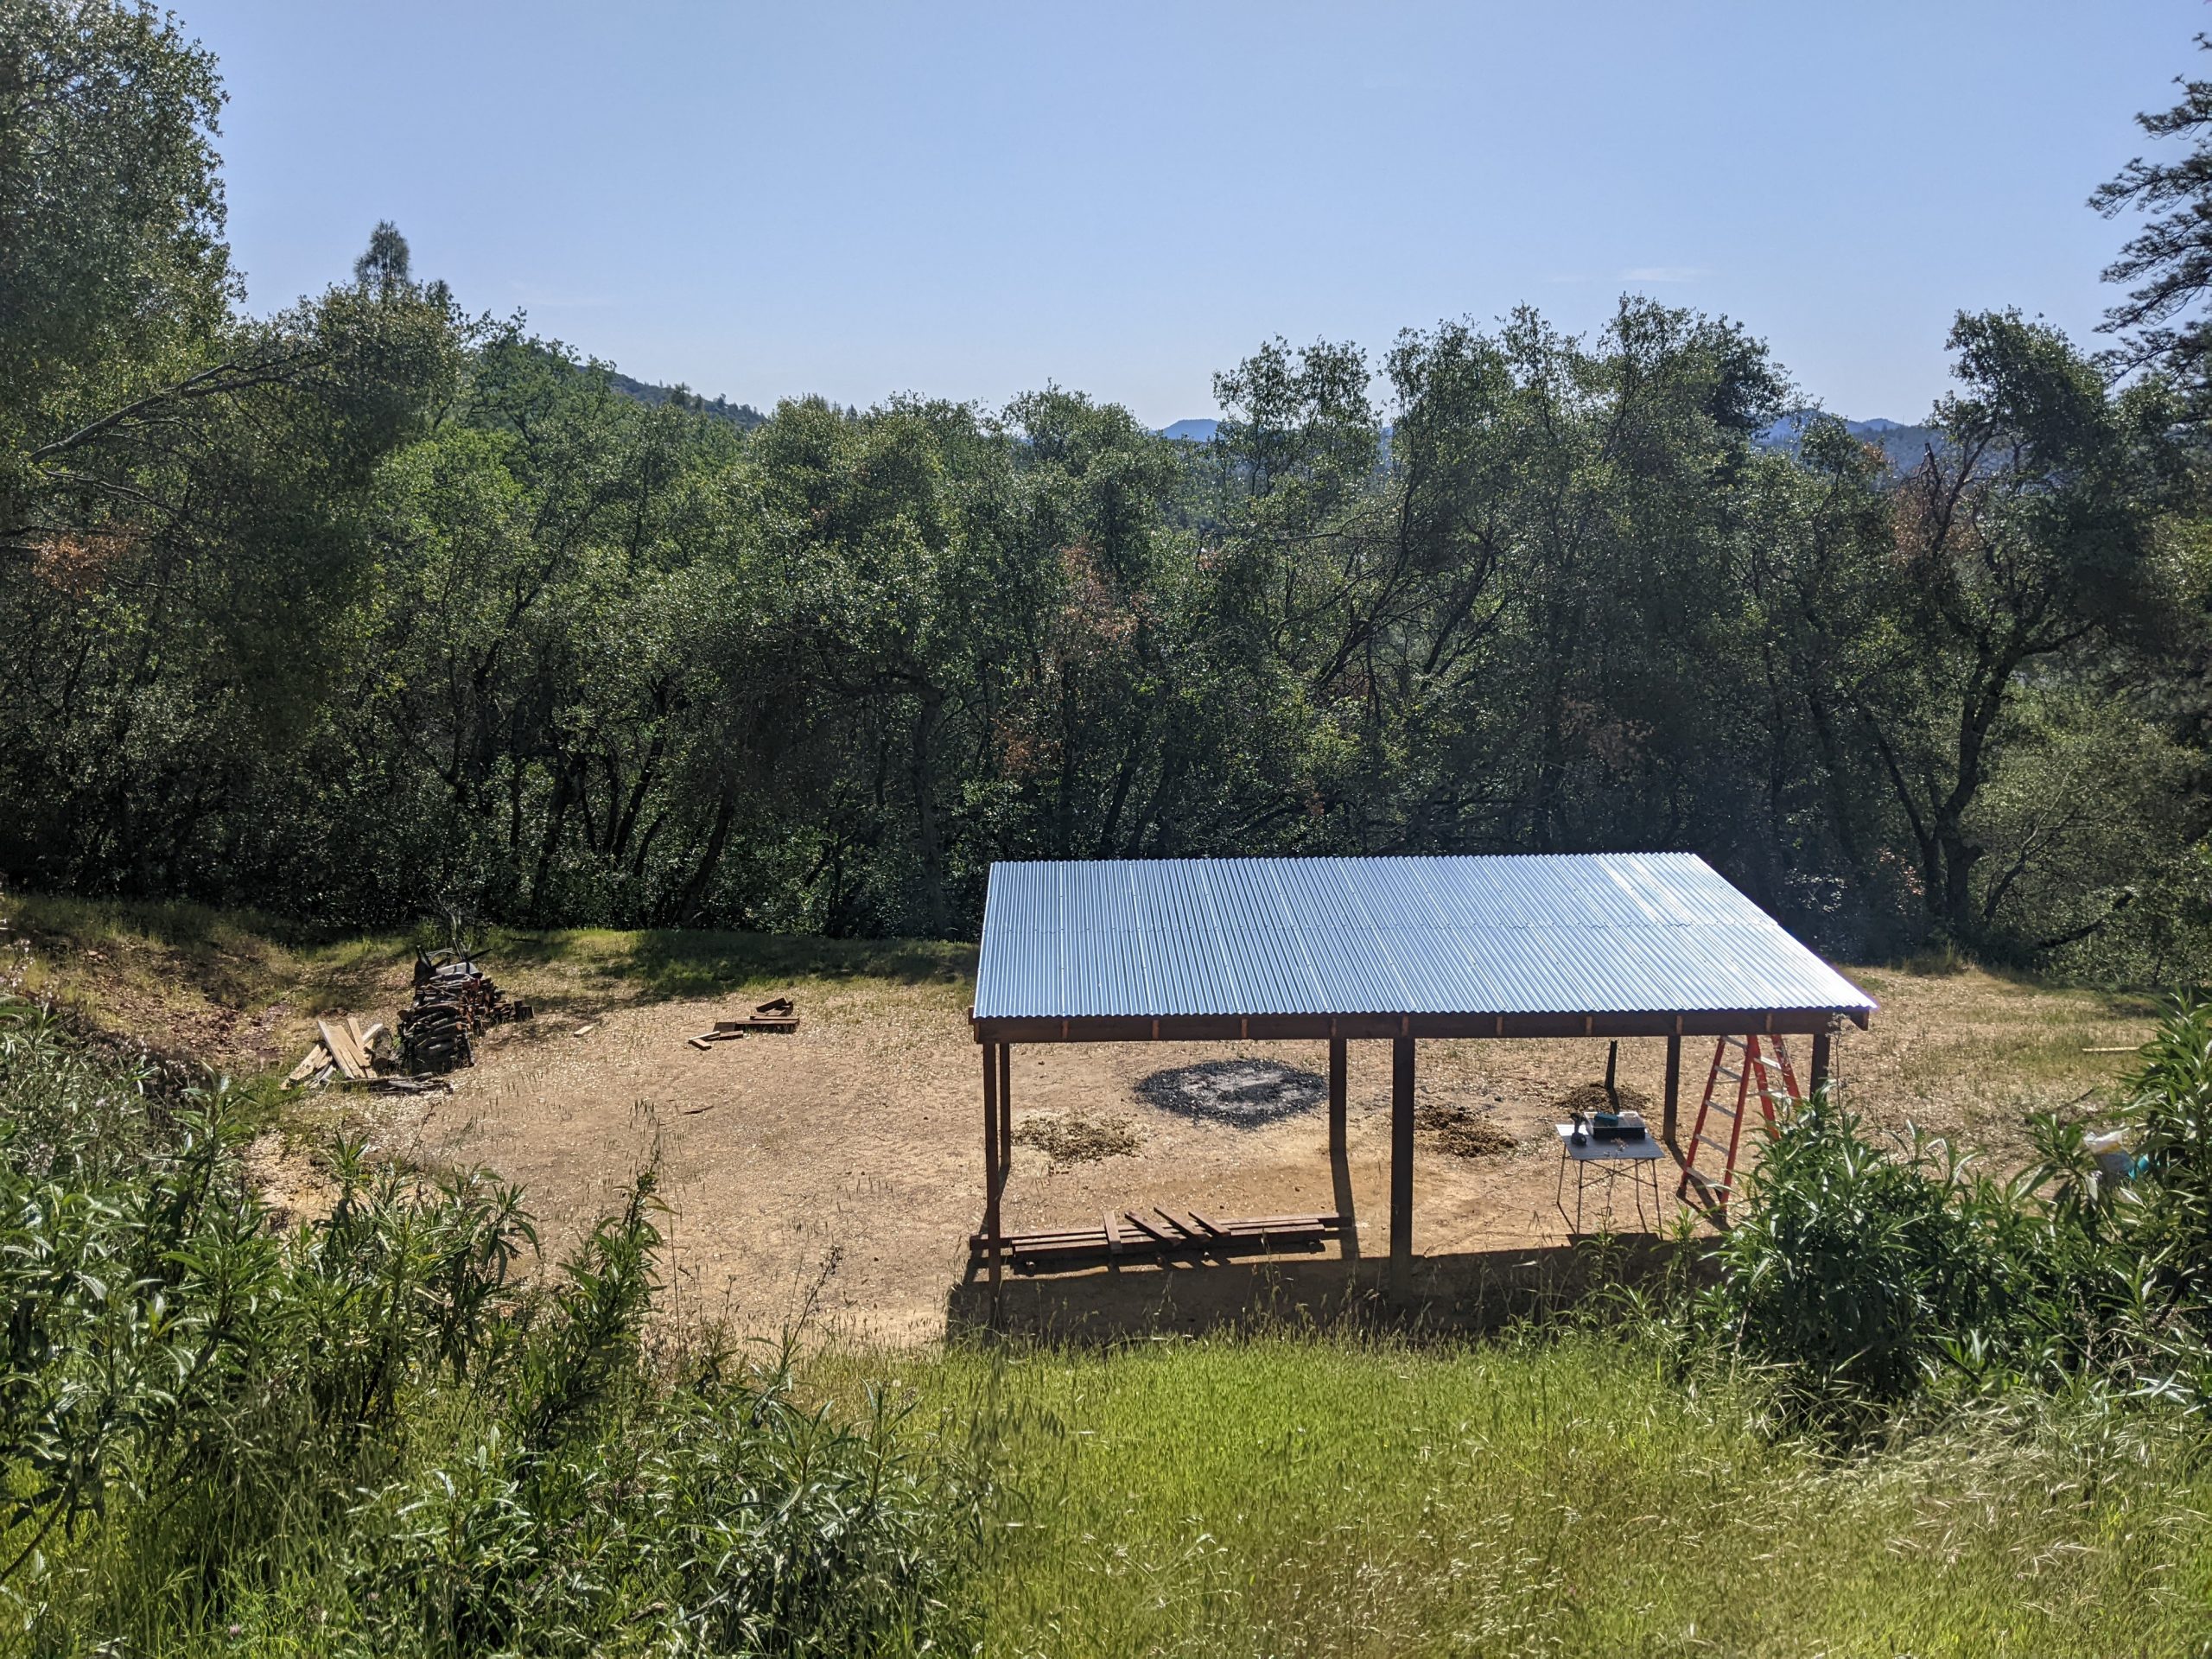
8. Roof
From there we bolted on the roof, which consisted of about 20 pieces of corrugated metal. Thankfully it was a fairly repeatable process. Once the roof was on, we considered the build finished!!
Comments
No responses yet