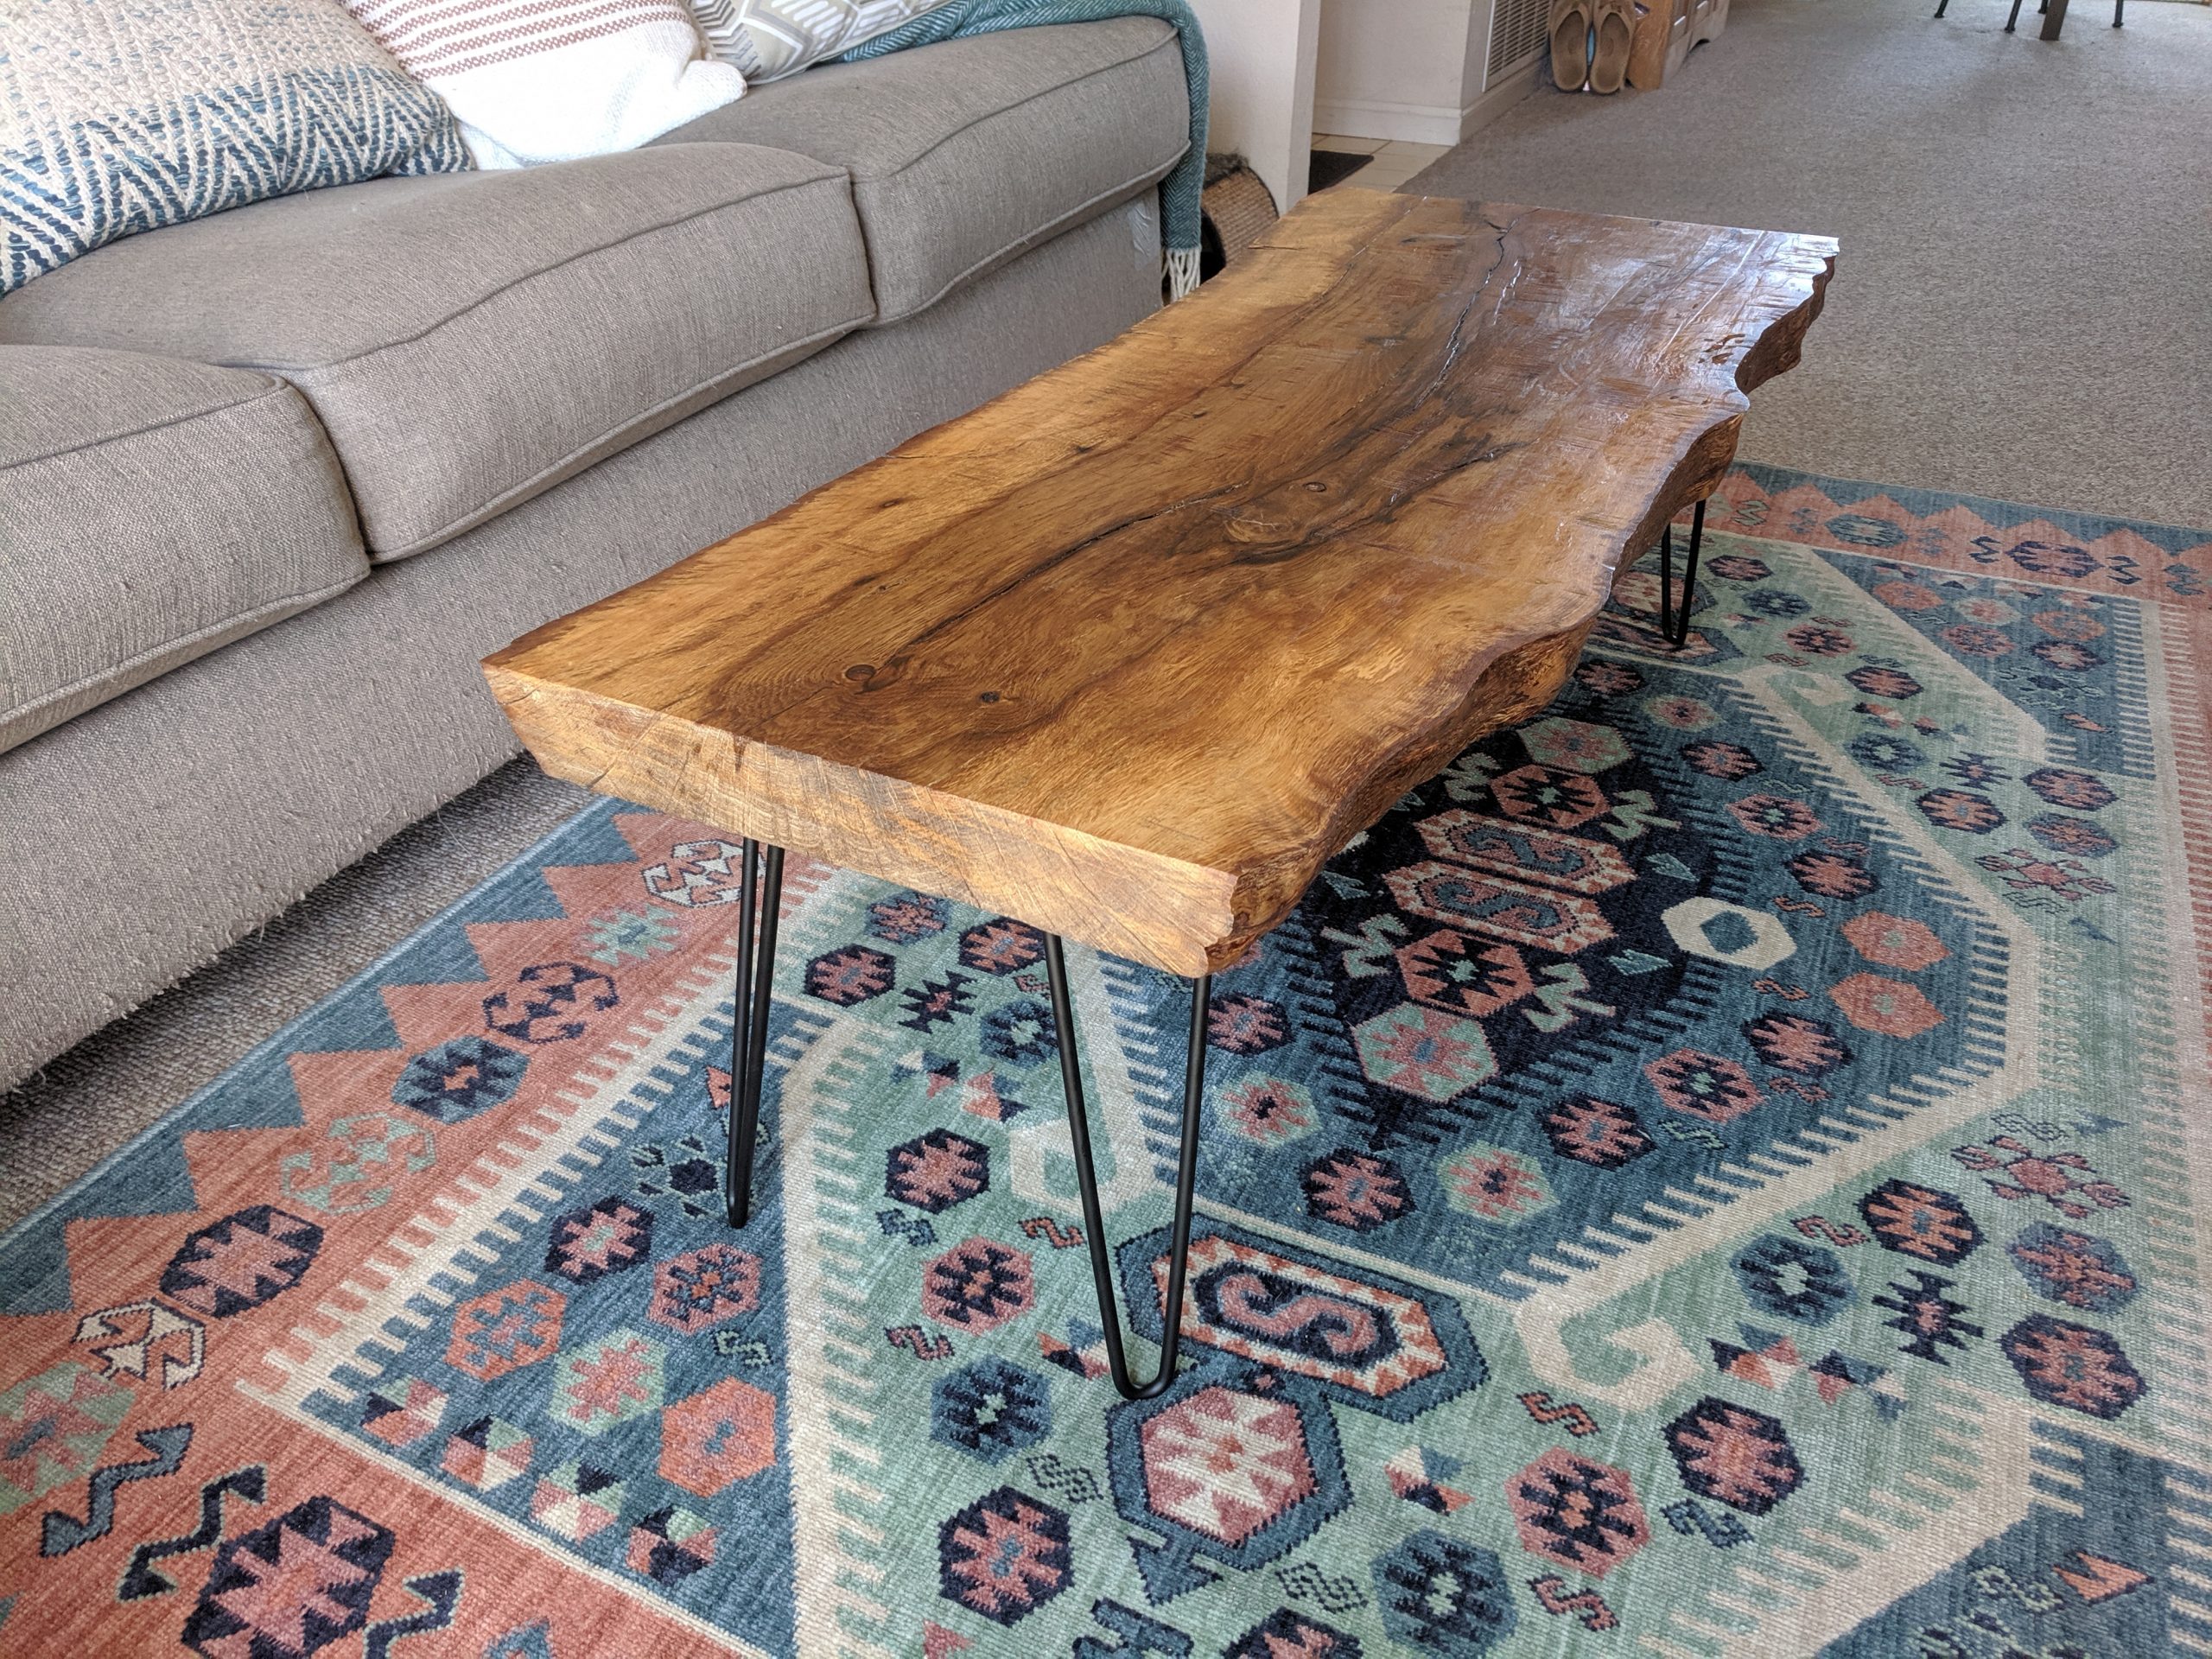
Live Edge Wooden Slab Coffee Table
Published
Another COVID-19 project we worked on was creating a coffee table out of a wooden slab. This was completely my girlfriend’s idea, and I simply followed her lead (she’s incredible).
Finding the Slab
Turns out this particular project had gotten pretty popular during COVID times, and we had trouble finding slabs at the local hardware stores. Luckily, we ended up getting connected with a local rancher who sold slabs from his various properties as a side business.
Our slab was close to 4 feet long, and 1.5-2 feet wide.

Gathering Materials
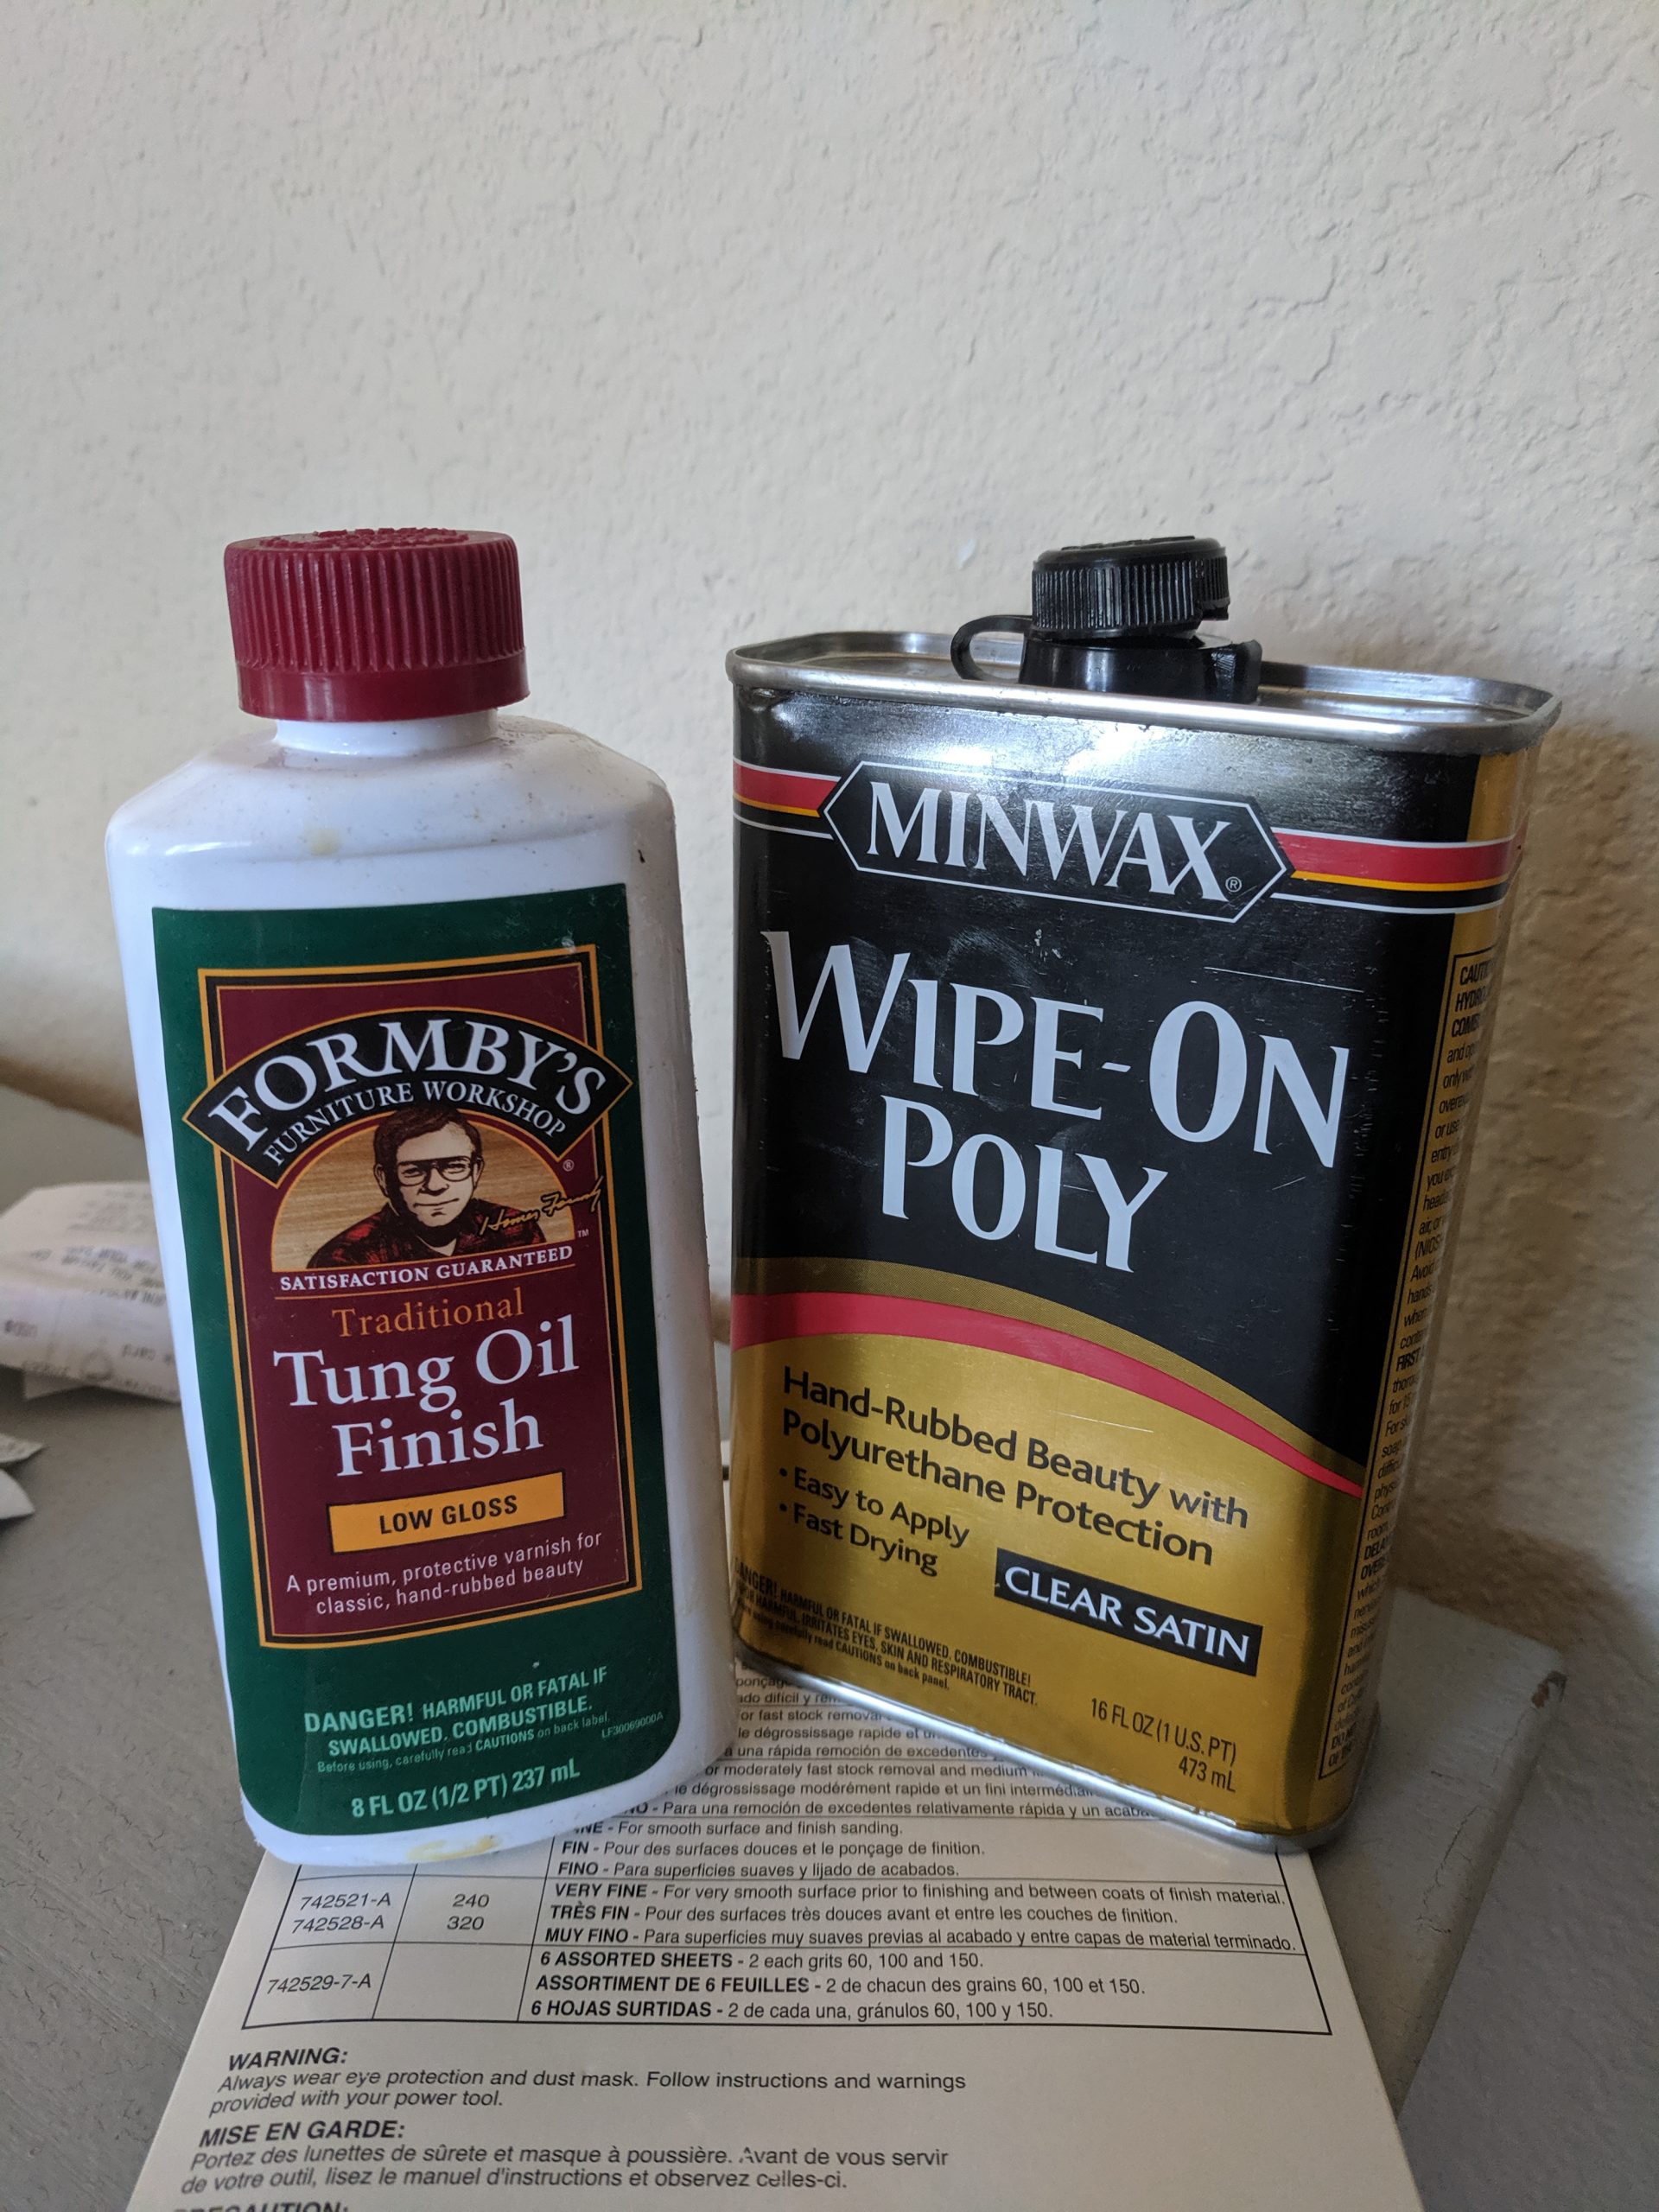
We ventured to the hardware store and picked up some sand paper (rough 80 grit, and fine 220 grit), as well as some wood oil to bring out color, and some polyurethane finish to protect the wood.
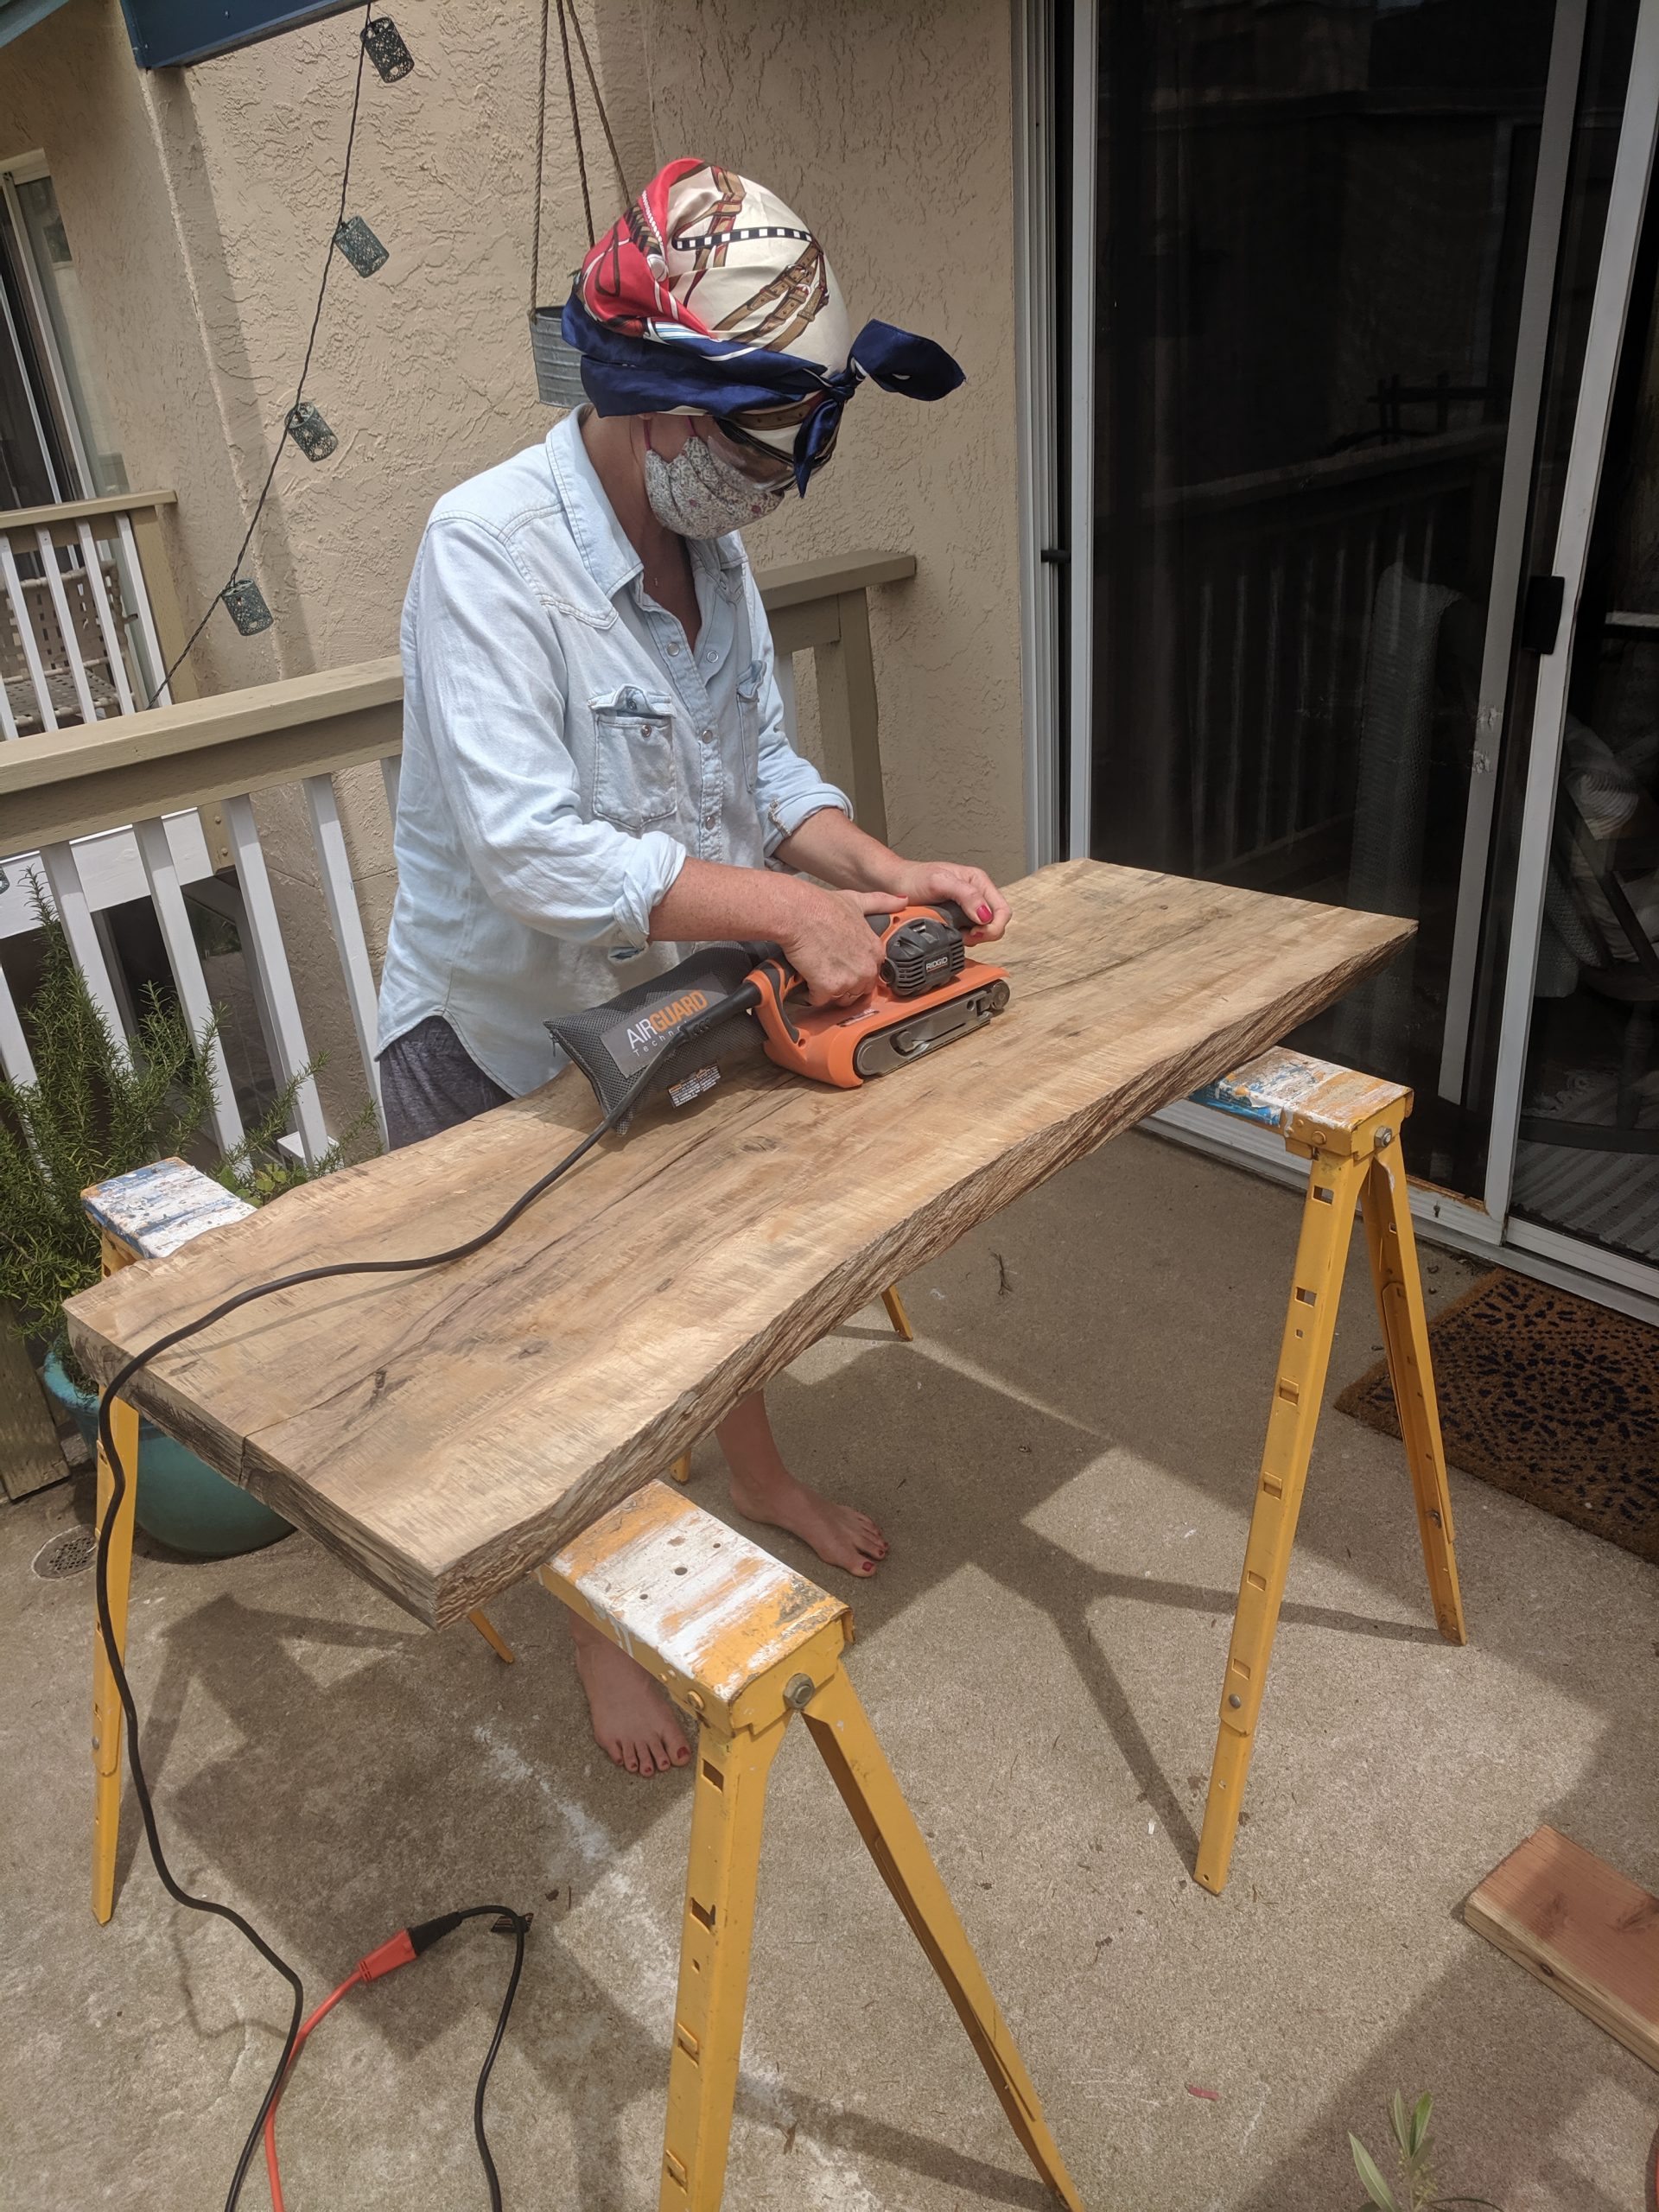
We borrowed a belt sander for the job, which worked great. We also used some wire brushes on the edges of the wood, and to clear out worm tracks and other little divots.
Everybody’s Favorite: The Sanding
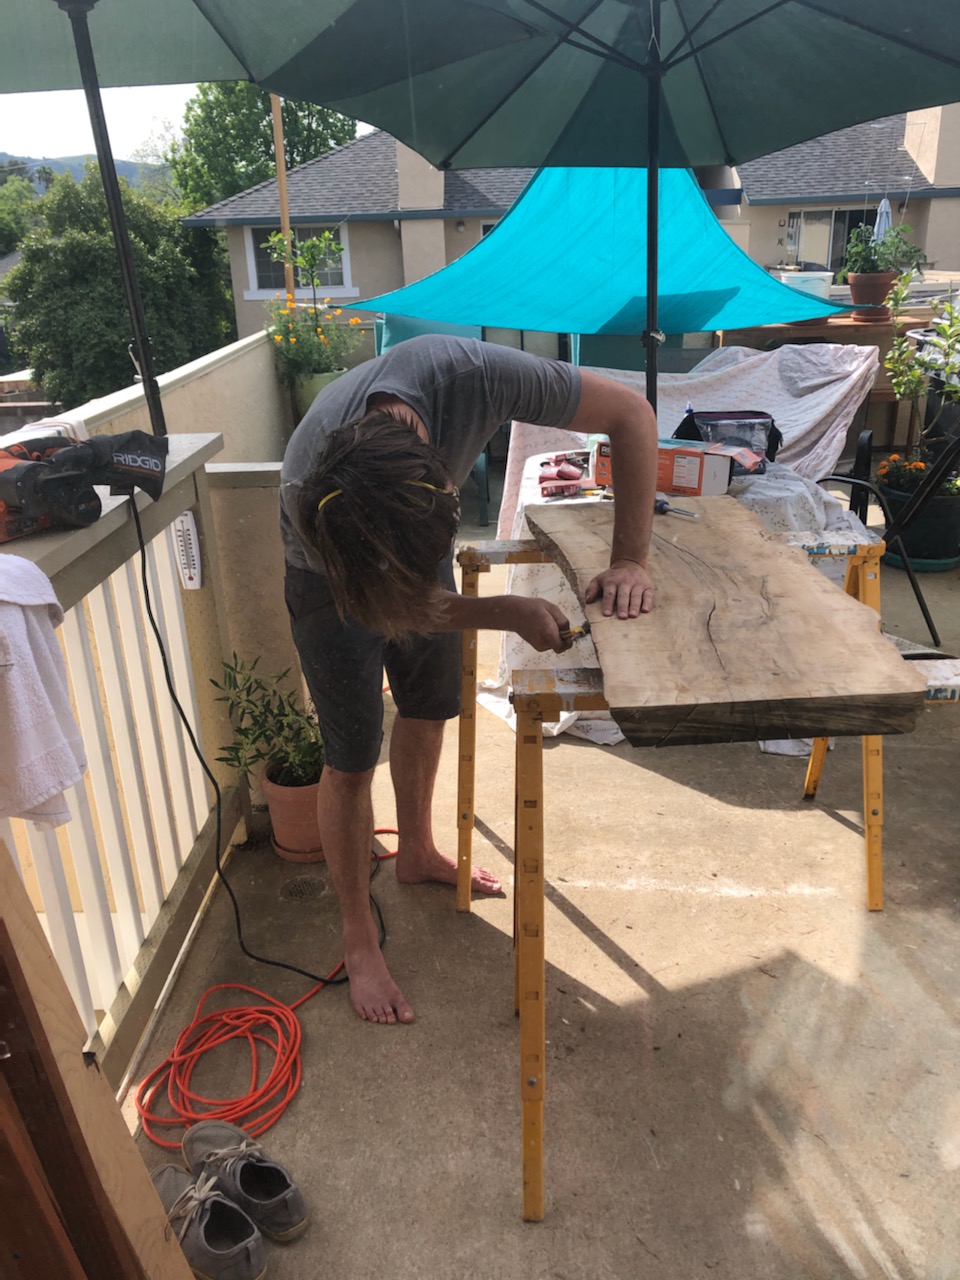
We probably spent a good 2 hours sanding down this particular slab. As mentioned above, we mostly used a belt sander, first with course 80 grit paper, and then later with the more fine 220 grit.
We watched a few YouTube videos as research; like ideally you would use a planer (or maybe even a router) to level the wood. We skipped that step 🙂 They also advised to remove all bark on the live edges during sanding since it would eventually fall off even after finishing.
We did not sand / finish the bottom side of the slab (only the top, sides, and ends).
Finishing The Wood
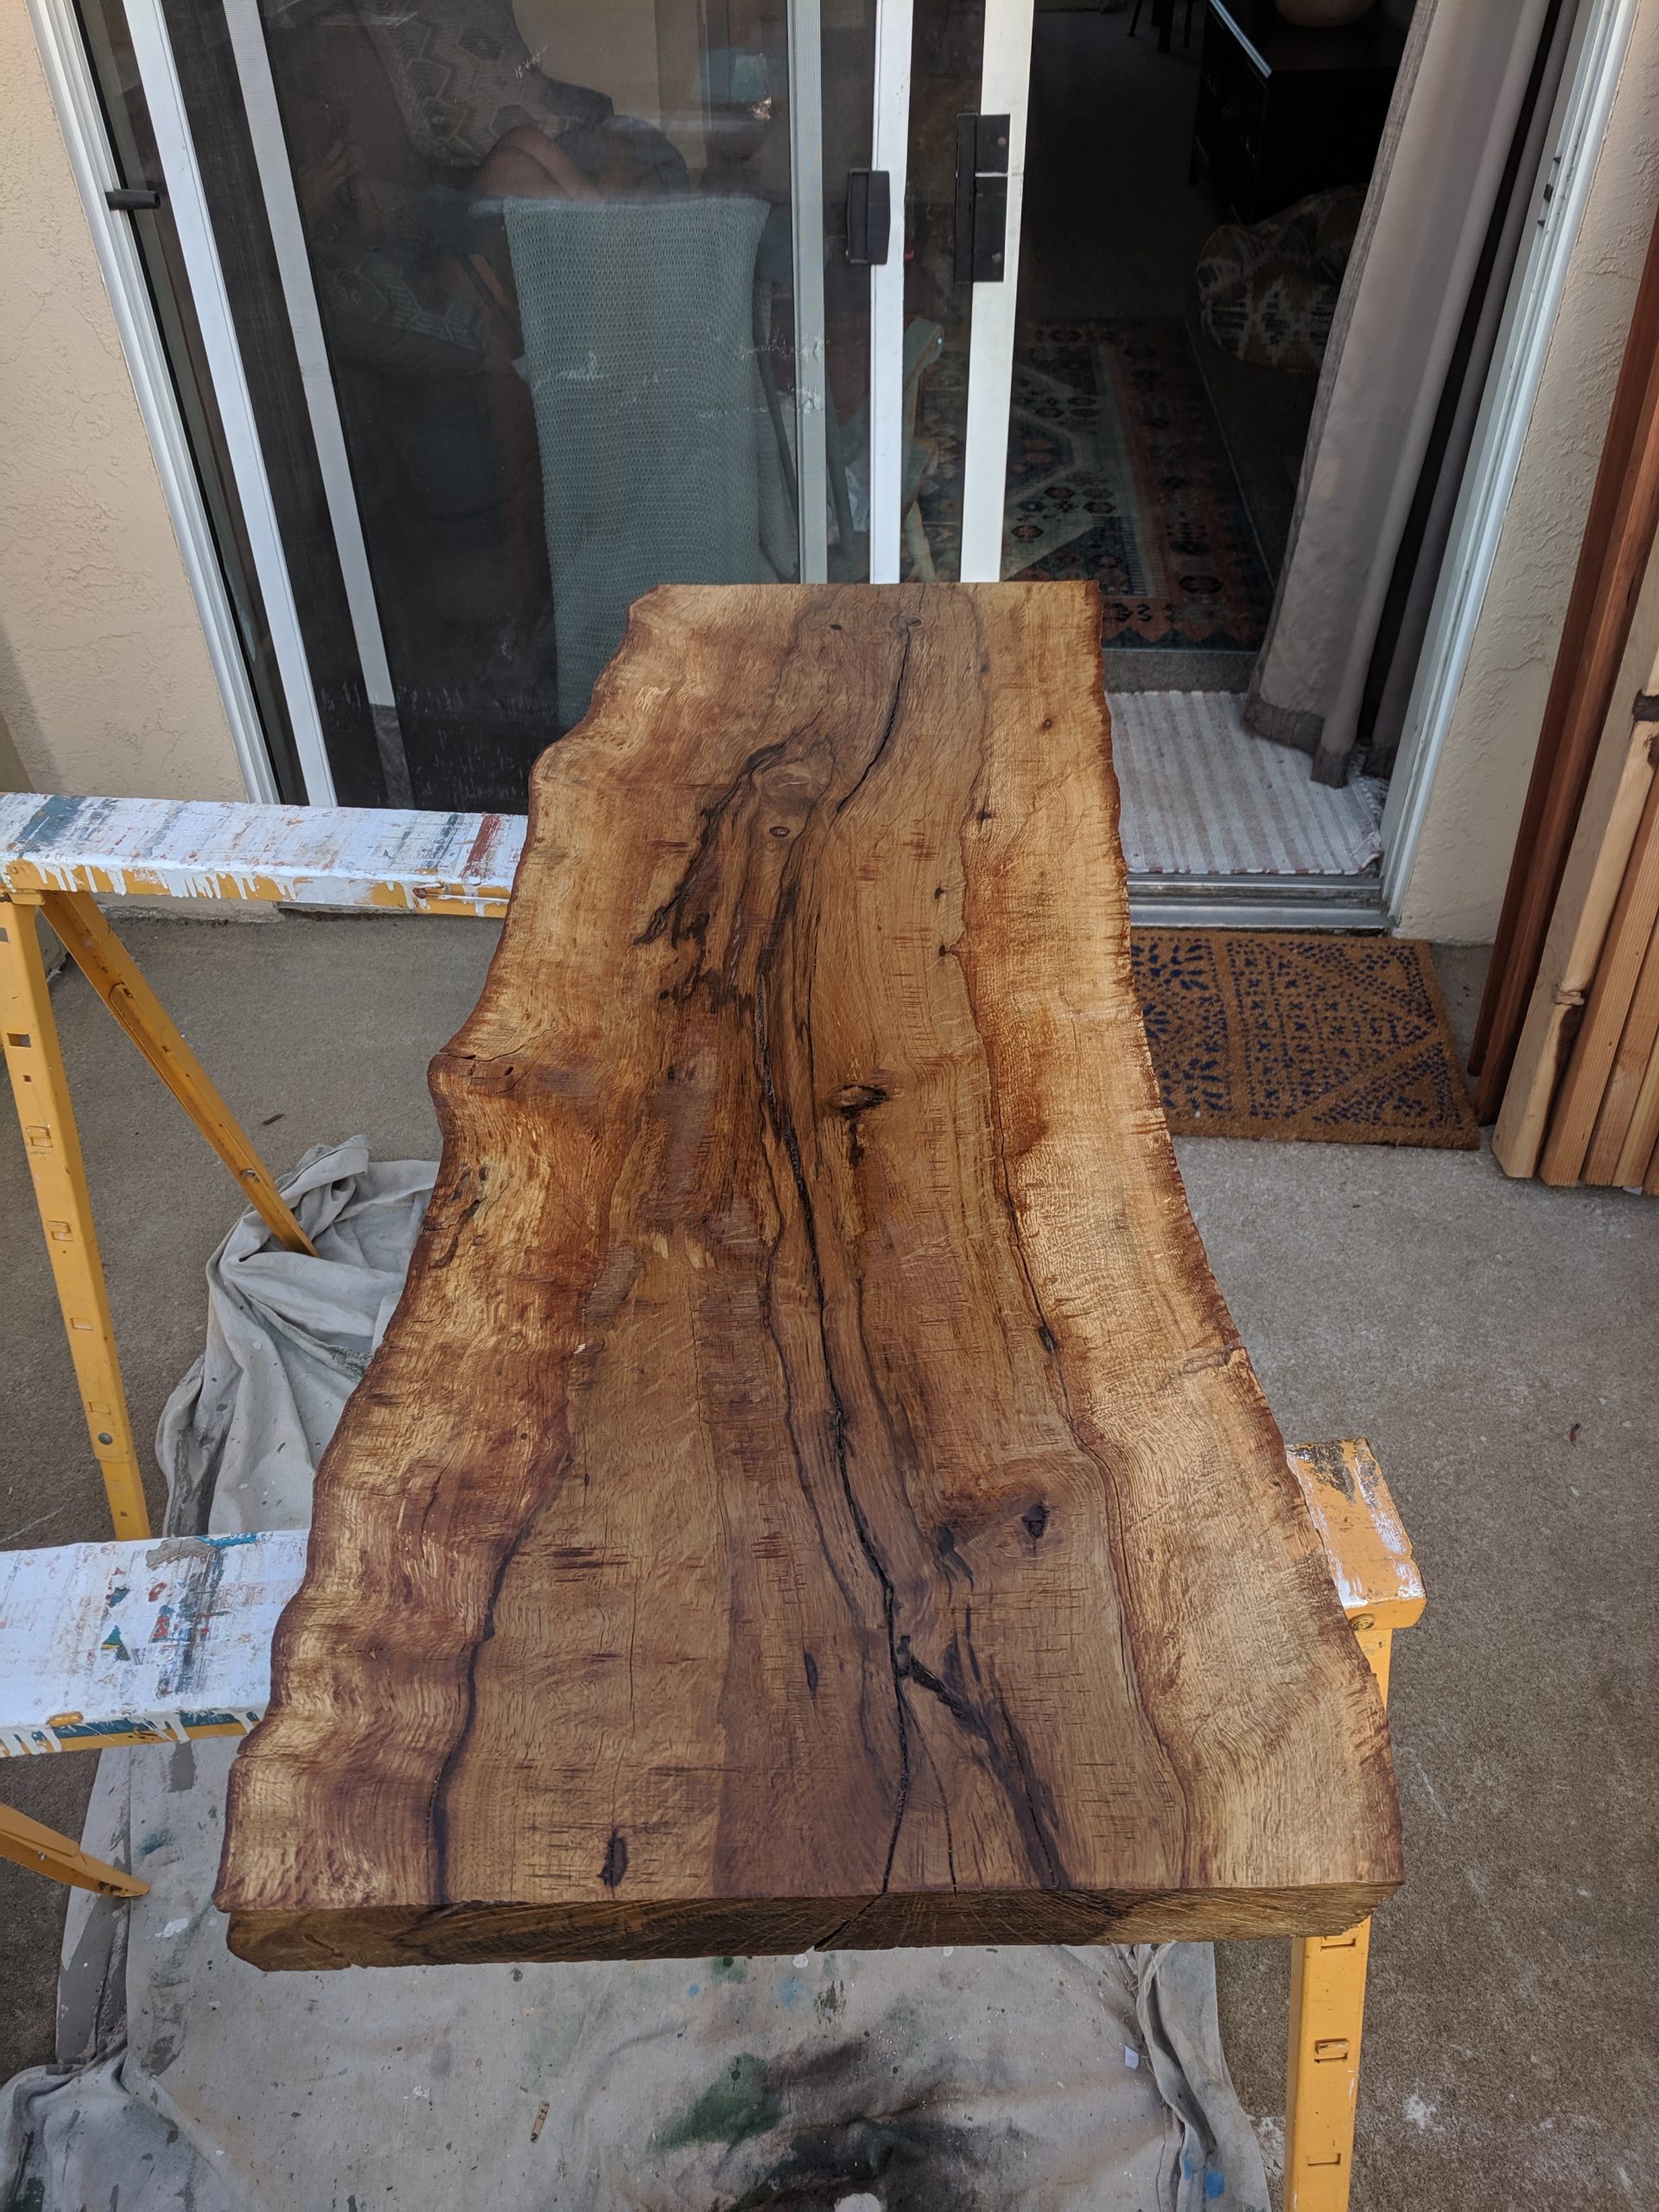
We used some old t-shirt rags (that we purchased at the hardware store..) to apply two coats of the Tung Oil Finish pictured above. The oil made the natural colors in the wood pop, without adding any additional stain.
Once those layers dried, we moved on to the Polyurethane. We we told three layers was the magic number here, and so far we think the advice was correct! Again these layers were applied with t-shirt rags.

Adding the Legs
Once the finish dried, we moved on to attached the metal legs (ordered off of Amazon). Nothing special here, just pre-drilling a few holes for screws to hold in the legs, three for each leg.

Finished Coffee Table
Once the legs were installed, we were finished! Fun project, resulting in a beautiful coffee table that really opened up the living room.
Comments
No responses yet