A (Rough) Nightstand
Published
I was unemployed during the COVID-19 epidemic, and searching for woodworking projects. My brother said he could use a nightstand.
A few days later we found a pile of free lumber on the side of the road in Pleasanton. All sizes, like 2x2s for legs, plywood for the sides/drawer, 2×4 and 2×6 for other projects.. We hit the motherlode!
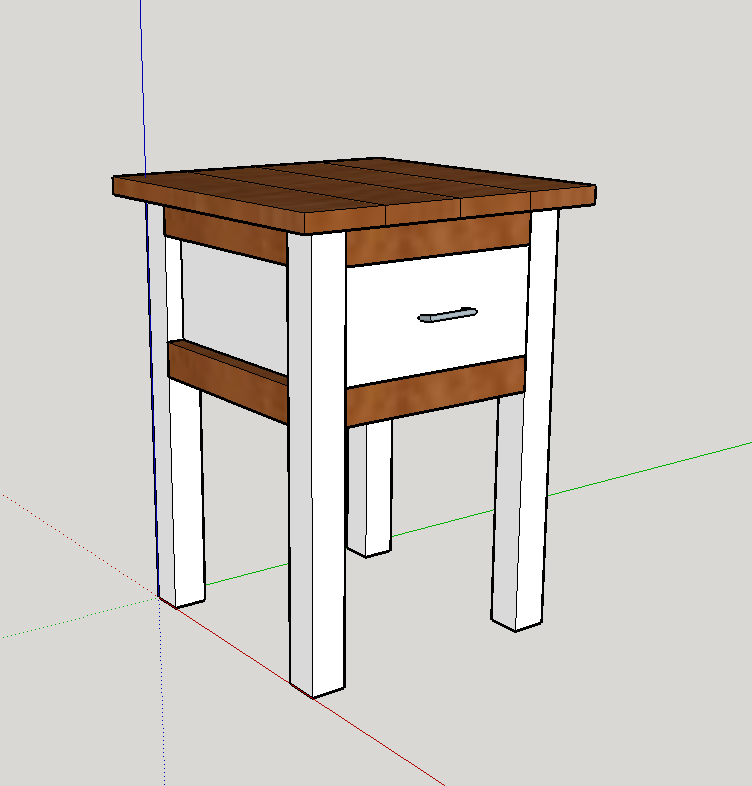
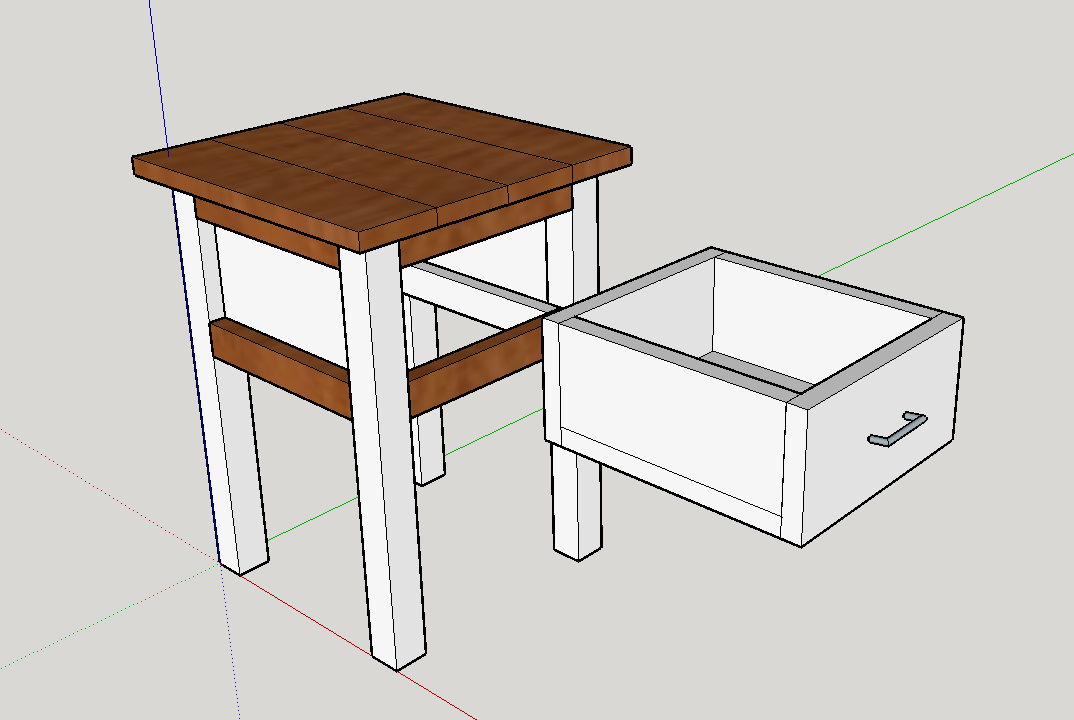
The Design – SketchUp
I used SketchUp to mock up the design of the nightstand. My design was based loosely on the farmhouse bed-side table by Ana White.
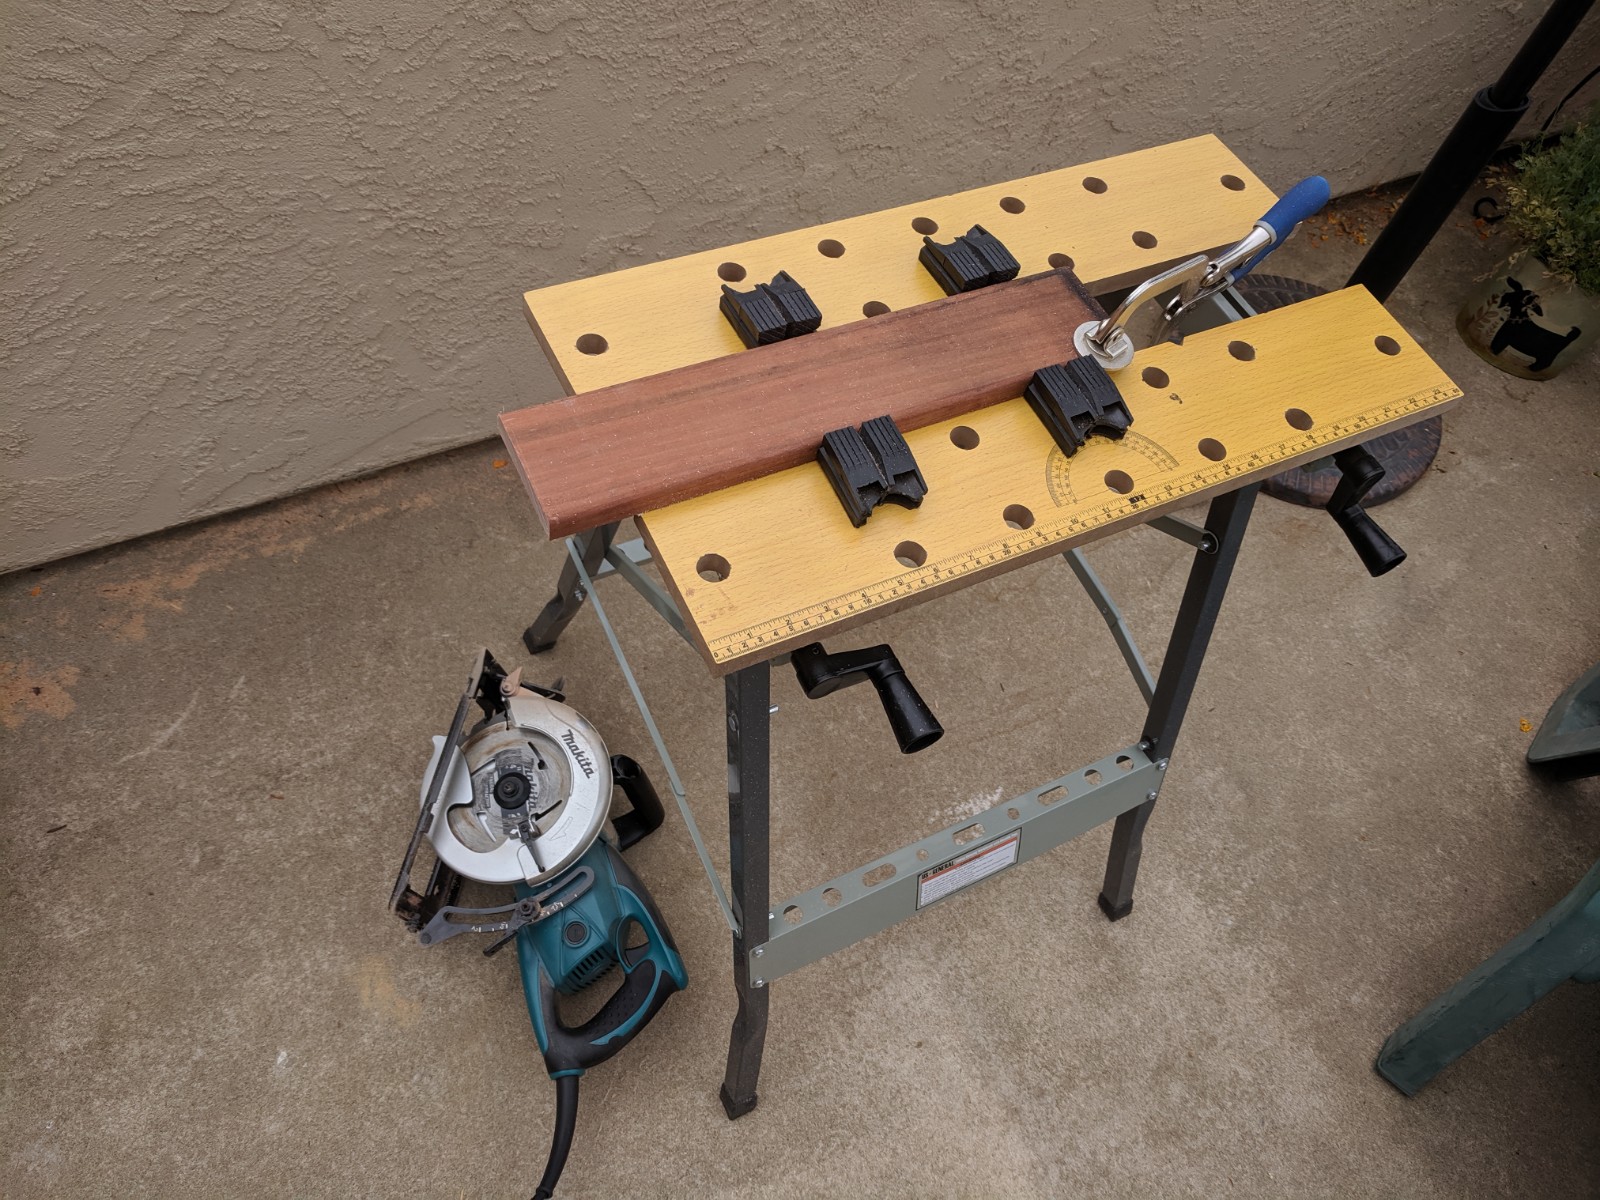
Putting Together the Sides
This first step in building was putting together the sides, which included a square-ish piece of plywood, with two trimming edges of redwood attached to the top and bottom.

Preparing the Top Shelf
I had some scrap redwood 1×4 from a previous project, and elected to glue 4 pieces together to form the top of the nightstand. This was my first experience using wood glue; it turned out to be pretty forgiving.
I also had some polyurethane available, and decided to add three coats to the glued top for a little protection.

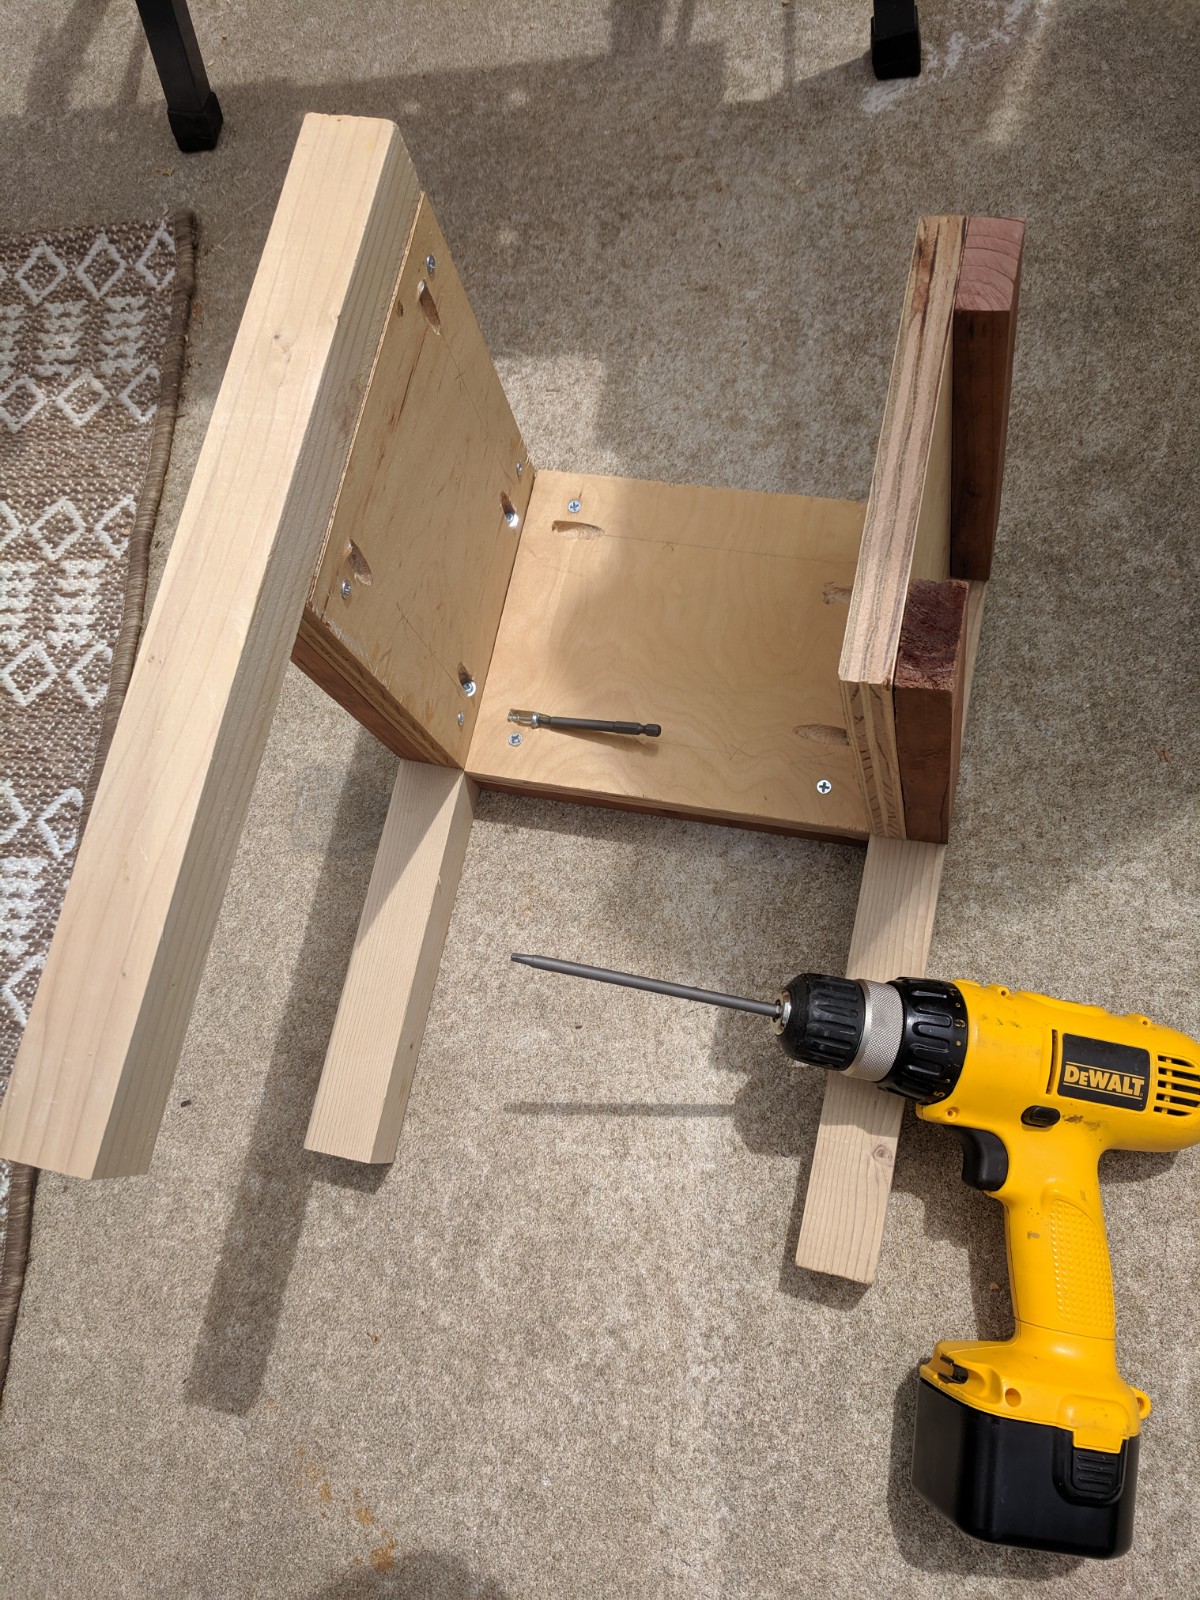
Attaching the Sides and Legs
At this point I had the sides assembled, and legs cut (just 2x2s cut to 14 inches). My plan was to try and attach the sides and legs via pocket screws.
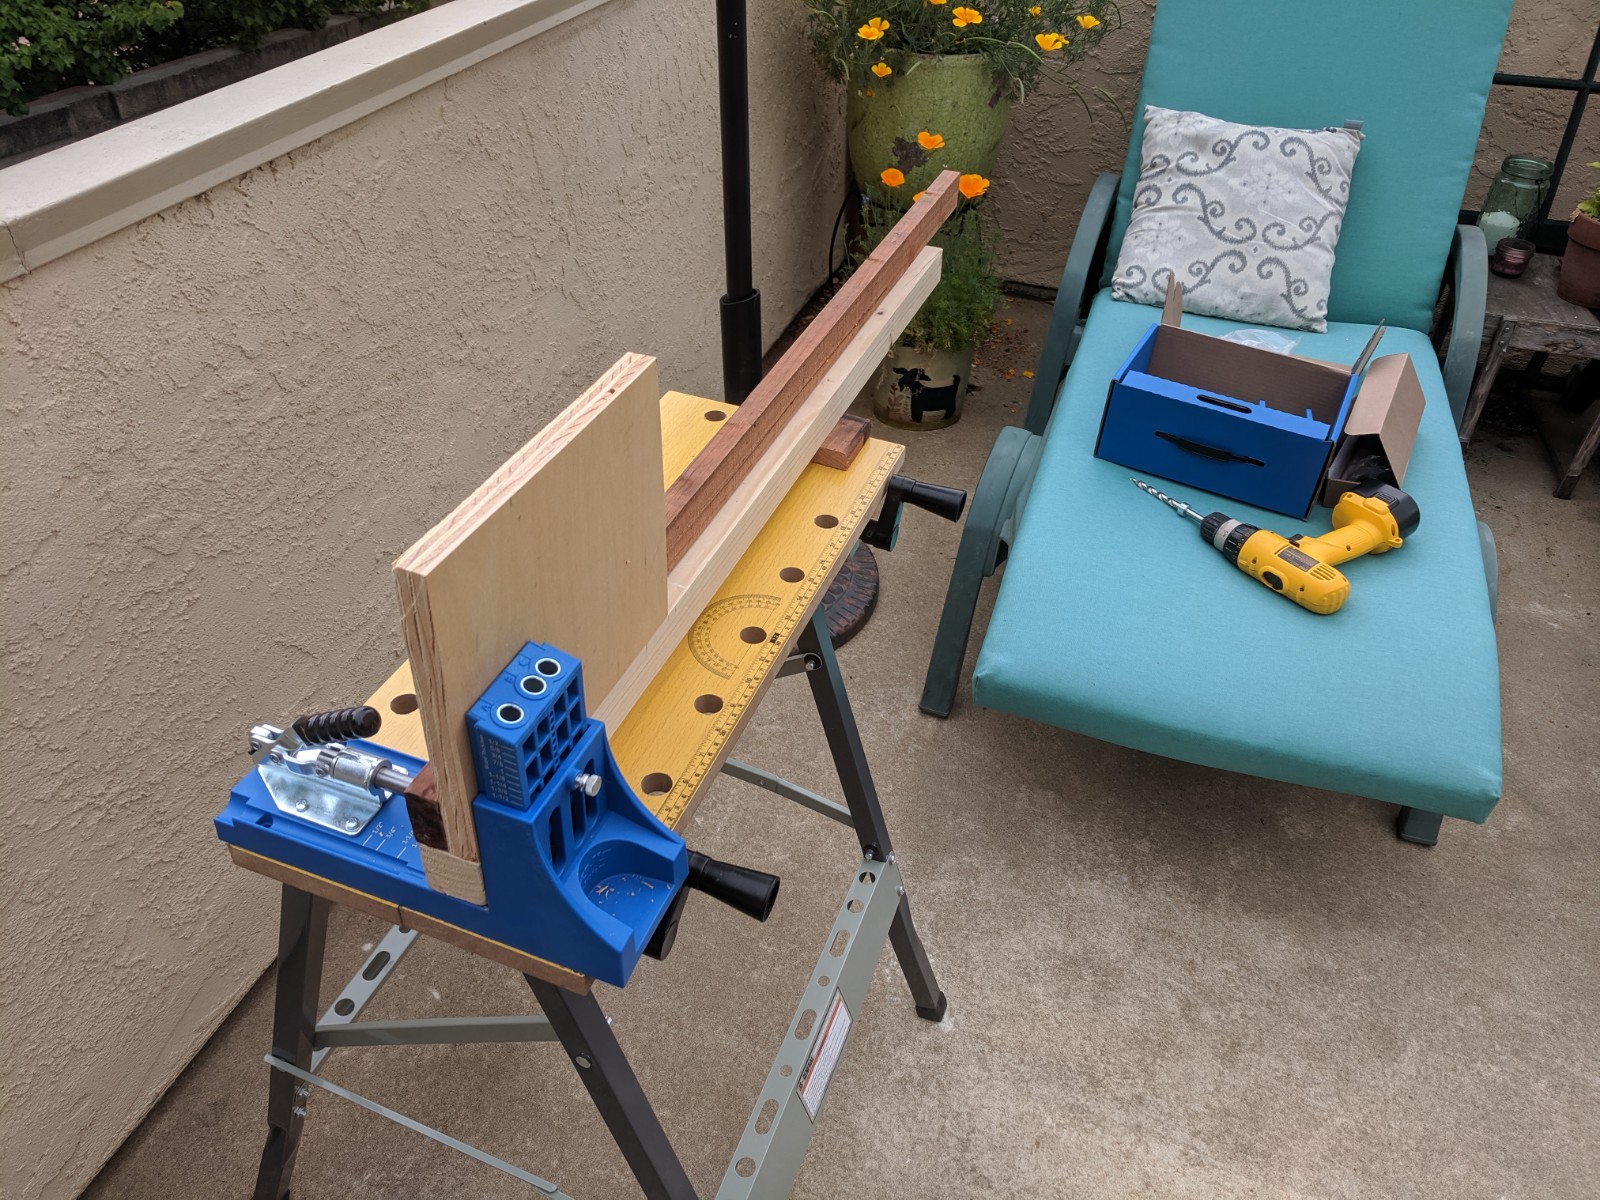
The pocket screws were a fun little puzzle to solve (how far to I need this screw to plunge into the legs??), but turned out to be exhausting. I also bumped into problems when trying to attached all three sides because the drill was too big!
Assembling the Drawer
My plan was the cut the drawer out of plywood and glue it all together. Great in theory, but did’t work out too well when trying to make 90 degree cuts in plywood with just a circular saw and not guides/jigs.
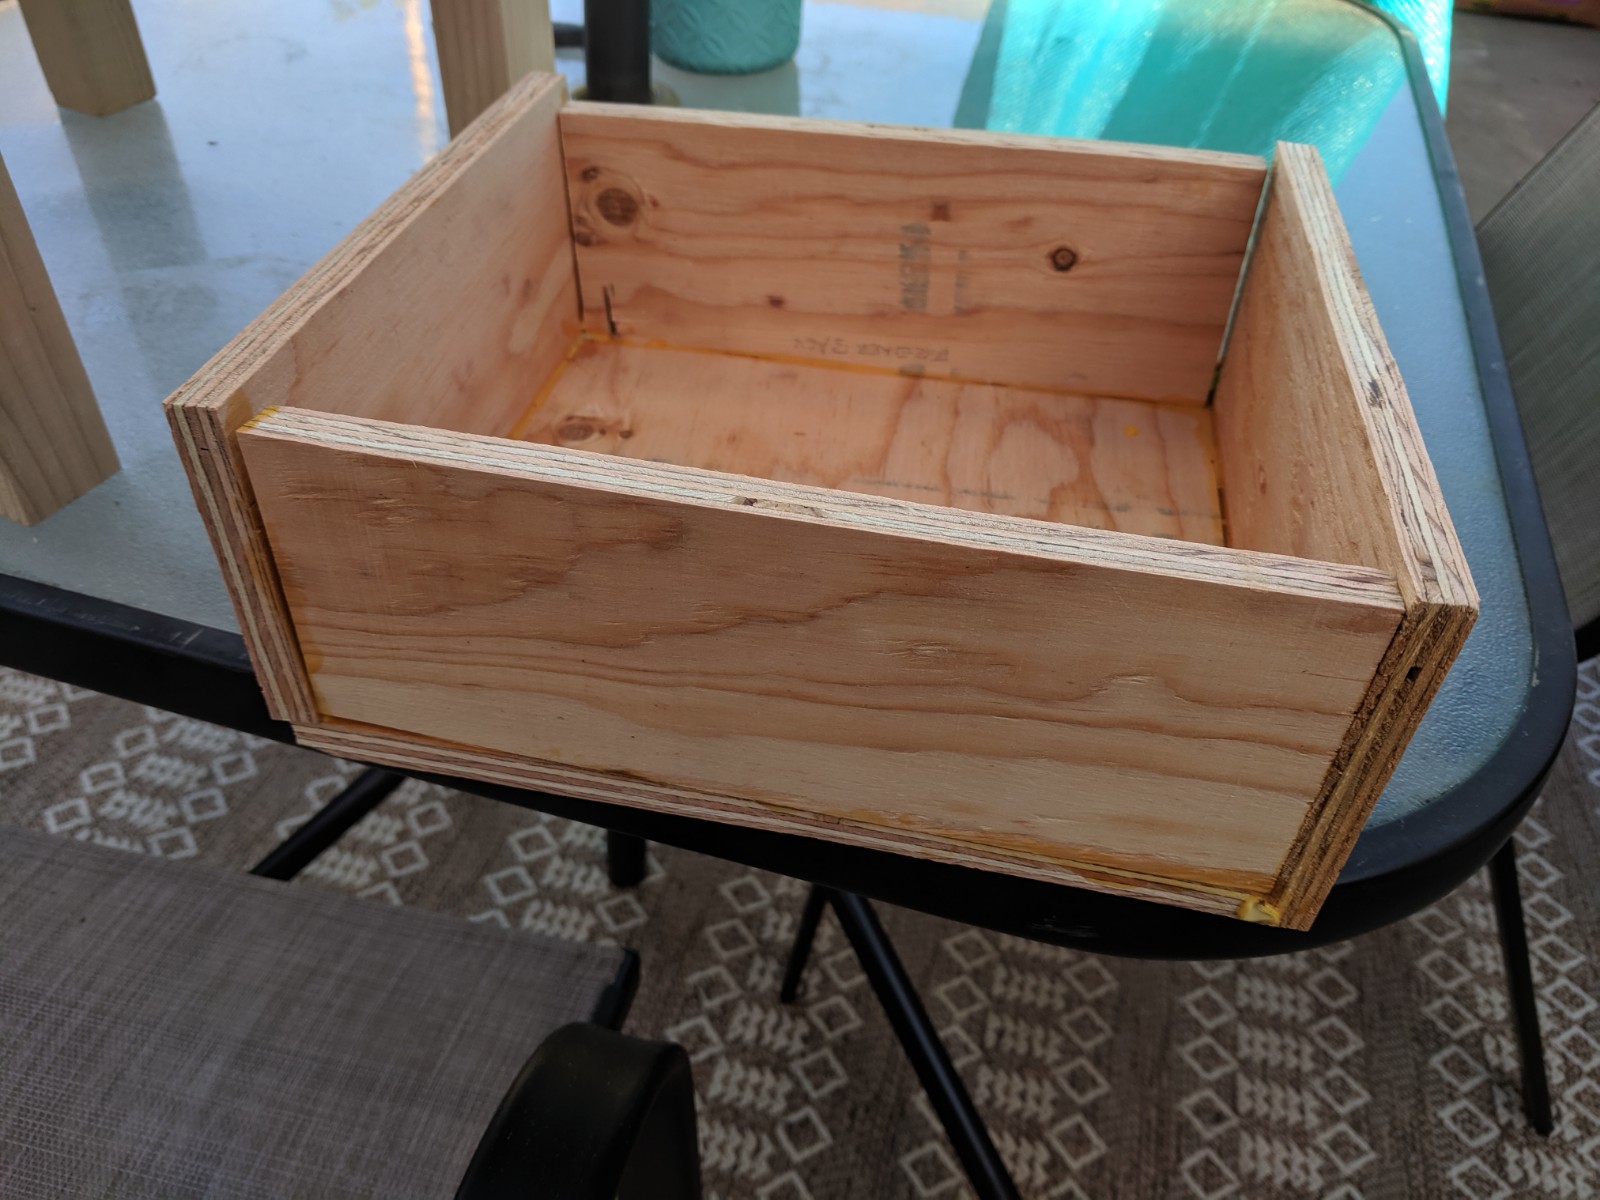
My drawer pieces weren’t quite square. I dumped enough glue in between the pieces that fortunately it held together.
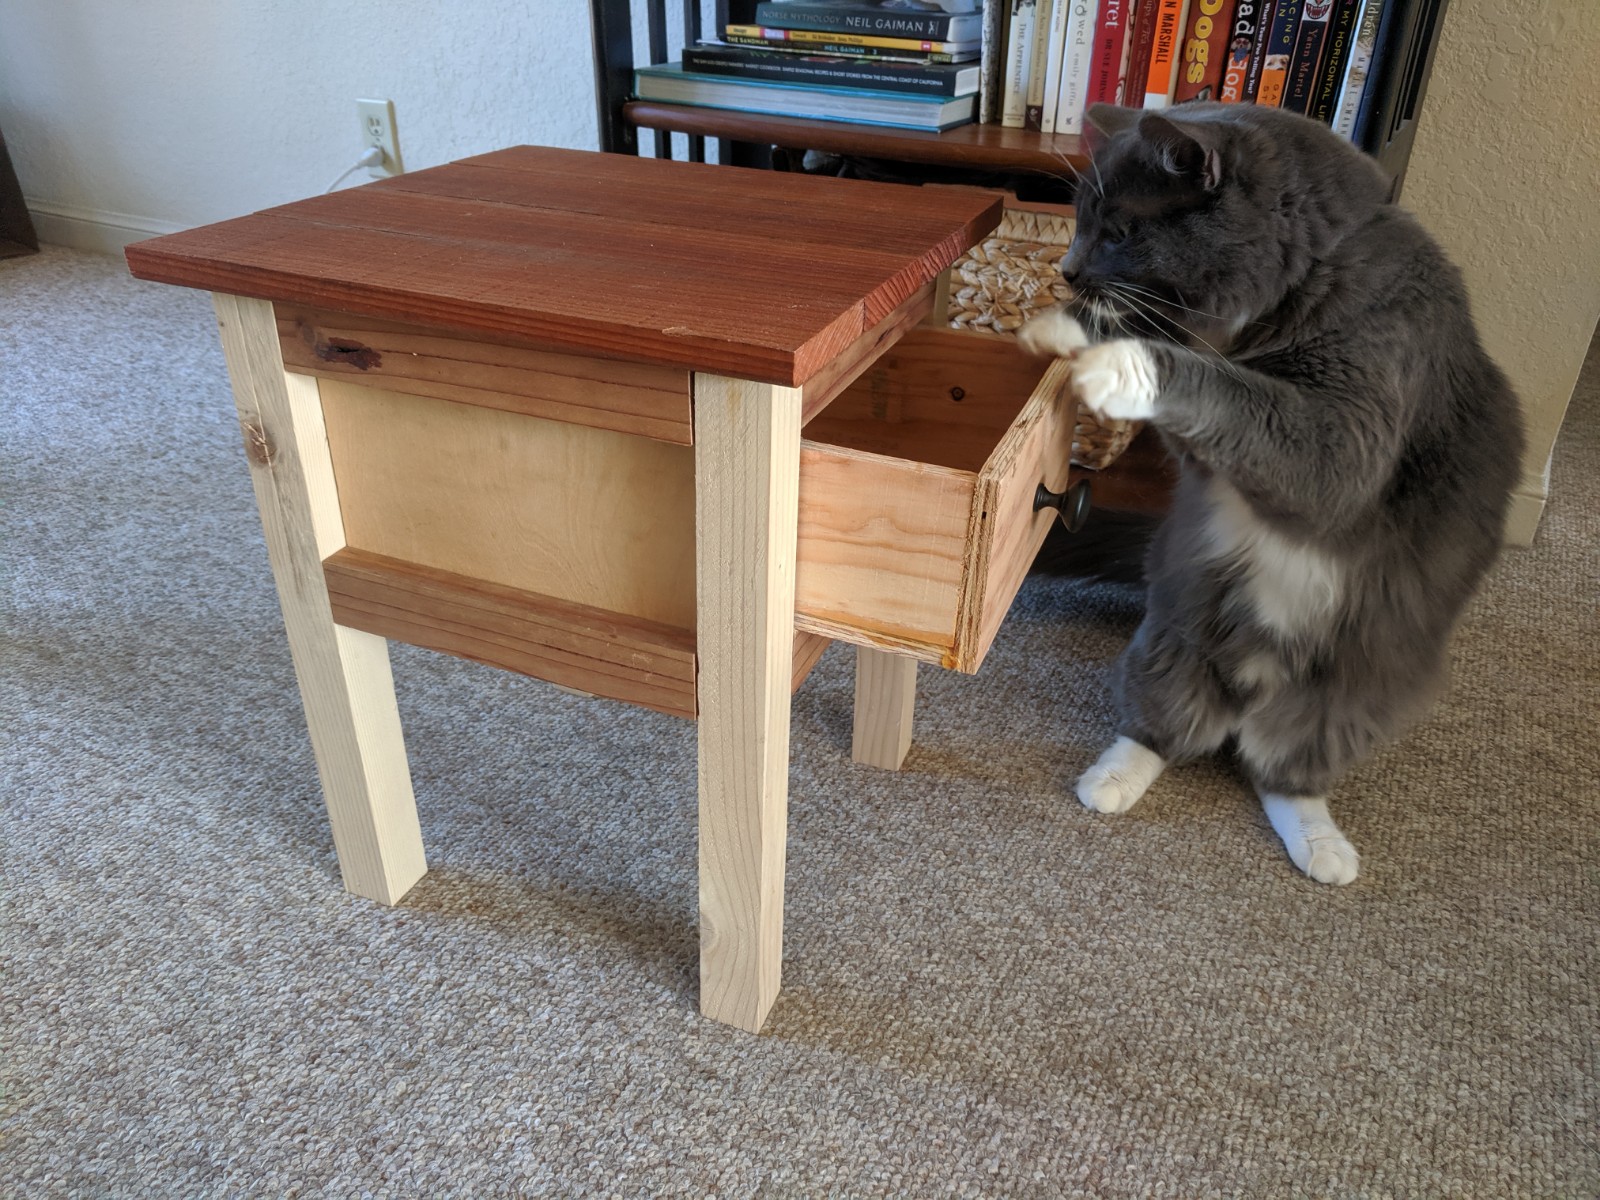
Putting it all together
Once the sides/legs were assembled and the drawer was ready, I glue the top shelf onto the legs. I also installed a knob on the drawer. We did some thorough inspections and decided the nightstand was ready!
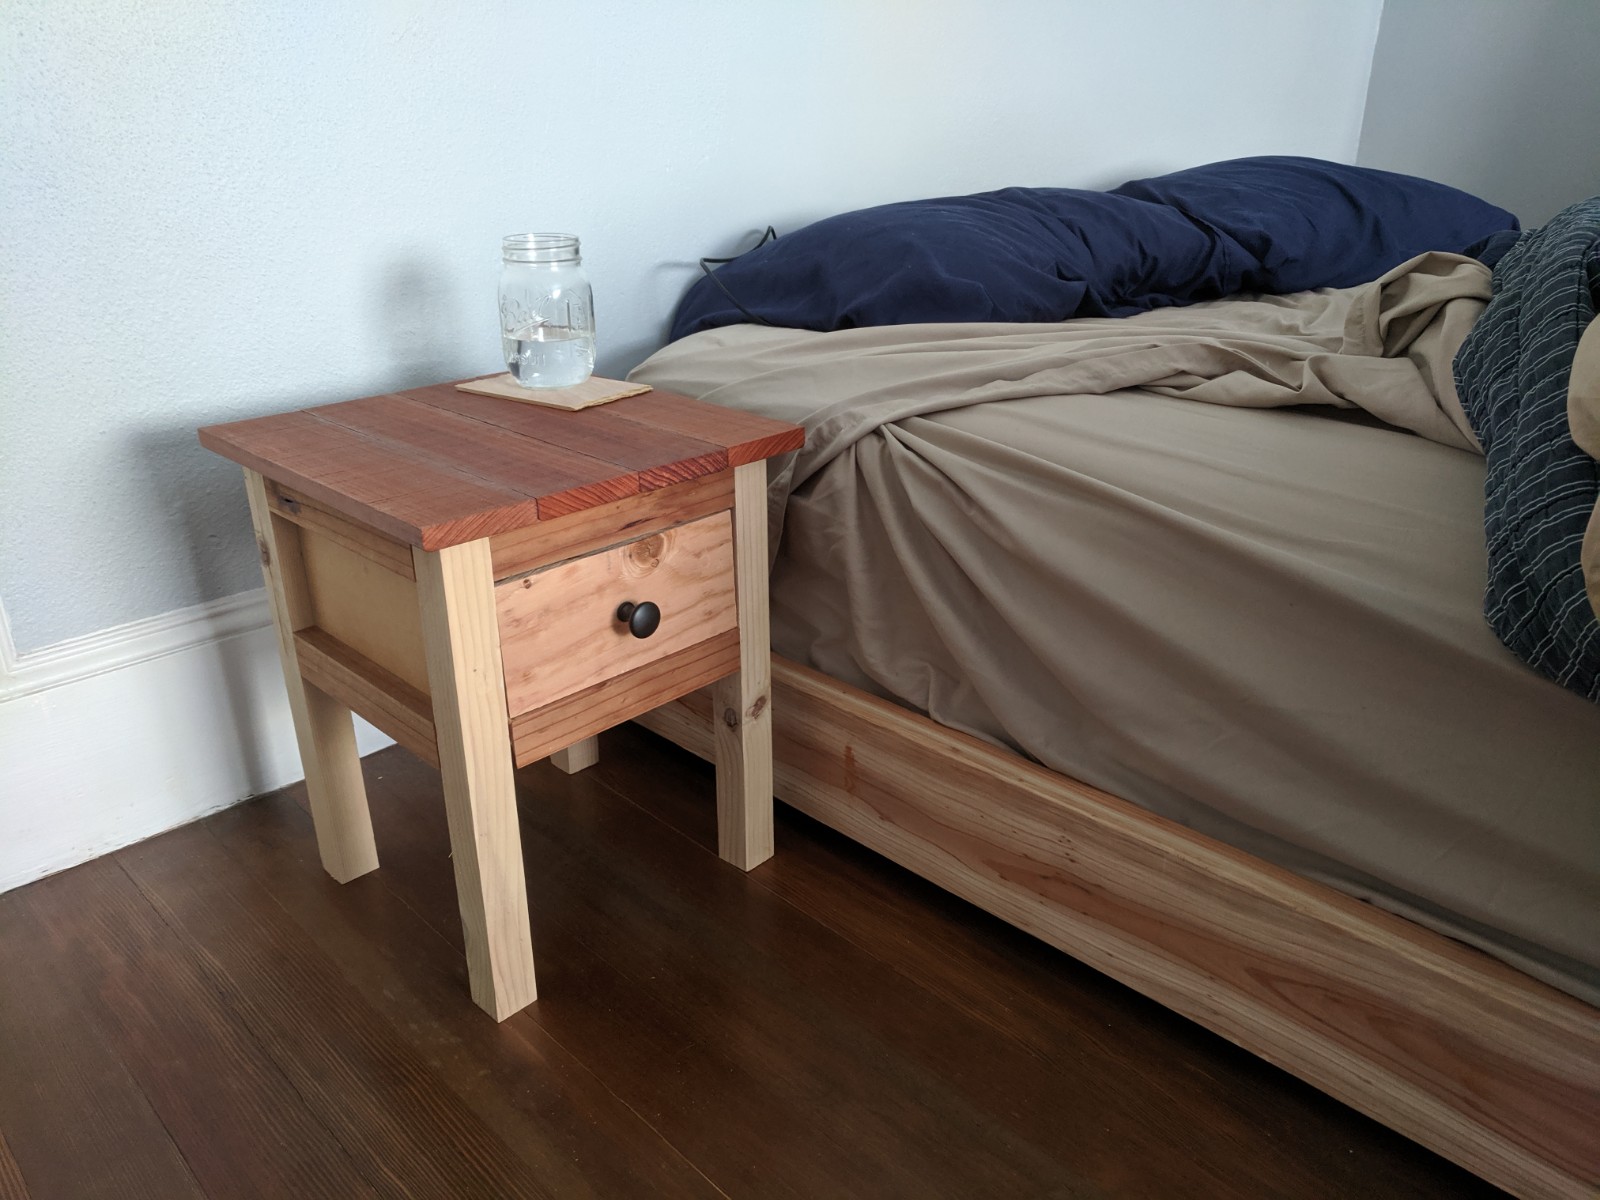
New Home
This was a pretty tough project for me. It was the first piece of indoor furniture I’d ever built, and I learned that the smaller the piece, the most attention to detail is required. Next time I’ll try to employ:
- Countersink bits to bury screw heads
- A ratcheting hand-held screw driver to help drive pocket screws in tight corners
- Guides for cutting right angles in plywood
Comments
No responses yet